|
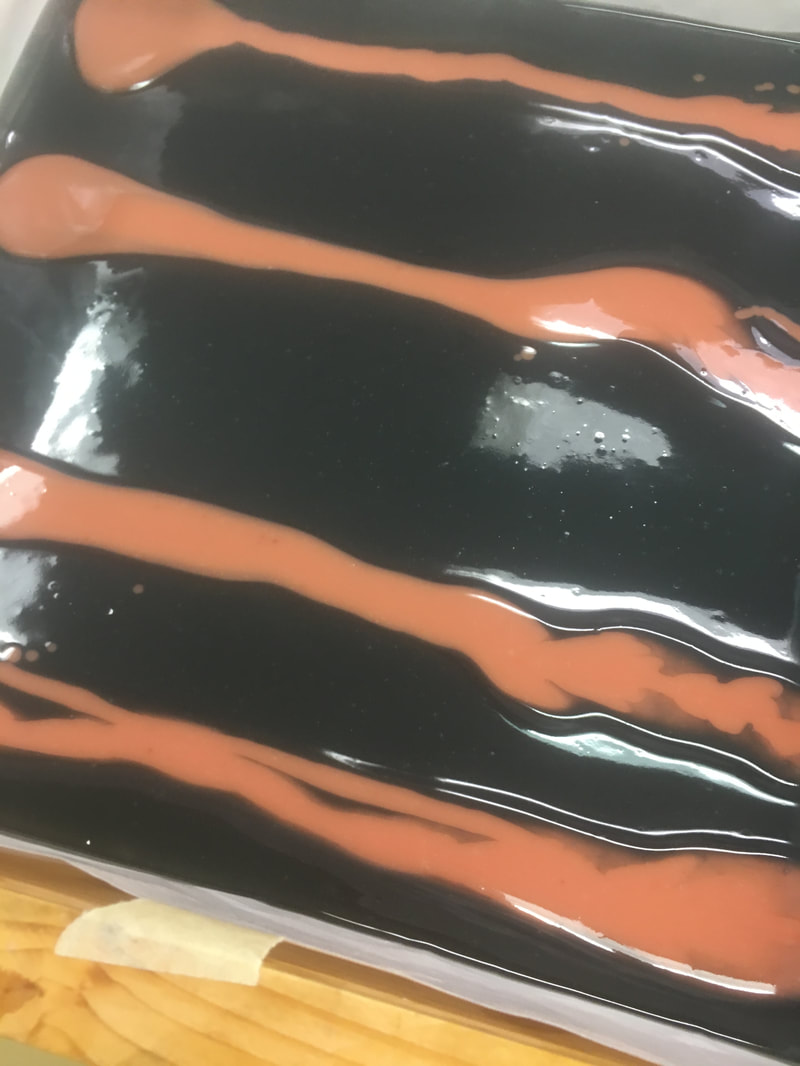
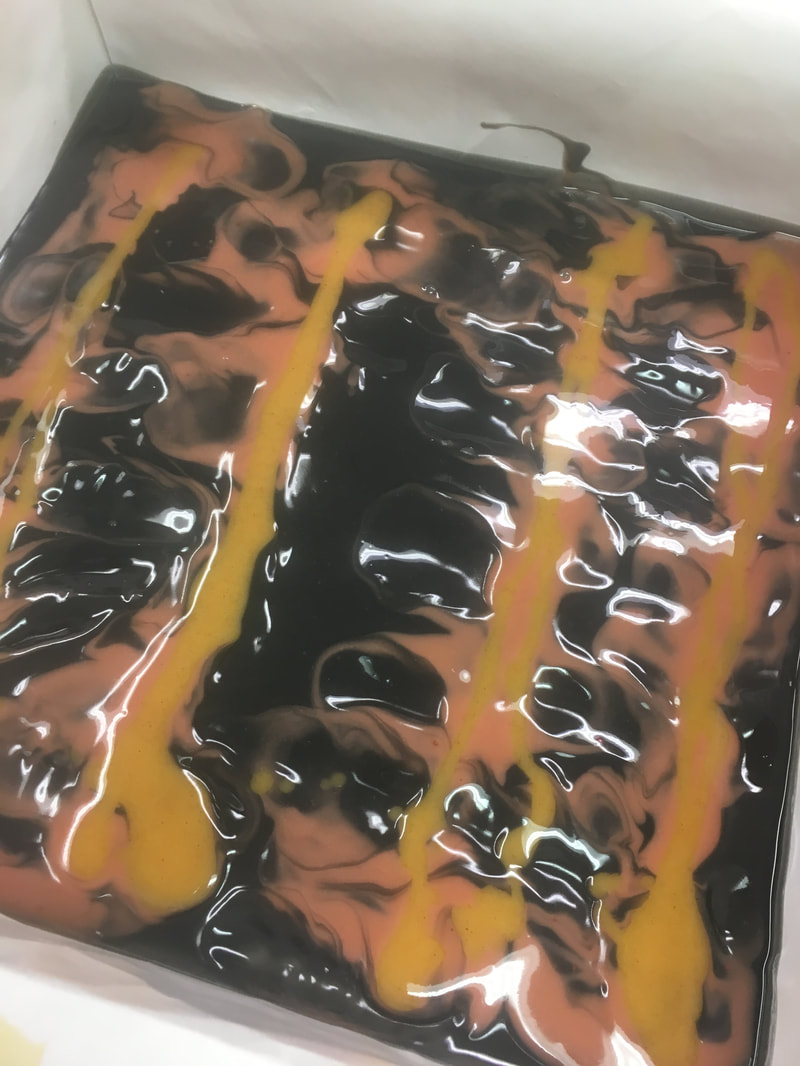
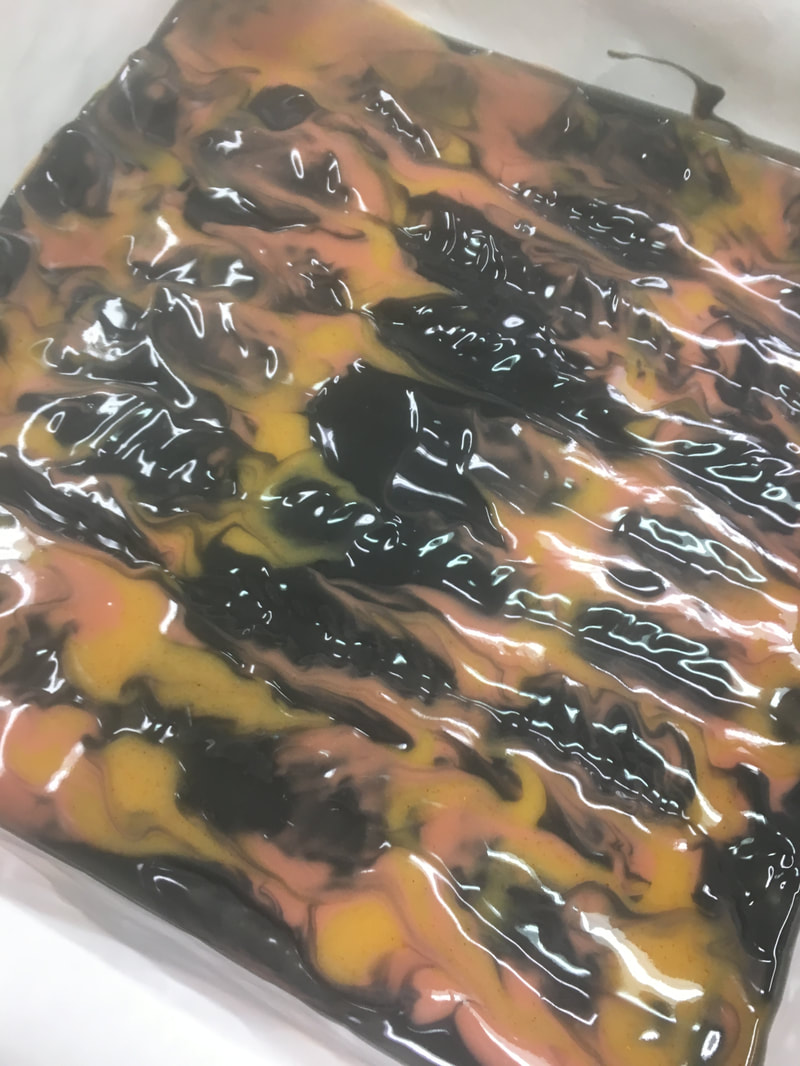
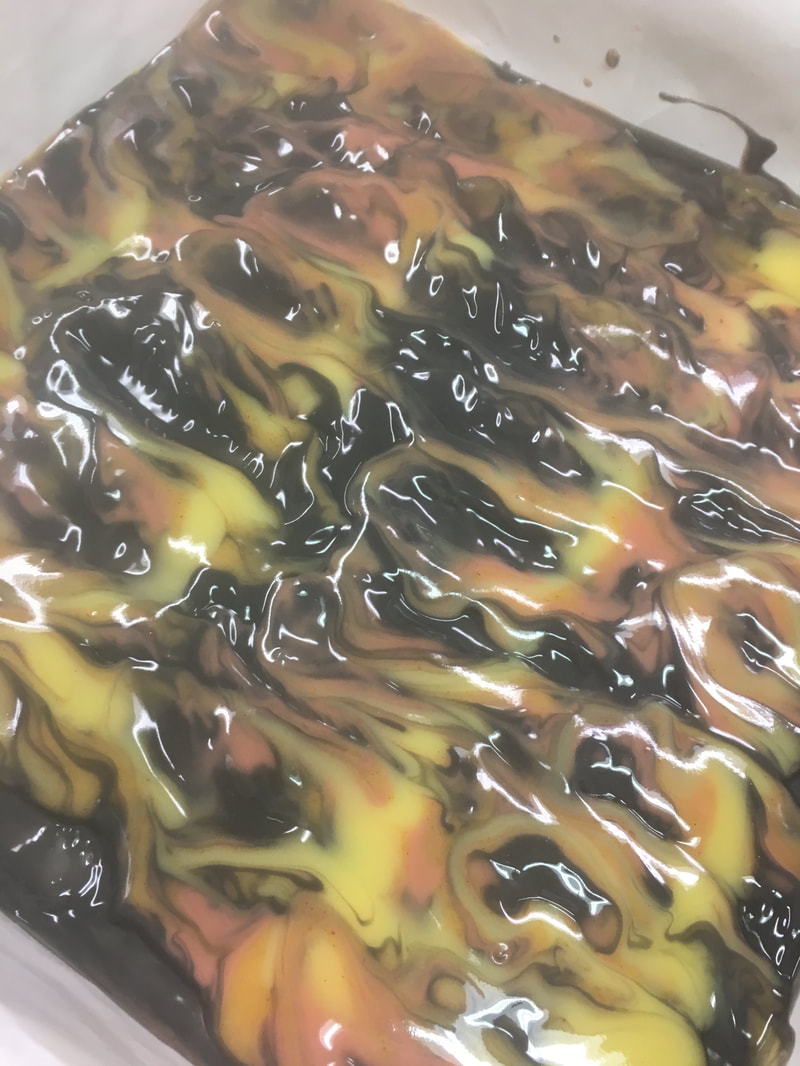
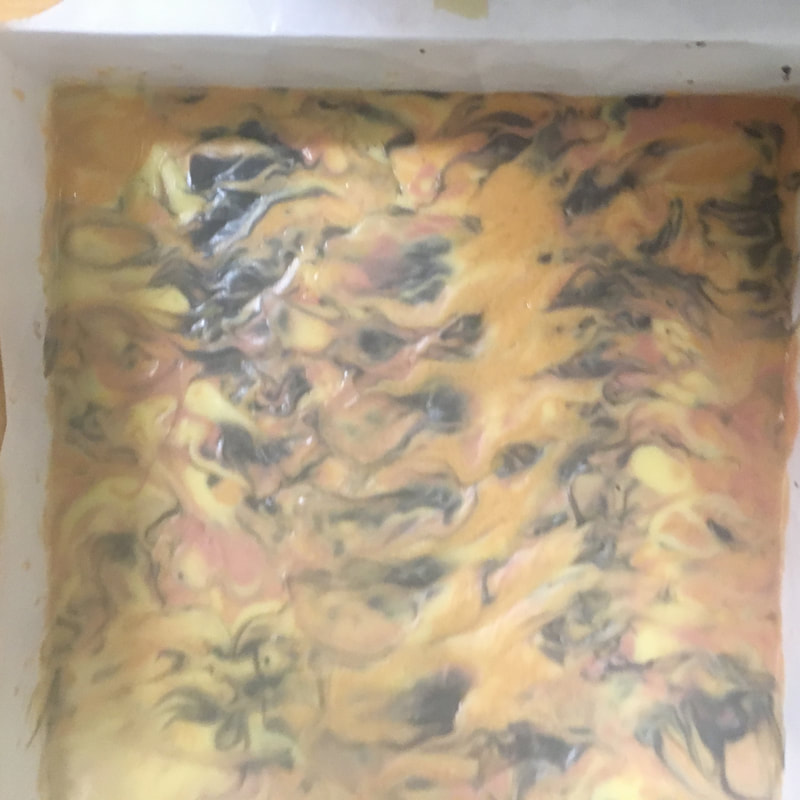
When this month's soap making challenge of acrylic pour technique with straws came out, I was excited to try it - until other soapers started complaining of burning lips. As much as I like to play with my soap, I have never been harmed by it, as I know the dangers and take the necessary precautions - lessons taught by many years of working in a biochemistry laboratory, as well as the experience of meeting older scientists with limited or no sense of smell or taste. However, I decided to give it a go this month anyway, being extremely cautious and using my experiences to guide me. I'm glad I tried it, as I really like how the soap turned out, however, I will have to think about whether or not to repeat the procedure, as the fumes still got to my lips a little bit. There are so many other ways of making beautiful soaps, I prefer not to disregard all those years of safety training, that's just me. In case you are wondering, I also have never zap tested a soap - pH paper is definitely my friend! For the Great Cakes Soapworks July 2017 Challenge, Acrylic Fluid Pour Technique taught by Joanne Watkins of Nature's Potion Handmade Soaps, we were to make a soap design with only the use of gravity and the blowing of air through a straw. What fun! I saw an interesting video demonstrating the technique with paint where the artist made a fire painting on a black background. This inspired the soap I am entering for this month's challenge. This soap is scented with cinnamon and other essential oils to give a spicy, hot fragrance. I started with a very thin layer (less than 1/8") of black soap batter (colored with charcoal). Using gravity, I tilted the mold to cover the entire bottom. Next, I added stripes of red, orange and yellow (colored with clay, paprika and annatto seed infused oils, respectively) and used the straw to blow the colors around to look like fire. I did not notice any lye fumes at this point, and was wondering what all the complaining was about. However, as time went by, the fumes got worse and worse and I couldn't figure out anyway to lessen them. Maybe it would be best to just do one layer of design? Or invest in a low pressure air brush, if there is such a thing! This first layer is what I had really envisioned the soap to be. However, I had a lot of soap batter to use up, and the bars would be too thin at this point, so onward I went! I repeated this process three or four times, and each layer muddled up the black background contrast a little more, until you really couldn't see it much anymore. I actually can't wait to use this soap and see how it changes as you move through the bar. I love that about the bars that have color, they morph as you work your way through them. So much to distract and entertain while cleaning up! After a few days of cure, I cut the bars and noticed that the top layer did not really gel too well. This phenomenon creates a bar that had lost its shine and color intensity. So, I tried cutting the top off of one of the bars, but felt that what really gave it its fire feel was the dynamic texture, and the resulting bar (on the right, below), although still a cool looking bar of soap, was a bit lack luster - the movement of the fire is gone. So, I decided to keep the textured top on the soaps. I tried oven processing it for a bit to see if it would gel up a little, and although it's not quite as vibrant as it would have been if it had gelled with the original cure, I feel that the colors did brighten up a bit. The final product is very interesting, and definitely has a look and feel of "fire". The scent is absolutely wonderful! Totally different from any of the other scents in the rest of my collection of soaps. My customers will love this bar!
10 Comments
7/23/2017 10:22:46 am
So cool!!! I love the name and the look of this fire-y soap! I agree, the safety issues with this technique were a bit concerning, but I'm happy that everyone made it through despite that! I'm glad you decided to keep the texture on the top of the soap as it really does add to the look. Thanks for sharing your tips about what worked - especially the oven process after the soap was set. I've heard of doing this for partially gelled soaps, but I'm sure it must have helped!
Reply
Amy - Thank you! I do love this soap too - I wish you could smell it :) The oven process, even after it was set, was an experiment, as I've never done that before. But, it worked! I have poured cupcakes before, and after they had set a bit I moved them onto a heating mat, and that worked. So, I thought I'd try the oven for the larger batch - glad I did! This was fun! Thank you for the challenge!!!
Reply
Ľubica
7/23/2017 12:44:09 pm
Interesting, very interesting idea... and flames are everywhere. And I like it very much. I love natural coloring and I appreciate that you have made such a beautiful design. I wish you good luck in the competition, Taralyn
Reply
Thank you for your nice comments L'ubica! I do like to stick to natural colorants for my soaps, and I'm learning that you can do so much with them. Most of the batch had some sort of flame element, which was what I was going for. They really did turn out well.
Reply
Sharaine
7/25/2017 09:46:06 am
Great Job! Love the natural colors. Great movement.
Reply
Your comment will be posted after it is approved.
Leave a Reply. |
Details
TaralynColorado Artisan, making beautiful hand-crafted soaps with all natural ingredients. Archives
August 2025
CategoriesCategories
Comment Policy
We follow Grandma's rule here: If you don't have something nice to say, don't say anything at all. While constructive criticism is always welcome, keep it polite, considerate and friendly. These are simple rules that, if not followed, will result in the deletion of the comment. Thank you. |
|
|
Our soaps and body care products are handcrafted the old-fashioned way, in Boulder County, Colorado by your local Soap Making Artist, Taralyn. Small artisan batches allow for considerable attention to detail during all stages - soap making, hand cutting, six week cure time and hand wrapping - an extensive journey that nurtures the formation of the perfect bar of luxury soap. And to make it even better, we will deliver to your door! Shop by Signature or Artisan, by scent families, ingredients or by name. So much to explore! Check out our collections today!
|
Contact
|
About
Get to Know Your Soap Maker!
|
Customer Service
ASC Creative Credits
|
Other Goodies
Community Connection Blog
Wild Rovings Blog
Why Palm Oil?
Organic Label
|
Copyright © 2009-2025 ASC Soapworks, llc, All rights reserved.






 RSS Feed

