|
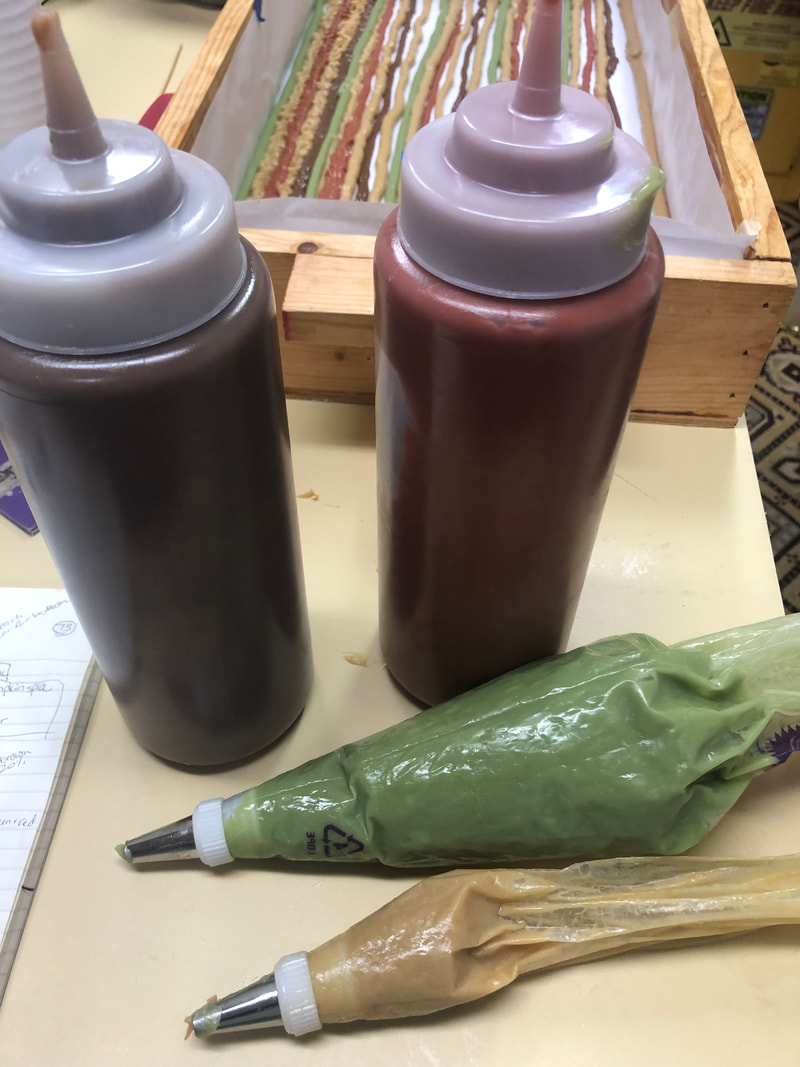
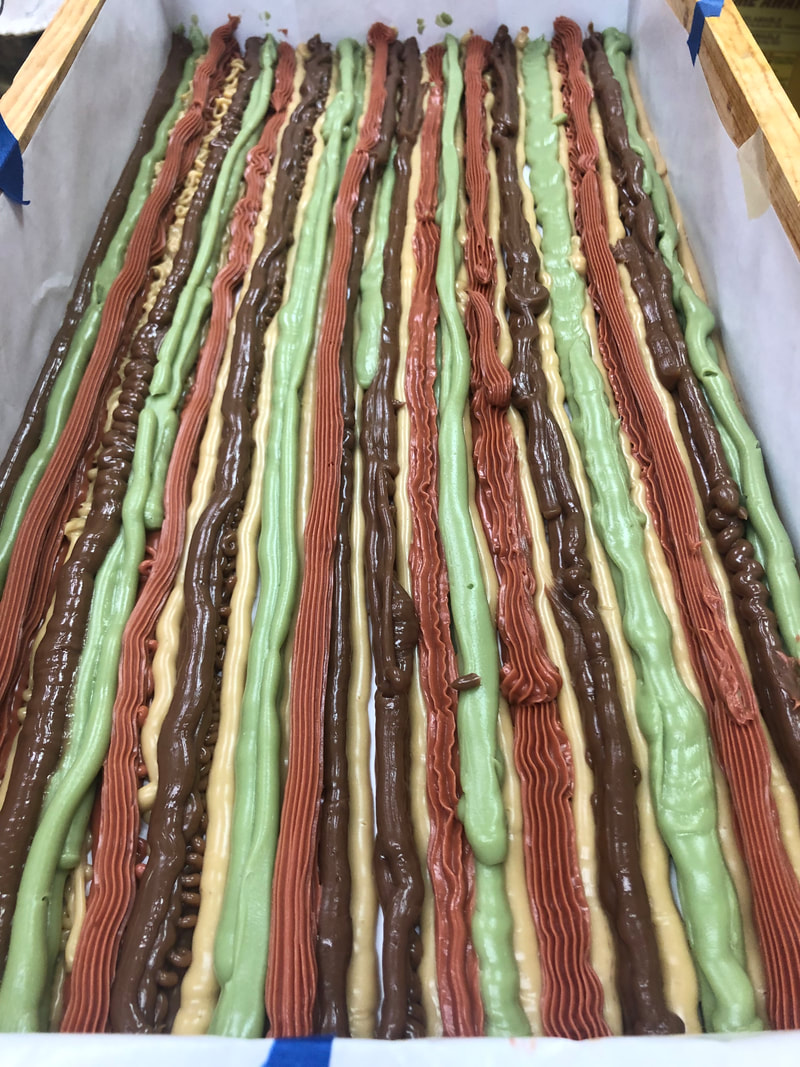
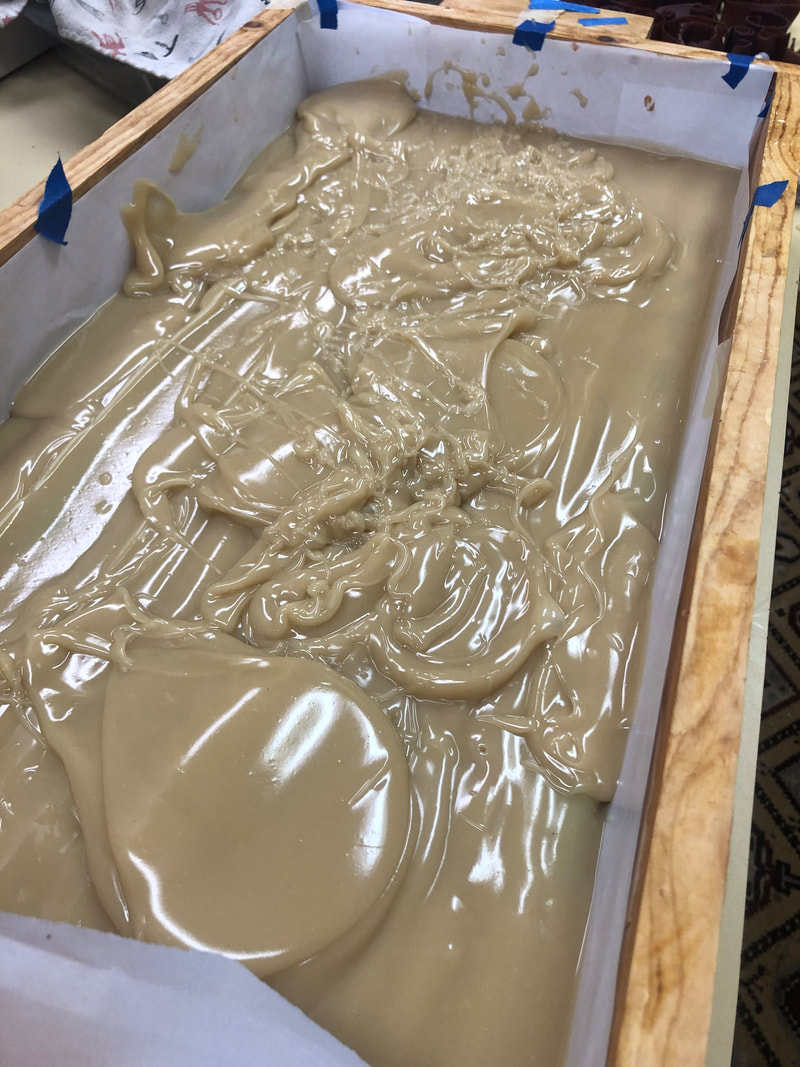
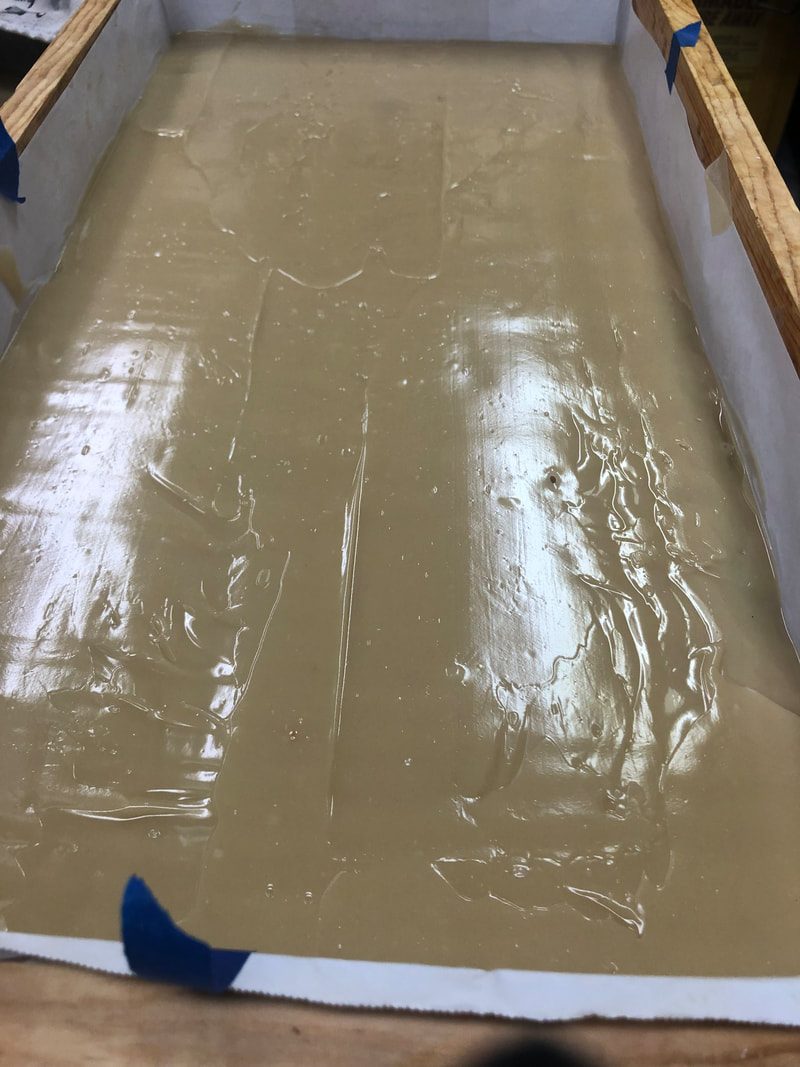
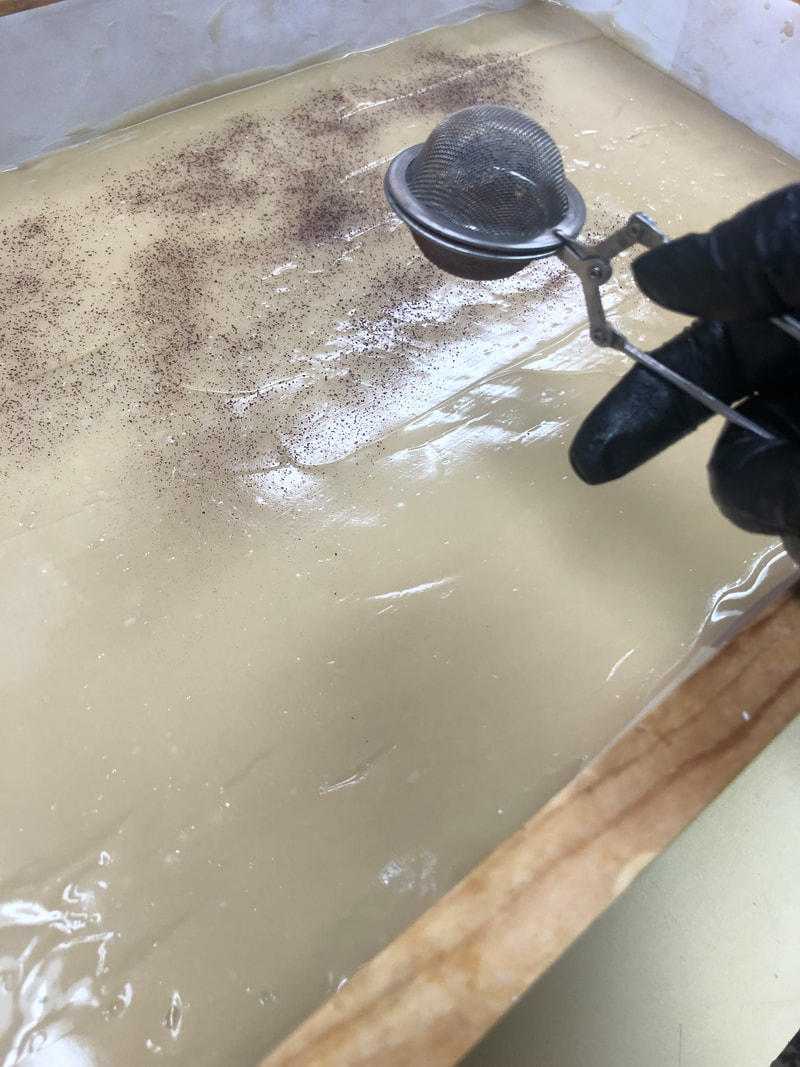
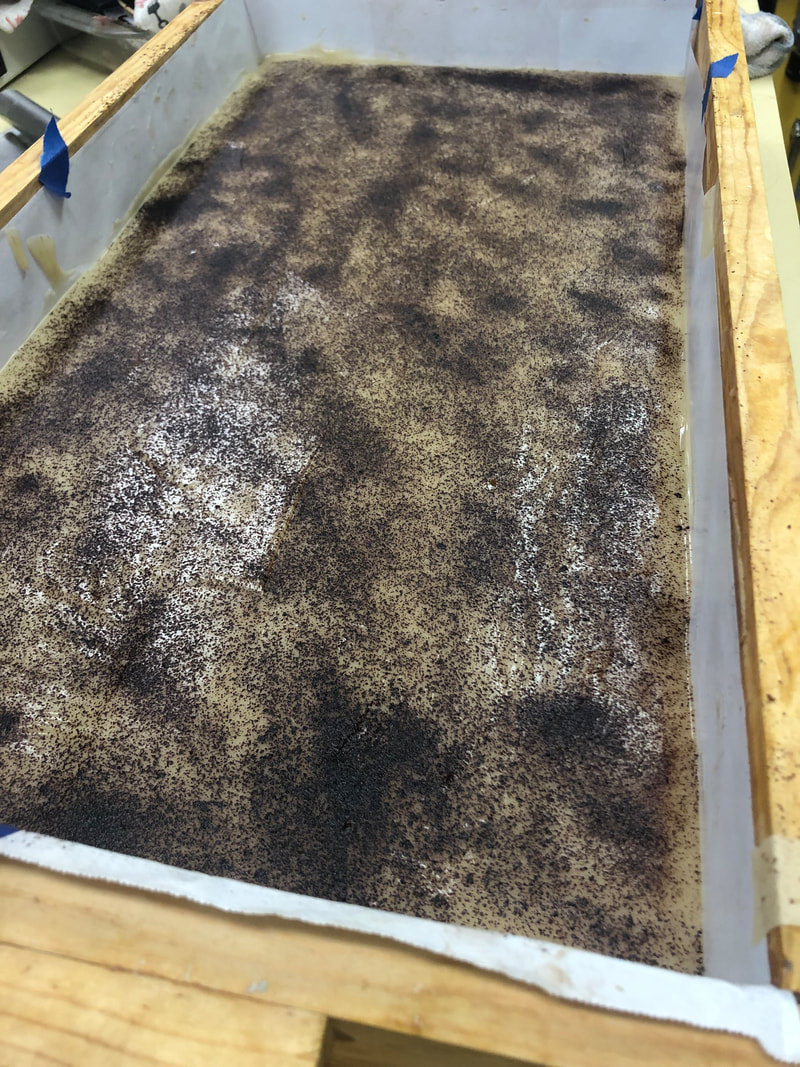
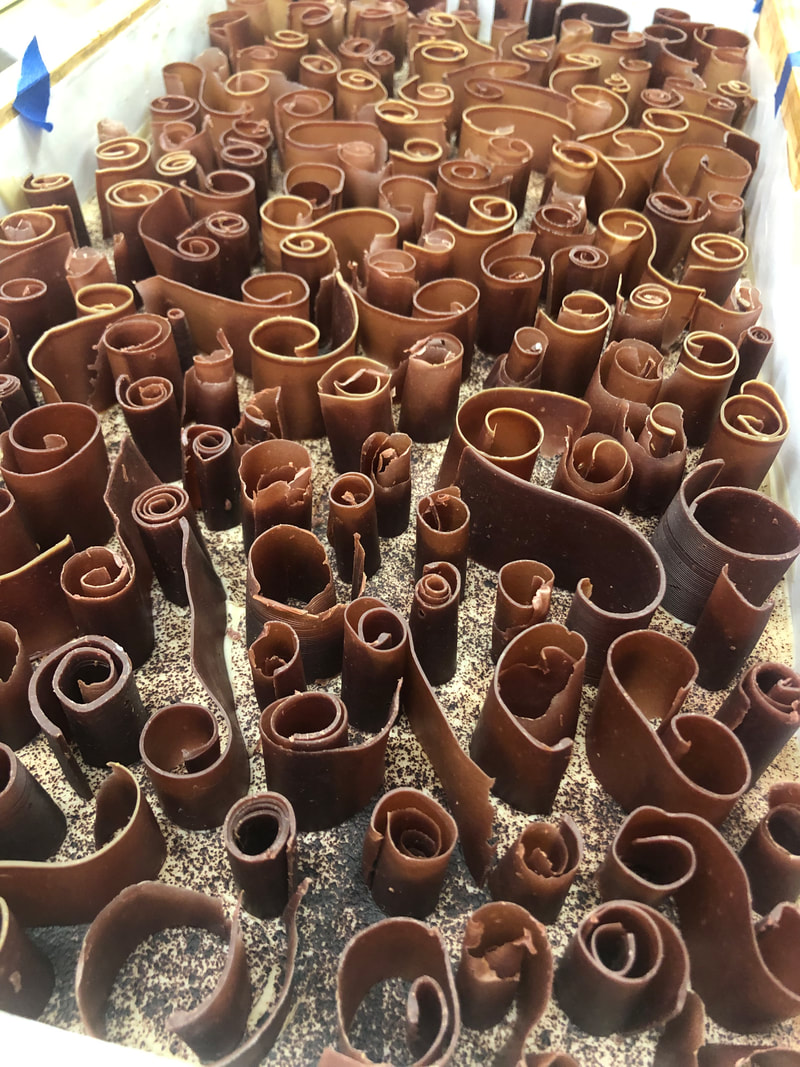
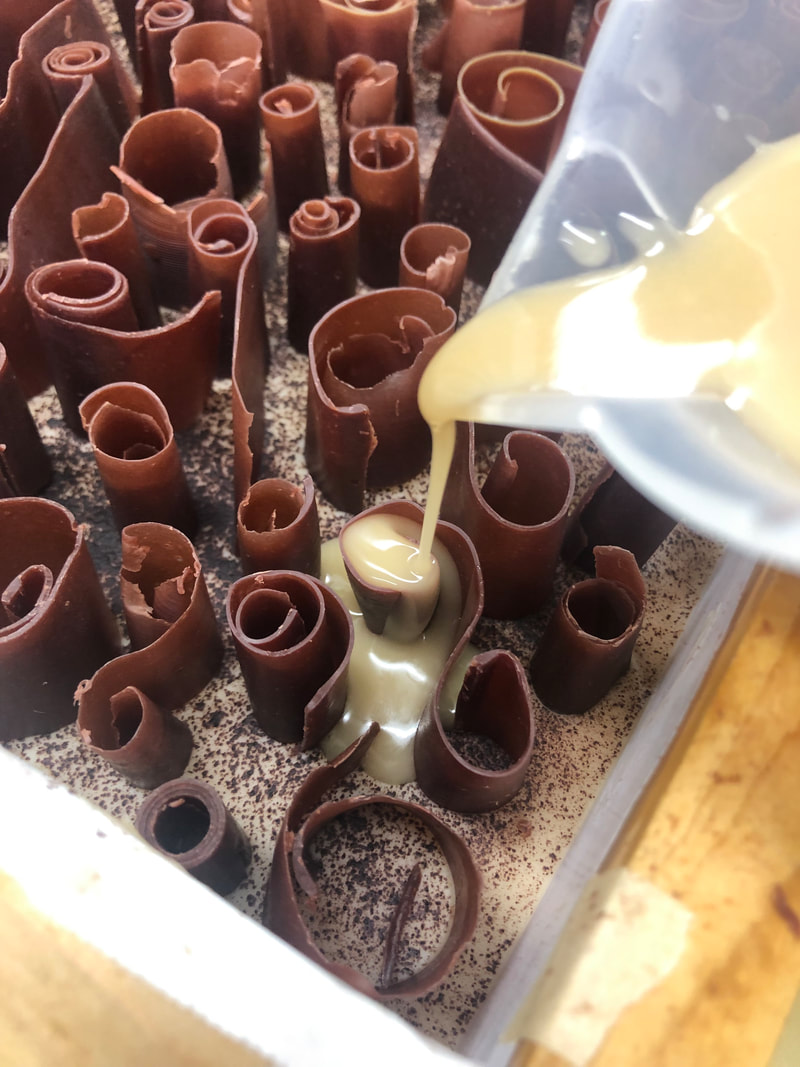
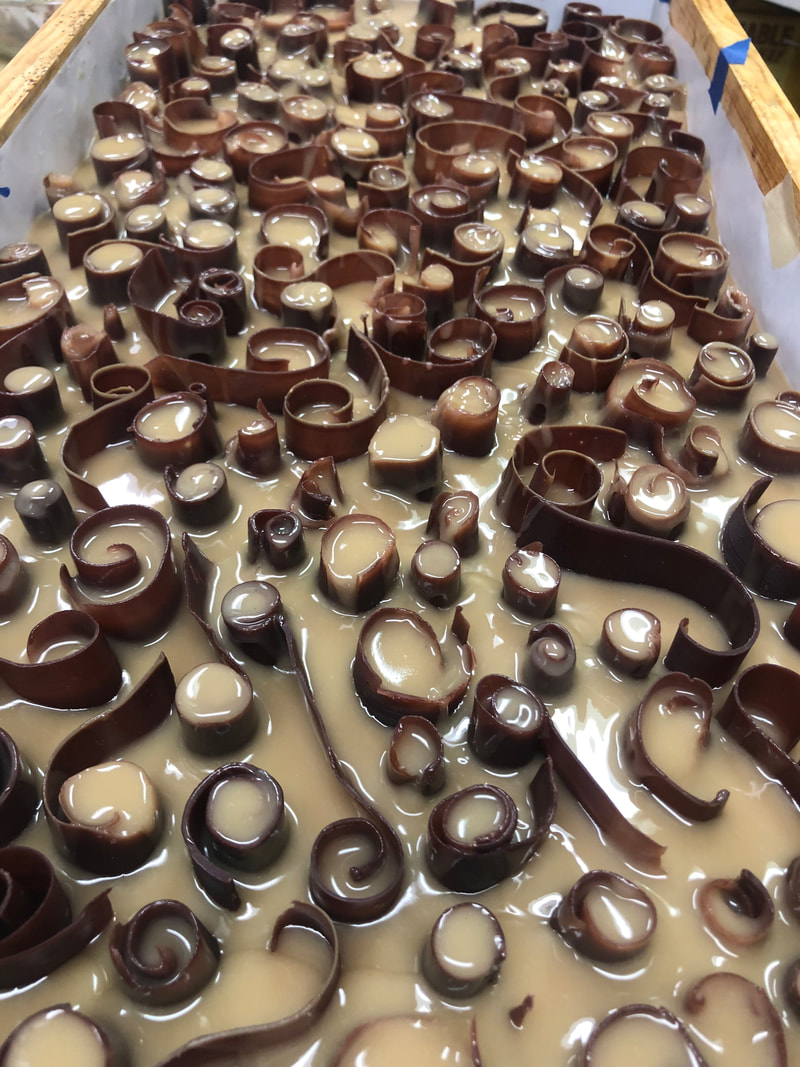
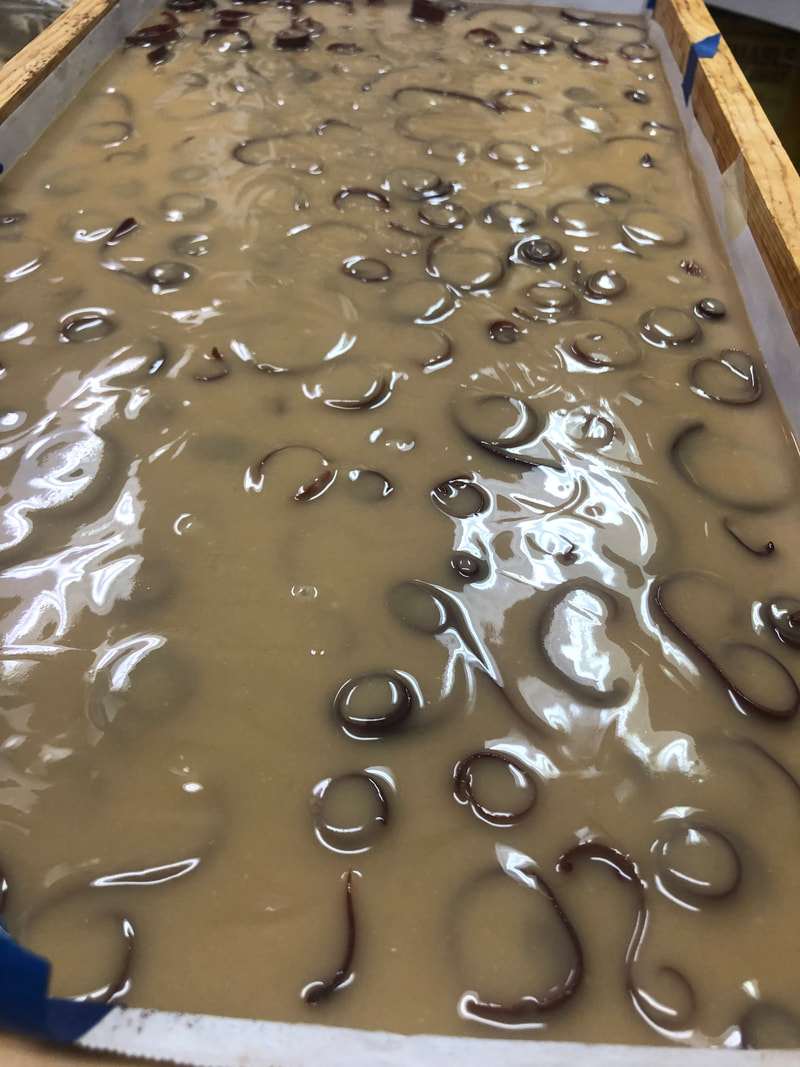
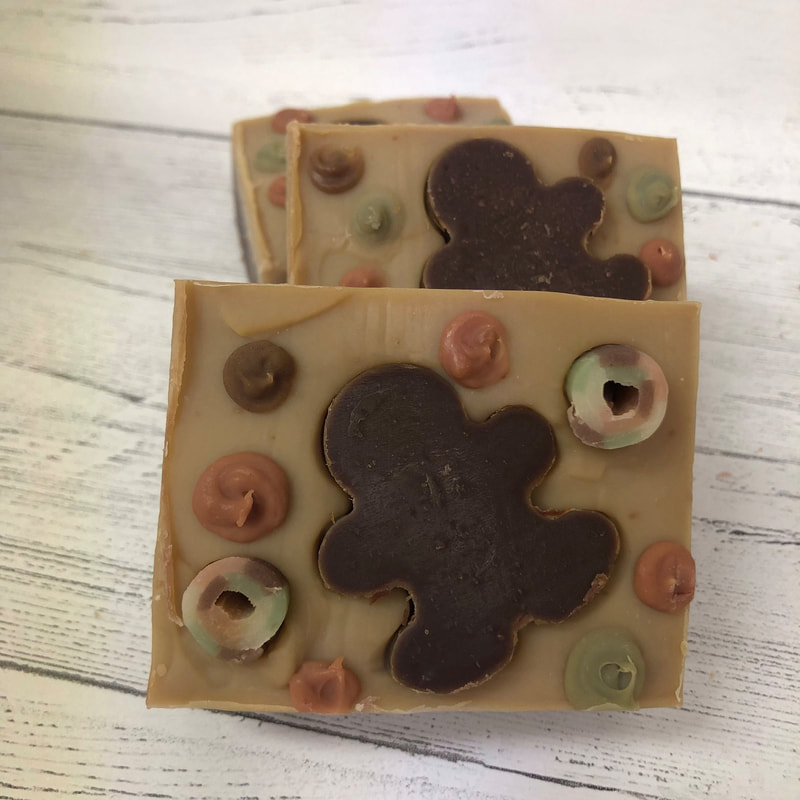
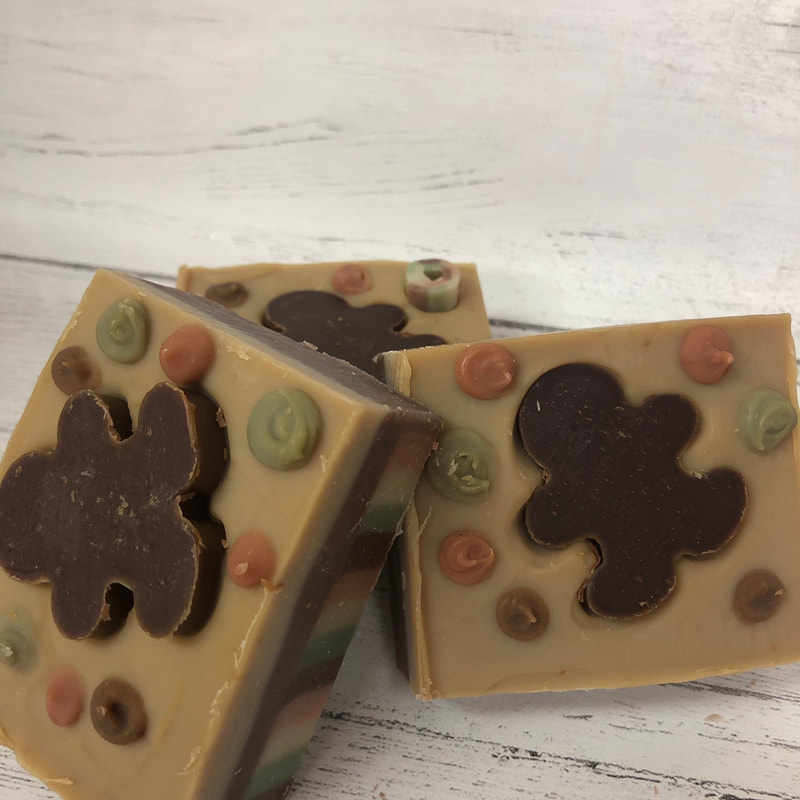
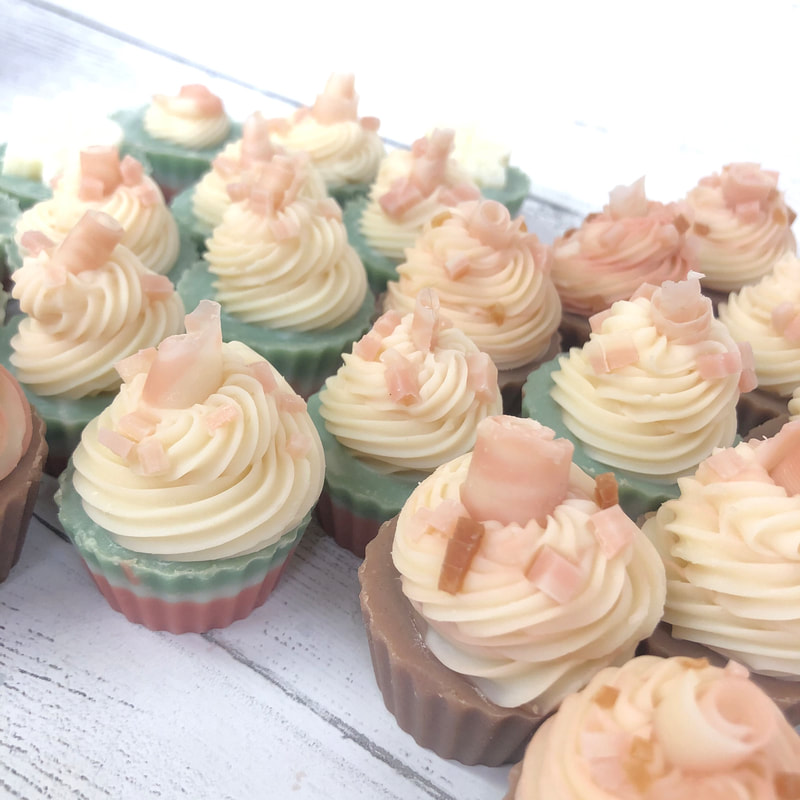
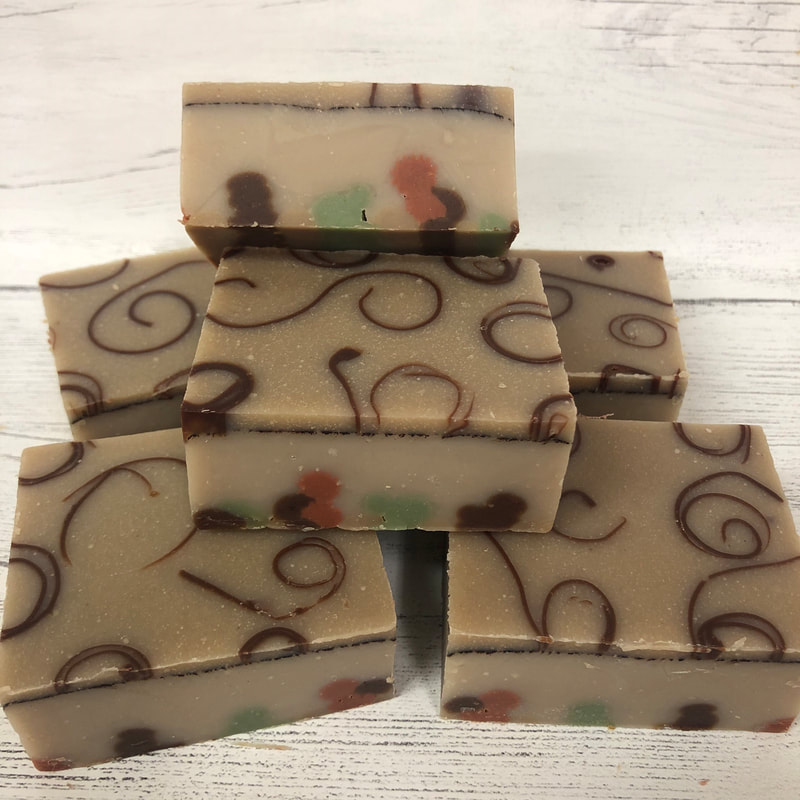
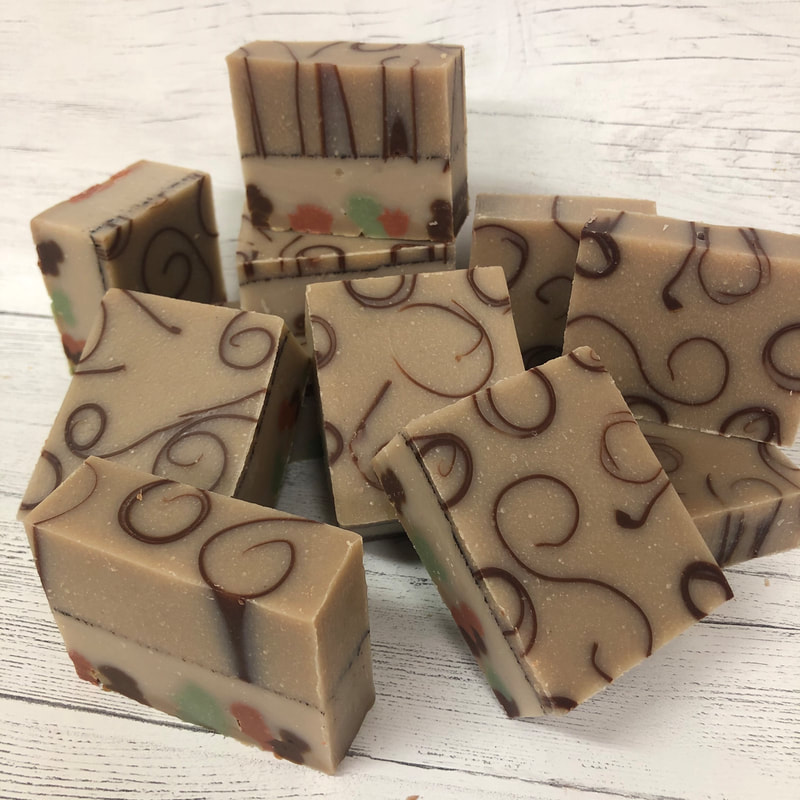
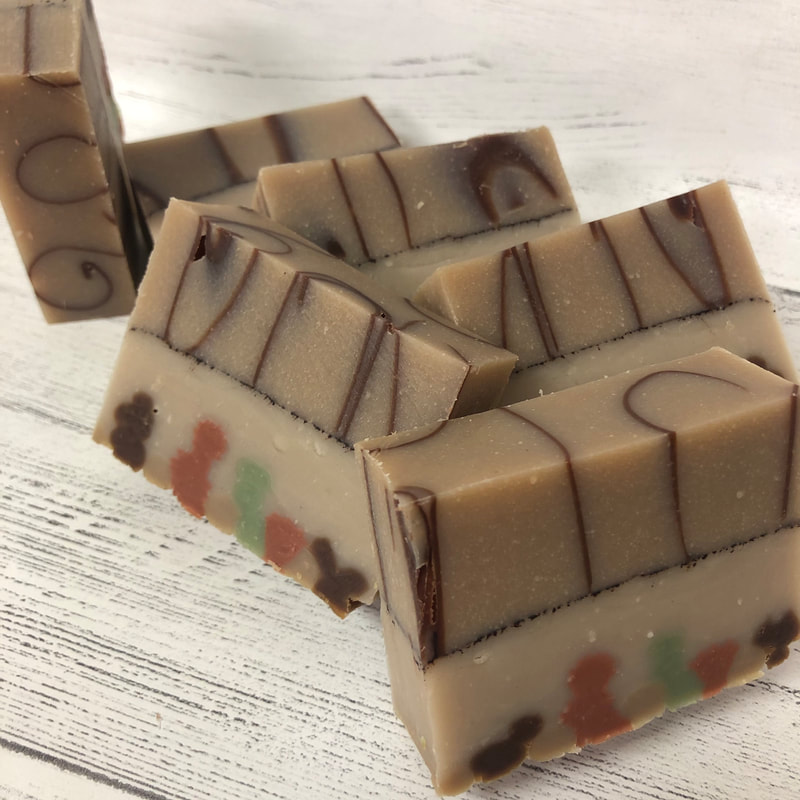
A busy summer and getting ready for fall and winter sales has kept me away from participating in Amy Warden's Soap Challenge Club recently. This month however, all the stars aligned - I was in a soap making mode and this challenge lined up with items I was already going to make. The challenge was entitled "Soap Curl Designs" and you could make the soap one of two ways. One was to put curls into the top of the soap as an embellishment, resulting with them sticking up. Alternatively, you could embed the curls and slice through the soap to have the curls show up as a flat image on the face of the soap. So, having Christmas on my mind...and needing to have these done before December 1st, I set about to create some sudsy holiday fun! I really liked this example from lyubavasoap on instagram, that was linked to in the tutorial, and I decided to modify the idea for our 2019 Gingerbread Soaps. My idea was to add some color to the bottom part of the soap with vertical lines in gingerbread colors - I used moroccan red clay, cocoa (light and dark) and chlorophyll for the colorants. Thinking of ideas to get this done - without making a separate batch of soap, flipping it and then pouring another layer over the top - I decided to make thick layers with the colors, hoping it would be straight enough for "lines"...knowing deep in my heart that this really wasn't going to give me was I was going for. I've done this in the past with my American Flag Soaps, and they are a VERY artistic rendition of the flag :) But before all of that, I needed to make dark brown curls. So, I made a separate batch of soap using my usual recipe. After an overnight cure, I unmolded it and played with making curls - this is where my obsession kicked in. I now have curls in various scent varieties scattered throughout the house, just waiting for a suitable home. Making curls was not as easy as Amy and others make it look, probably because I did not modify my recipe. I tried using my soap planer without too much success. I think that the soap was too soft at that point. Some curls were used with a regular potato peeler as shown here, but my best curls were made with my cheese knife, which I unfortunately did not get a picture of. Now, onto the soap pouring... To obtain the colored layers, I tried both the squirt bottle and piping bags. For those that are interested, the piping bags worked better, as the batter was fairly thick. I ended up taking the batter out of the bottles and putting it into bags to finish this layer. I then poured a layer of light brown over the top of the lines to fill all the crevices, solidify the base and smooth it all out. I finished this layer with a sprinkling of cocoa powder. Now, time to add all the curls I had made. This month, because I made so many new soaps, I've had a really hard time waiting to cut my soaps. This was certainly one of those batches! Next day... Stripes were not as pronounced as I wanted, but they are adorable just the same. I wasn't sure how I wanted to cut these bars, so it was time to play... The second batch of Gingerbreads also had some swirl play involved, however, the result was not exactly perfect. The curls were too thick to give much detail, and because of the Gingerbread Man embed, it wasn't able to be sliced off well. However, I did take the time to get the bottom the way I wanted them to be. Of course, I had to add swirls to some cupcakes... Here are the final entries for the contest...does anyone other than my daughter see the little "people" in the colored bits on the bottom?
Now I need to figure out what to do with the rest of my curls!!!
10 Comments
|
Details
TaralynColorado Artisan, making beautiful hand-crafted soaps with all natural ingredients. Archives
August 2025
CategoriesCategories
Comment Policy
We follow Grandma's rule here: If you don't have something nice to say, don't say anything at all. While constructive criticism is always welcome, keep it polite, considerate and friendly. These are simple rules that, if not followed, will result in the deletion of the comment. Thank you. |
|
|
Our soaps and body care products are handcrafted the old-fashioned way, in Boulder County, Colorado by your local Soap Making Artist, Taralyn. Small artisan batches allow for considerable attention to detail during all stages - soap making, hand cutting, six week cure time and hand wrapping - an extensive journey that nurtures the formation of the perfect bar of luxury soap. And to make it even better, we will deliver to your door! Shop by Signature or Artisan, by scent families, ingredients or by name. So much to explore! Check out our collections today!
|
Contact
|
About
Get to Know Your Soap Maker!
|
Customer Service
ASC Creative Credits
|
Other Goodies
Community Connection Blog
Wild Rovings Blog
Why Palm Oil?
Organic Label
|
Copyright © 2009-2025 ASC Soapworks, llc, All rights reserved.




 RSS Feed
