|
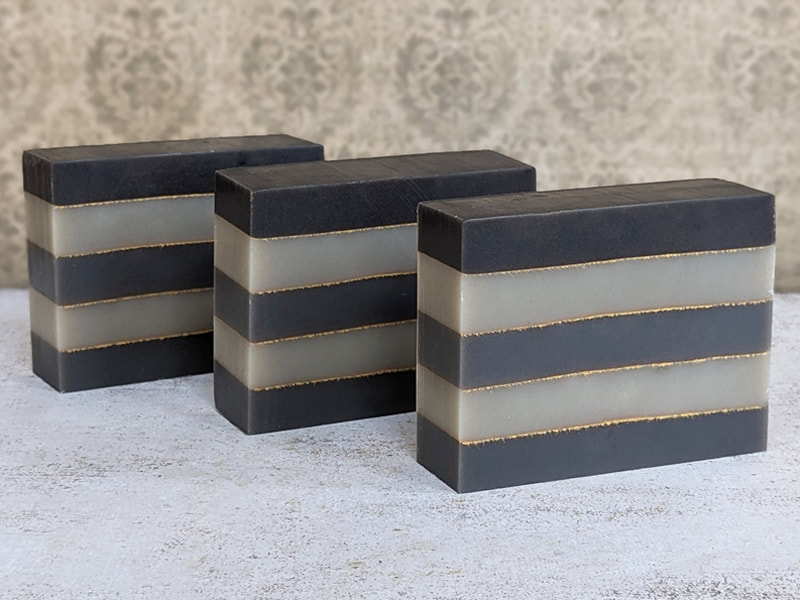
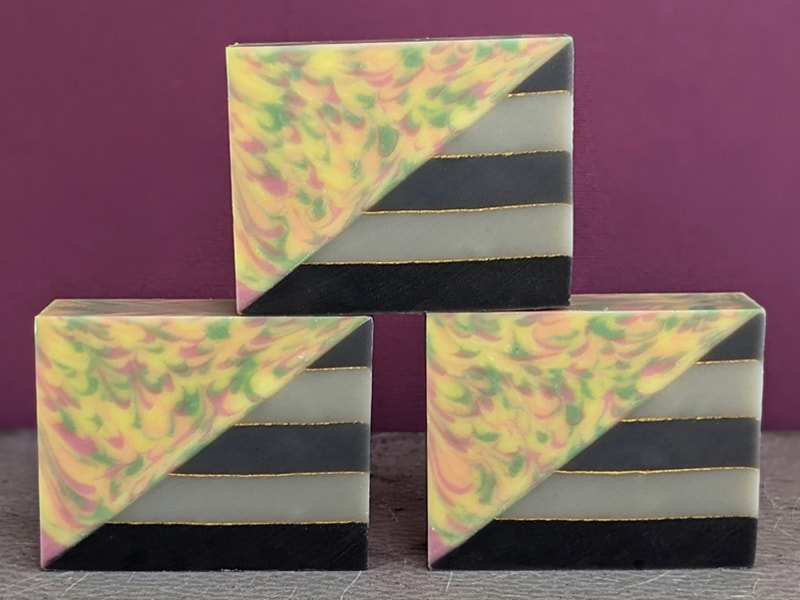
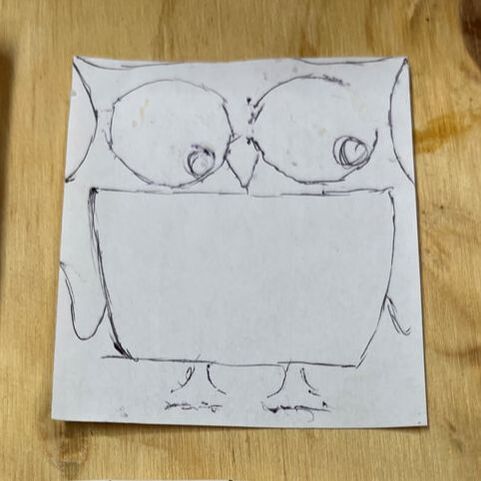
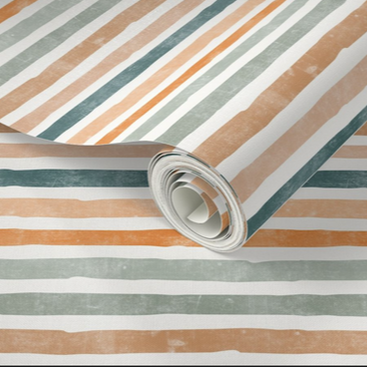
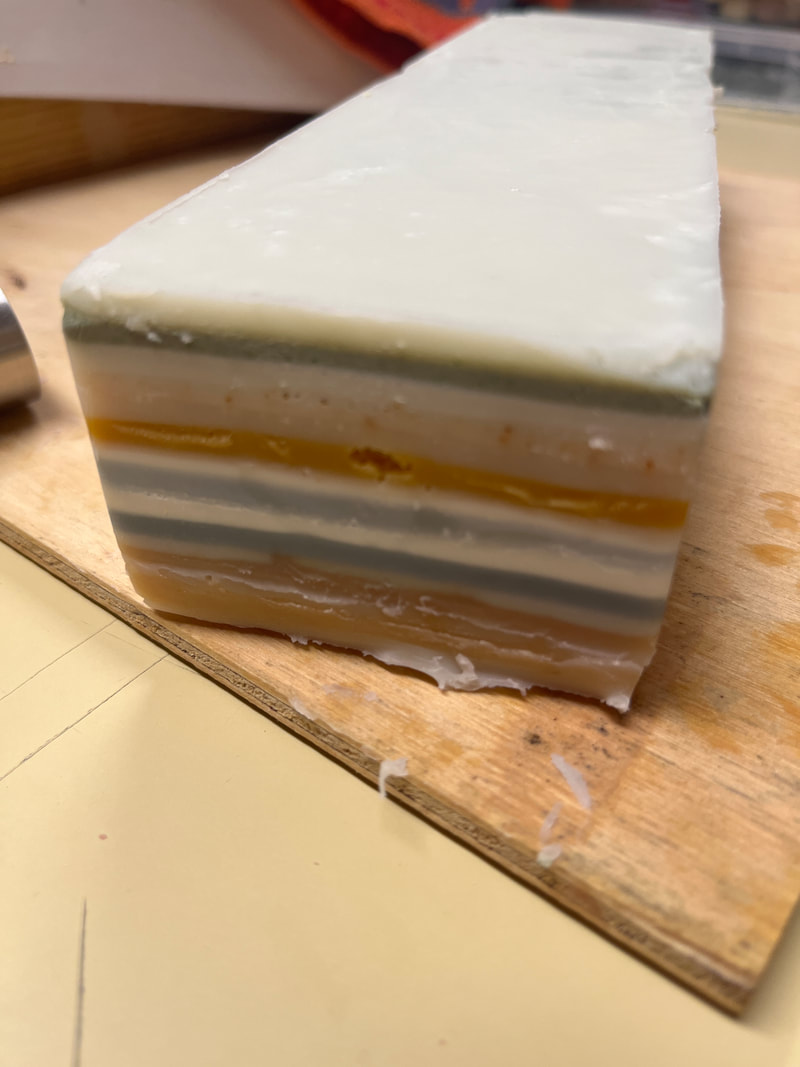
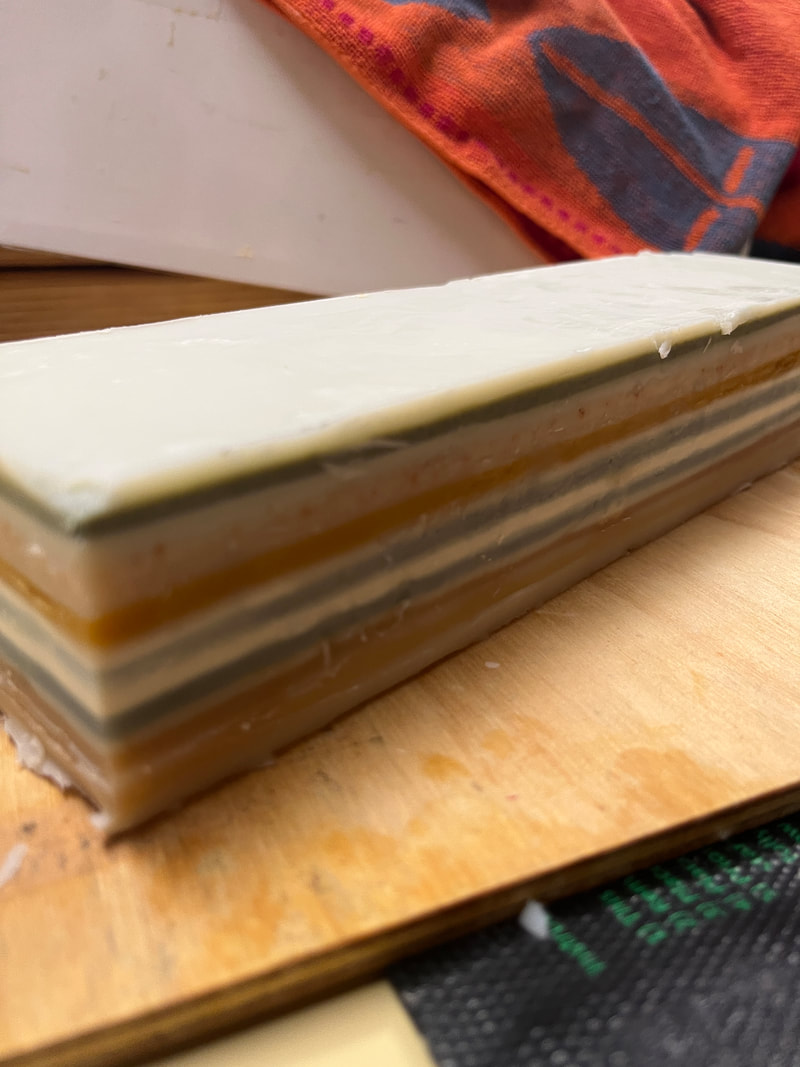
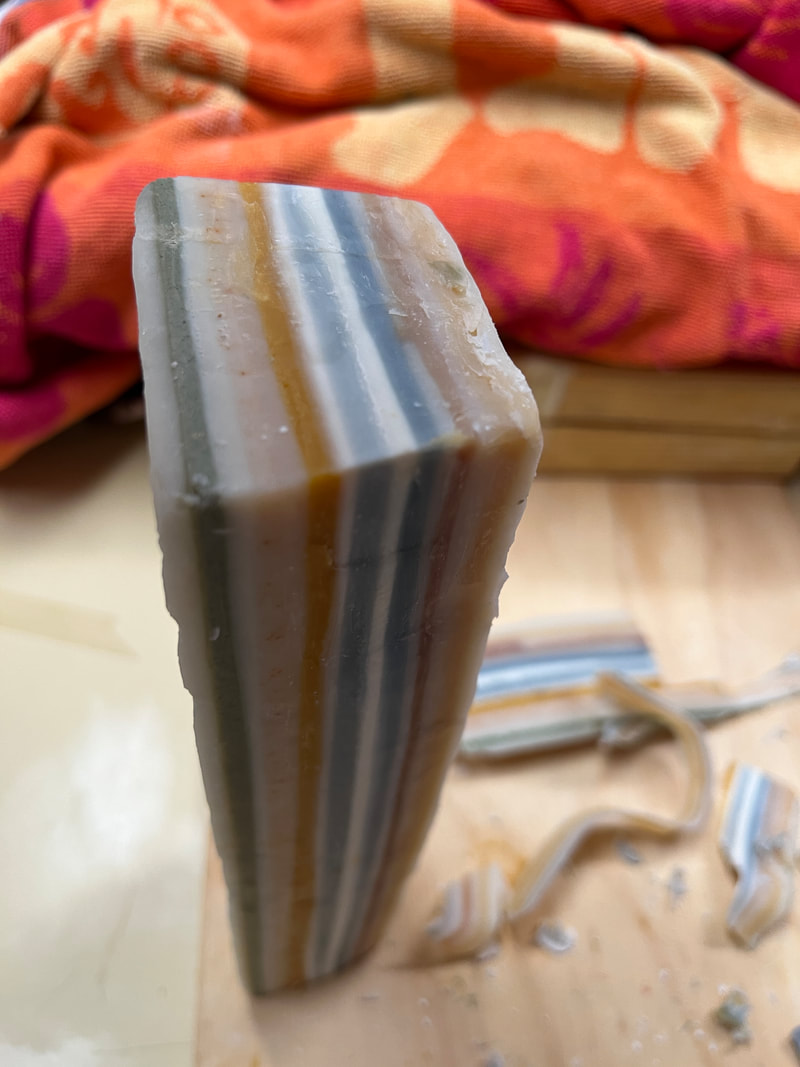
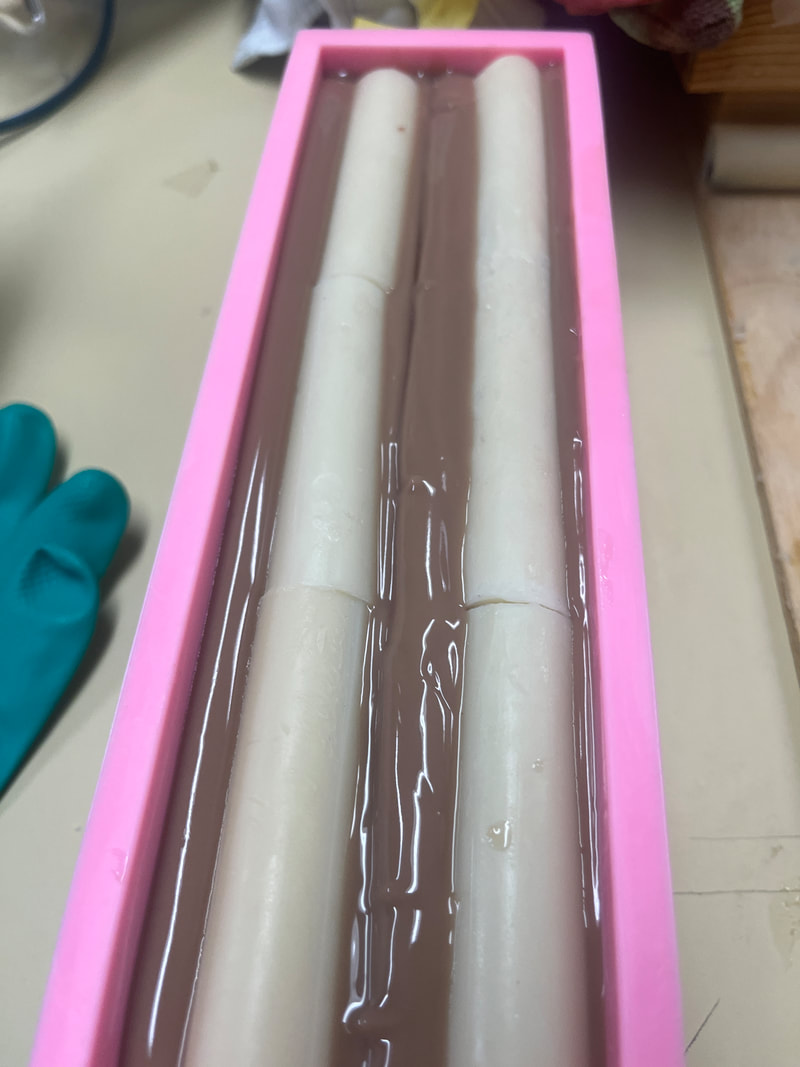
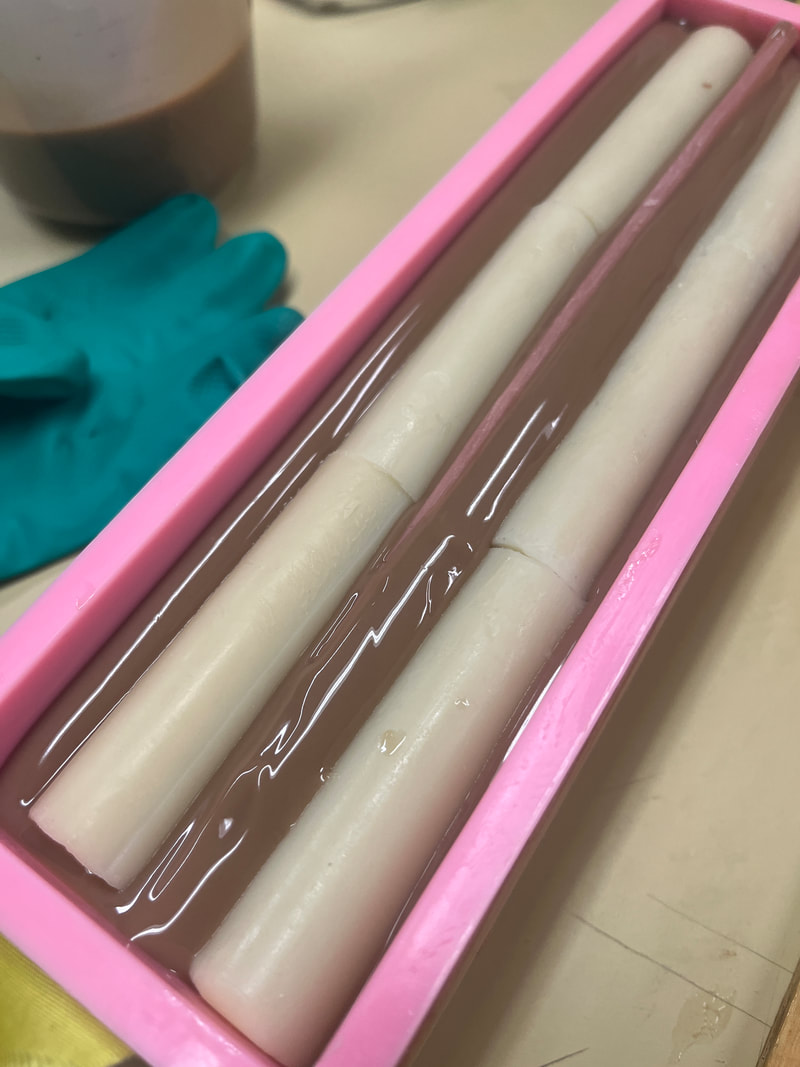
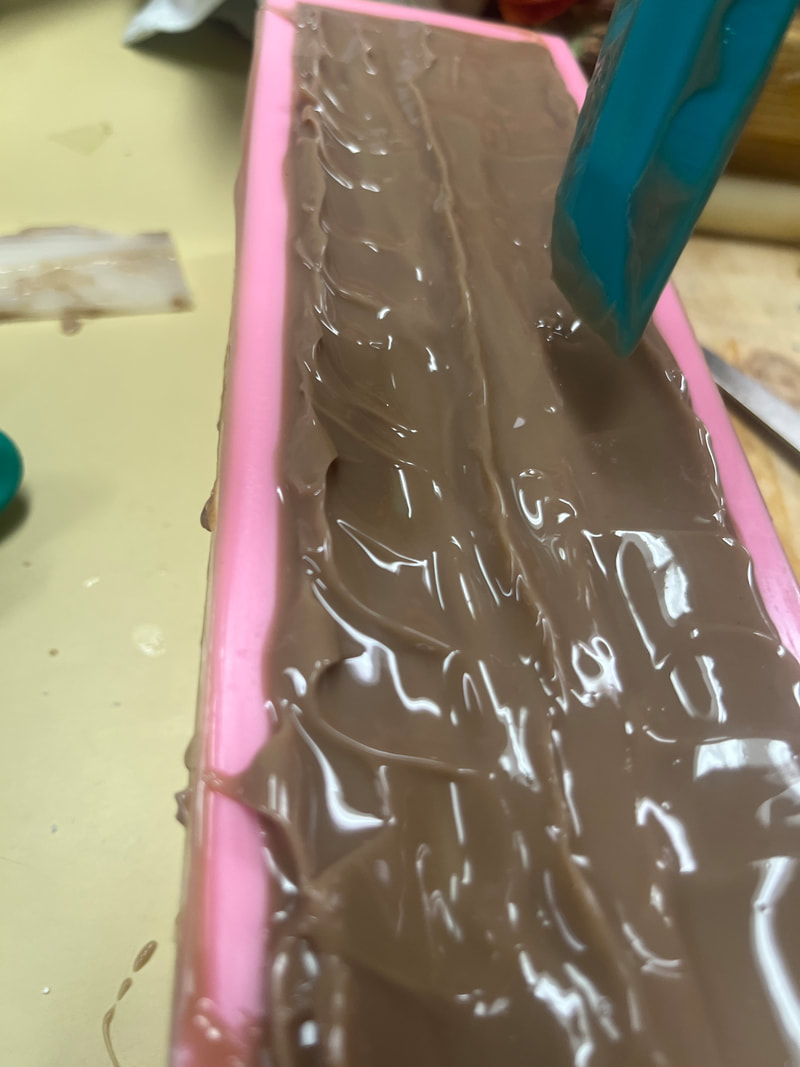
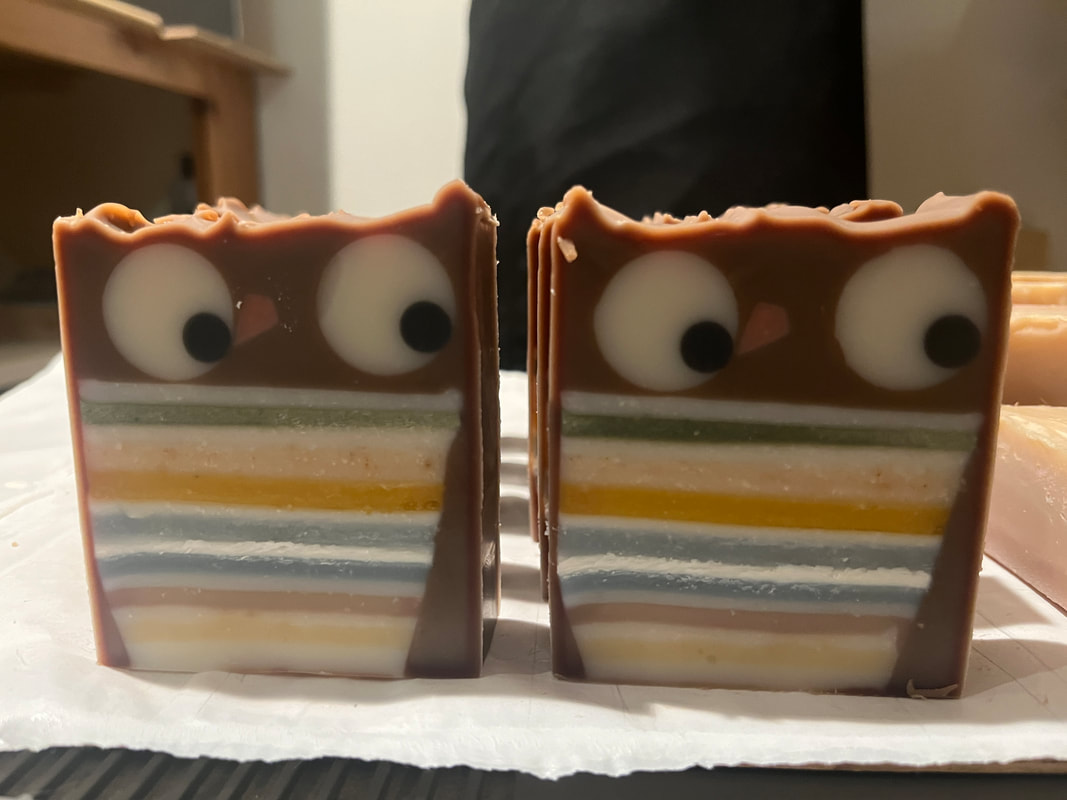
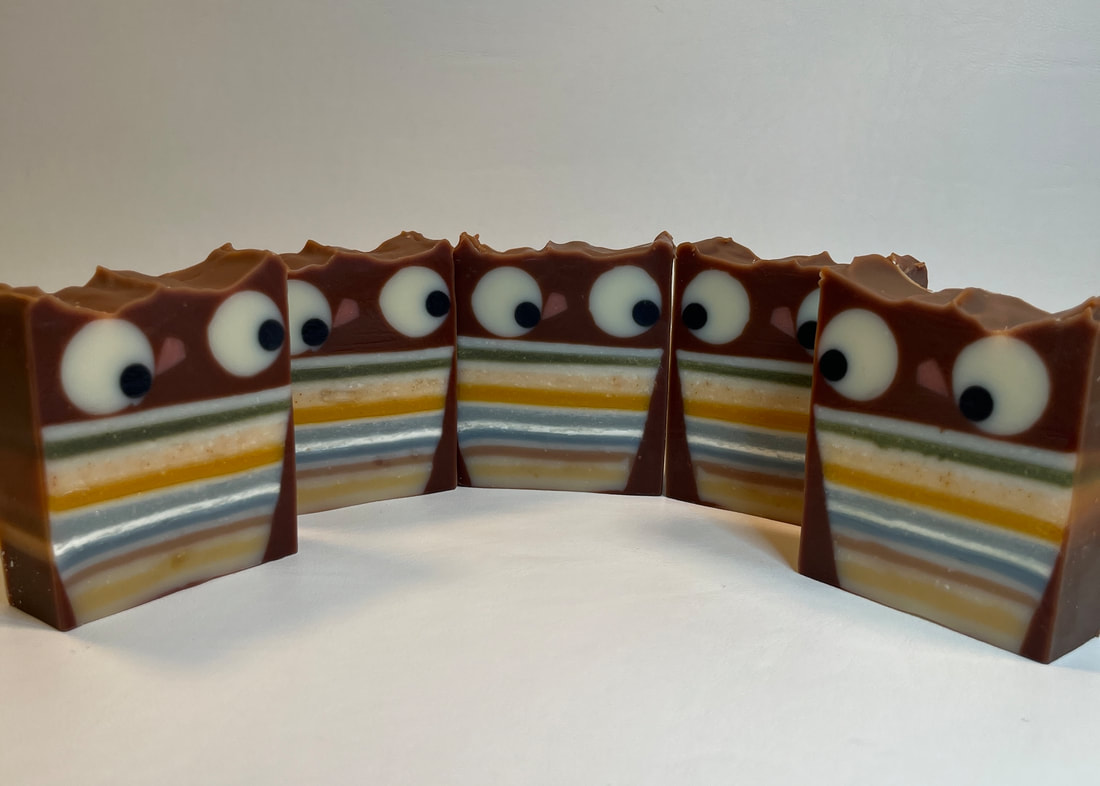
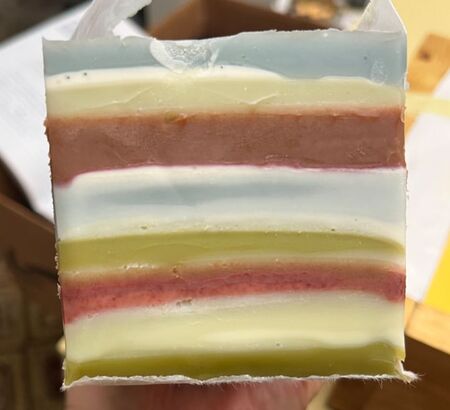
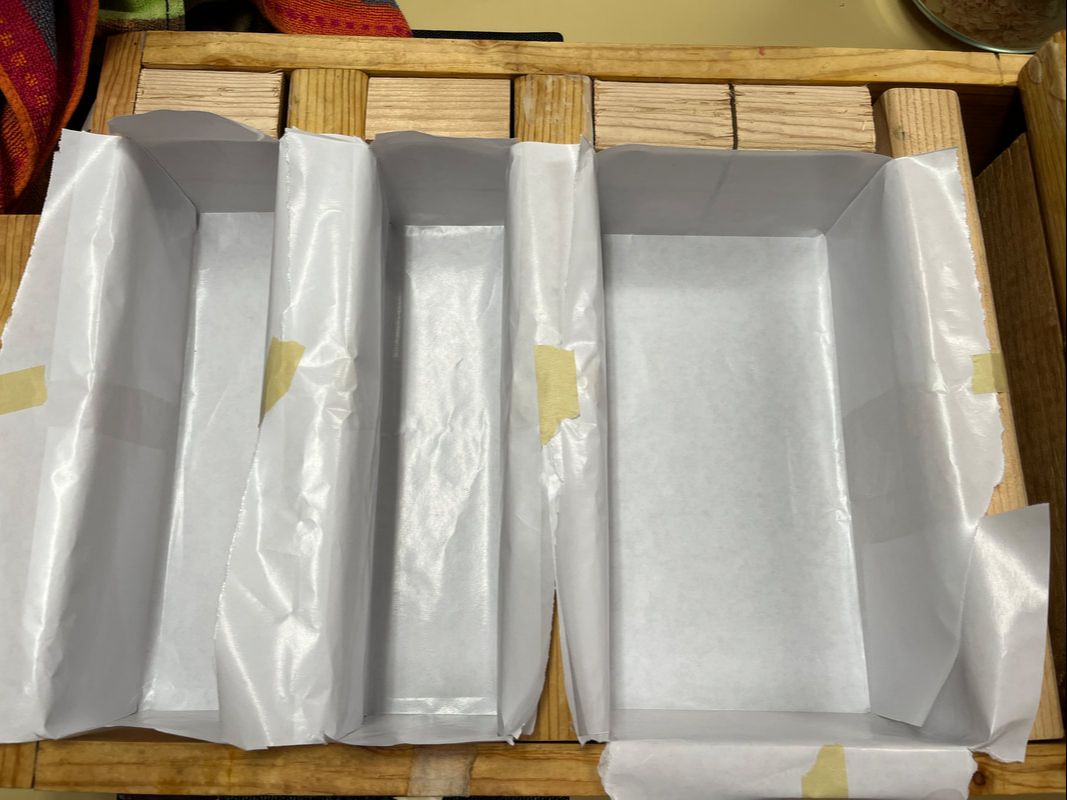
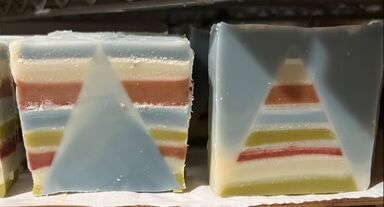
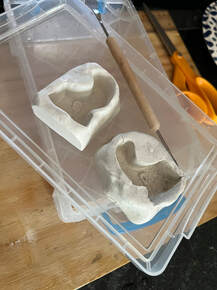
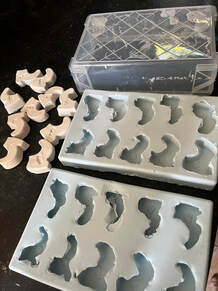
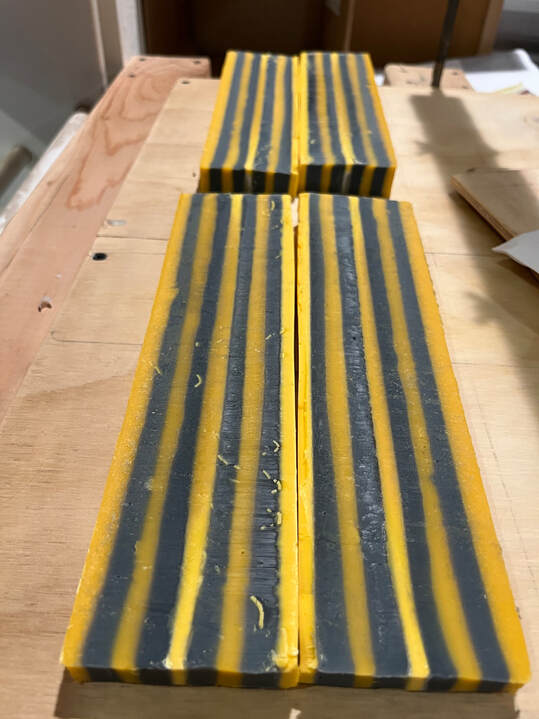
This month, Amy Warden has challenged us to perfect our straight layers. This sparked my mind in so many ways, and there are so many ideas floating around in my head. Earlier in the month I was trying to finish up my fall soaps, making sure that Halloween was done, etc. And, my mind has been working on Christmas soaps as well. So....here are some of what materialized out of this whirlwind of thoughts. Amy Warden made some beautiful stripes, and her examples are here... For the challenge, beginners were to do at least five layers, whereas more experienced soapers were to add other design elements, with the stripes being at least 50% of the soap. She also has a separate entry group for the people who have won in the past, the winners category. These folks were further challenged to only use plant based colorants in their design. I'm leaning towards entering this category, even though I've never won anything here - for me it's all about pushing myself to learn something new and hone in on various techniques. My first attempt for this challenge, was to do an owl with a stripey belly. With this idea, I went looking for inspiration on the web and these two images were the closest to what I had in mind. I drew up the idea on a "soap sized" piece of paper and went to work. I also am not very good with colors, so I found this paper to give me a guide to try to attain. I started with the eyes. This was achieved by extruding black circles and placing them into a larger circular column mold. Here they are before they got cleaned up - ignore that hair there!!! Then I made the belly. I made random layers of stripes in various shades available within the natural color palette, using the paper image above as a guide. I chose to use annatto, indigo, paprika, rhubarb root and a bit of spirulina. This block was then shaved down to look more like a belly. Next I poured brown around the belly, colored with cocoa powder, and added the eyes and beak - also an extruded bit of soap dough, colored with rhubarb root. I "sculpted" the top of the soap with a spatula to look like tufts of the owl ears. And the cut of these at this point. I was going to add feet on the bottom (had them extruded and everything!) but decided not to for a few different reasons. For one, once I cut this loaf into bars, I was pretty happy with the results as they were - stripes are certainly not perfect, but they are so darn adorable! Also, the bars were already quite a good size - the eyes were bigger than I had initially planned them to be, due to the size of the column mold I used, which made the dimensions off a bit. And, eliminating the feet increased the proportion of stripes in the design, which I was concerned about. So, these are the final owl soaps. All kinds of distractions this week with a wedding and family in town, a death in the family, and more that just keeps piling up. I'm glad I did the owls right away, or I would not be participating this month. However, I did get this one poured. Although I have yet to achieve true Christmas reds and greens, there are so many other shades that are marketed these days during the holidays, and I was hoping I could come up with a design that would work well. I found this image that I thought would lend well to this technique, so decided to make some Christmas trees. I poured a mold of layers, ranging from 1.5 oz. of oils to 4 oz. of oils per layer, using indigo & annatto for dark green, rhubarb root for red, nettle for a lighter green, and indigo for blue. For those that struggle with achieving these colors with natural ingredients, I would certainly suggest Jo Haslauer's ebooks on natural colorants. I have yet to go into the realm of the alcohol extraction process she used in the last book I bought, however, that will be forthcoming, as she is able to produce some very vibrant colors. With that being said, the combination of indigo and annatto is a green that I've found to hold up well over time. The trick is to find the right combination for the shade of green you want - and it's not going to be a bright grass green. I found a new appreciation for the rhubarb root during one of the challenges earlier this year, and so far it has not faded on me. Indigo is also a steadfast color in my experience. I scented these bars with a combination of eucalyptus, sage, juniper berry and fir. Here is the end of the loaf I made. I then cut a triangle out of the center. This way I am able to make both a positive and negative image of the tree, making it a double batch with the same pour. Interestingly, I did not take pictures of my cutting of the loaf, placing it in the mold or pouring the gradient. But, here is the mold I used (yes, very old school...but extremely modular and versatile), the batters for the gradient and the top before I swirled with a chopstick. Notice how the gray indigo turns into this lovely blue! For the background, I decided to do a gradient from white to a darker blue. With the striped tree, I was hoping for the look of going from snowy ground to dark sky. However, the pouring of the gradient was awkward, so it ended up being a more vertical than horizontal. Here's the cut. So, not exactly what I was hoping for, definitely not getting a Christmas vibe - more like mountains and maybe pyramids? Part of it is certainly the colors, but I also feel that the tree should have been narrower, and maybe another Christmas element (like a star on the striped tree, or red balls on the blue tree) would bring it together. These soaps are still being constructed...so the story is not yet finished. Another soap utilizing the straight layer technique, is once again a fall variety. How can you not think Halloween with stripes??? So, I decided to make witches legs. Although it seems as though this would be easier, it ended up taking a lot of time, as I needed to make witches shoes. I had the perfect shape and sized shoe, but the mold I had only had one, and for my design idea I would need 20 shoes to make ten bars of soap. So, after spending three days, making a total of three shoes, I decided to create two molds so I can do this again in the future and so I can make all the shoes in one pouring. Also, I had the advantage of being able to make the mold in such a way as to have shoes that are left and right footed :) I took one of the three shoes, made an imprint into some clay, flipped it over to imprint the other direction into another piece of clay, and carved out a buckle on this second shoe, not the best, but good enough for this application. I then poured plaster of paris into these molds, and unlike soaps, they were ready to pop out in about an hour, even sooner when I placed them close to the dehumidifier! I made five sets of shoes. Then I stuck these into a plastic box with hot glue and poured silicone over them. I do sometimes have an issue with the parts floating up before the silicone is set. If anyone has a solution to this problem, I'd love to hear it :) This issue was minimal this time, and I was able to make two of these molds, for a total of ten pairs of shoes. After cleaning up the molds and trimming away the excess, I was able to pour soap batter into them. Here are my shoes all made. I made the witches legs by pouring straight layers of alternating black and orange. This soap is scented with a combination of orange, cinnamon, clary sage and juniper berry - a very nice fall combination. I then cut this loaf into four tall, skinny pieces. I was most concerned about getting two that were the exact size I wanted - I again drew this up on a soap sized piece of paper - but I ended up with decent side pieces as well, so they will also end up as soaps, so as not to waste any. Making the actual finished soap, I started with a black layer on the bottom that I sculpted to look like the edge of a witches skirt. Once it set up a bit, the legs were placed. I then poured a gradient from green to purple, piping green around the ankles to hold the shoes prior to pouring the last of the gradient. Here's the cut of these soaps.
10 Comments
|
Details
TaralynColorado Artisan, making beautiful hand-crafted soaps with all natural ingredients. Archives
August 2025
CategoriesCategories
Comment Policy
We follow Grandma's rule here: If you don't have something nice to say, don't say anything at all. While constructive criticism is always welcome, keep it polite, considerate and friendly. These are simple rules that, if not followed, will result in the deletion of the comment. Thank you. |
|
|
Our soaps and body care products are handcrafted the old-fashioned way, in Boulder County, Colorado by your local Soap Making Artist, Taralyn. Small artisan batches allow for considerable attention to detail during all stages - soap making, hand cutting, six week cure time and hand wrapping - an extensive journey that nurtures the formation of the perfect bar of luxury soap. And to make it even better, we will deliver to your door! Shop by Signature or Artisan, by scent families, ingredients or by name. So much to explore! Check out our collections today!
|
Contact
|
About
Get to Know Your Soap Maker!
|
Customer Service
ASC Creative Credits
|
Other Goodies
Community Connection Blog
Wild Rovings Blog
Why Palm Oil?
Organic Label
|
Copyright © 2009-2025 ASC Soapworks, llc, All rights reserved.



 RSS Feed

