|
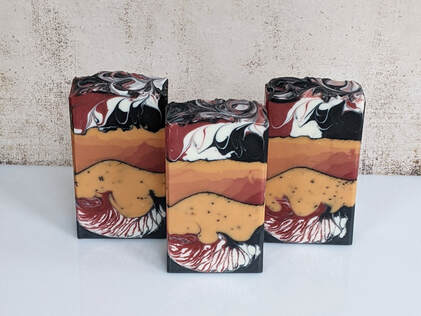
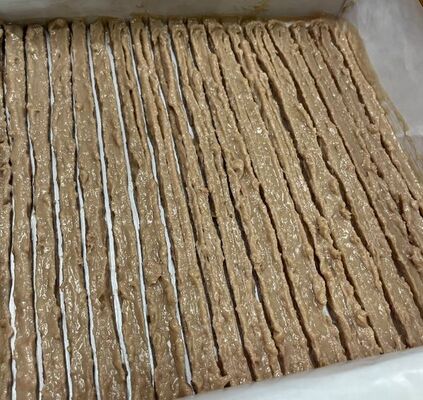
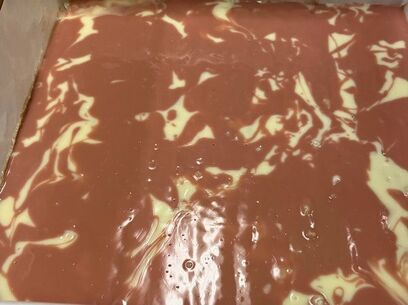
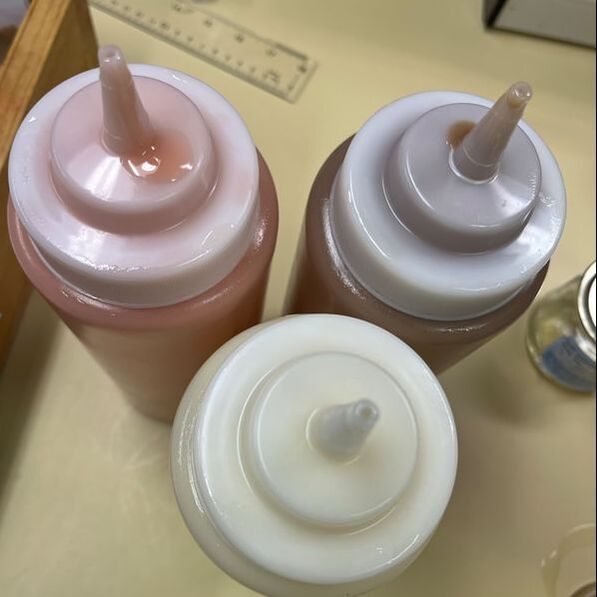
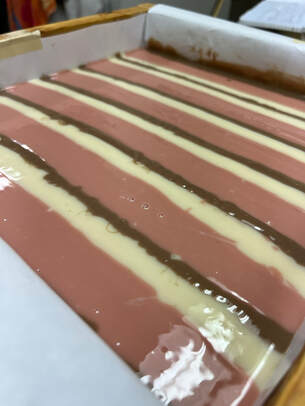
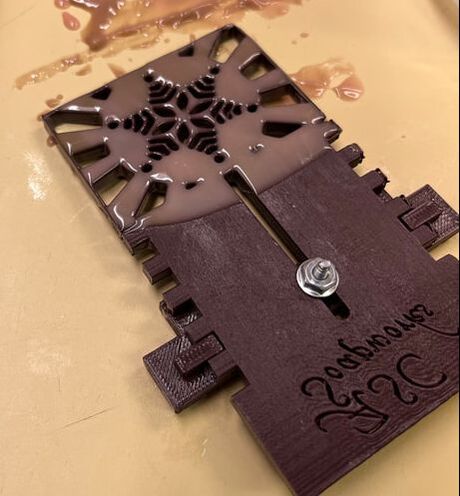
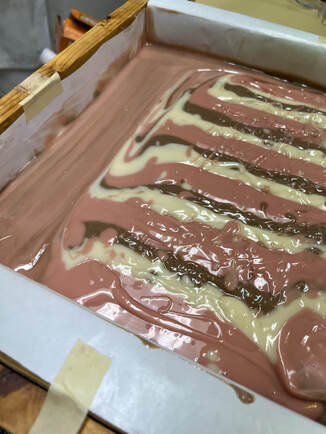
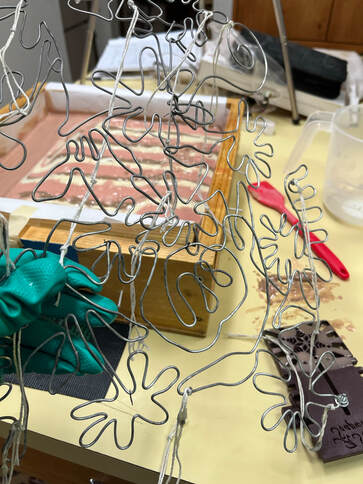
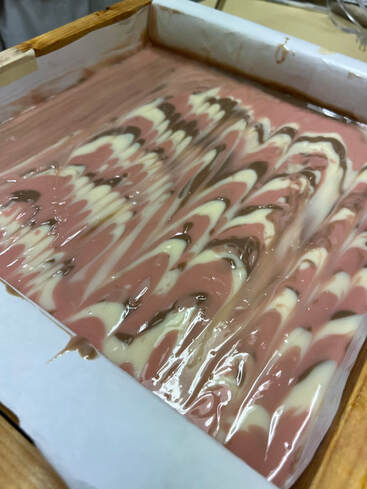
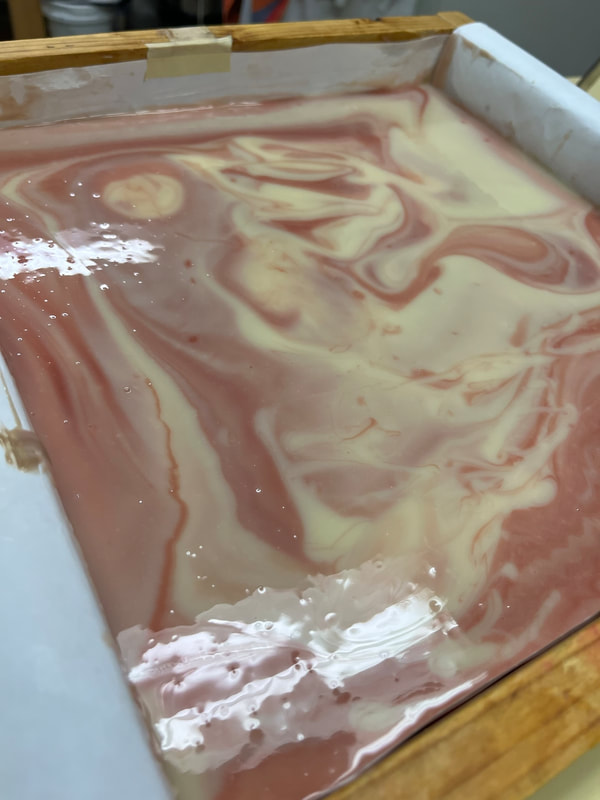
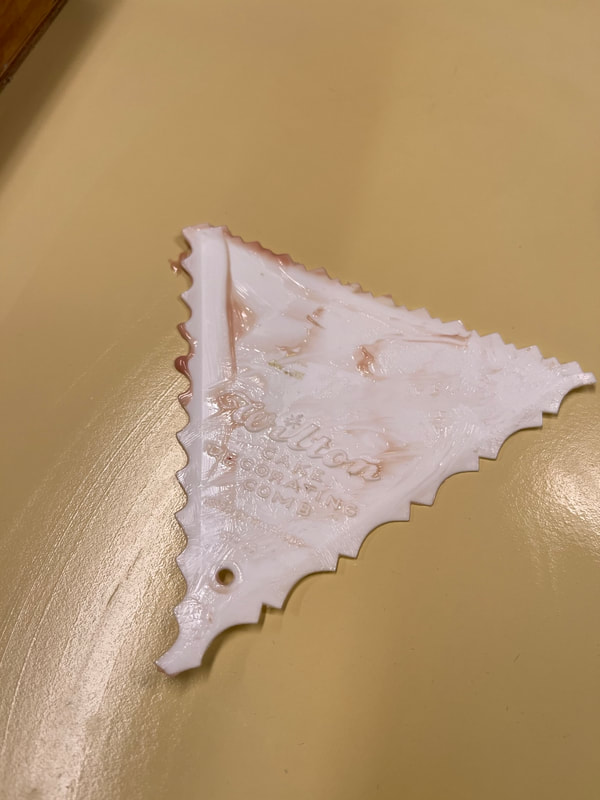
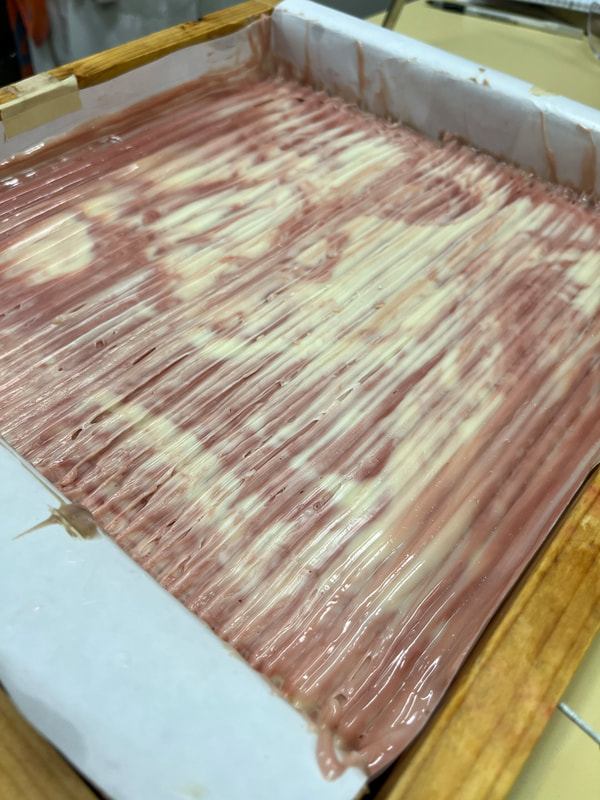
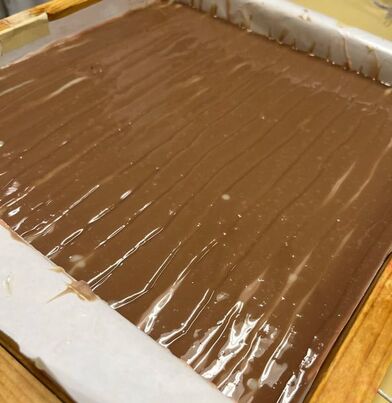
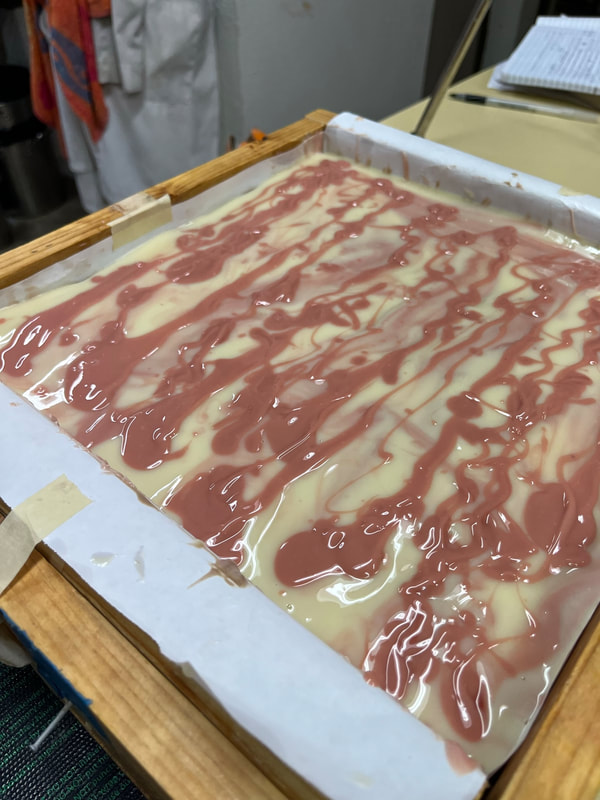
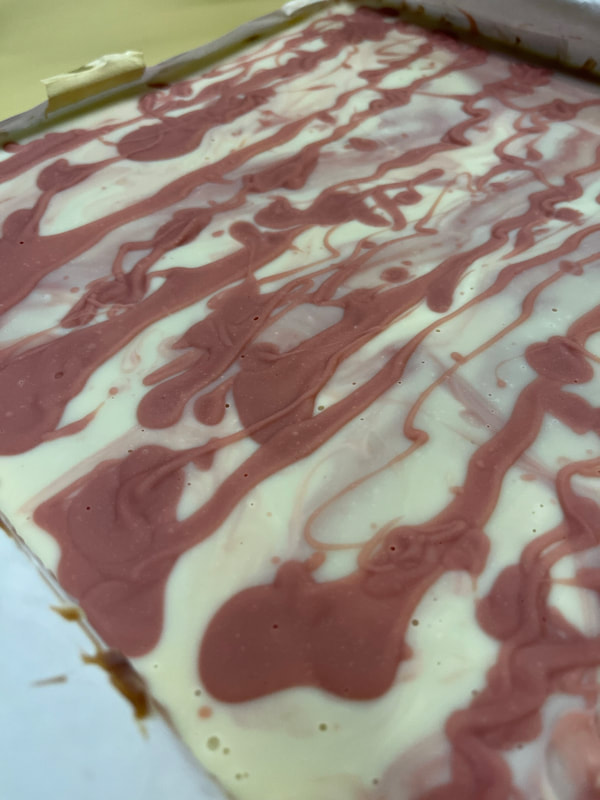
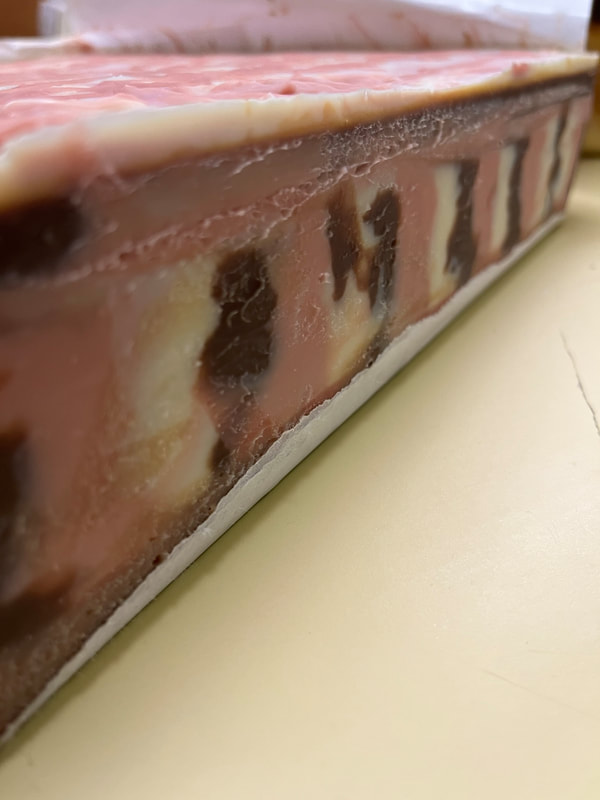
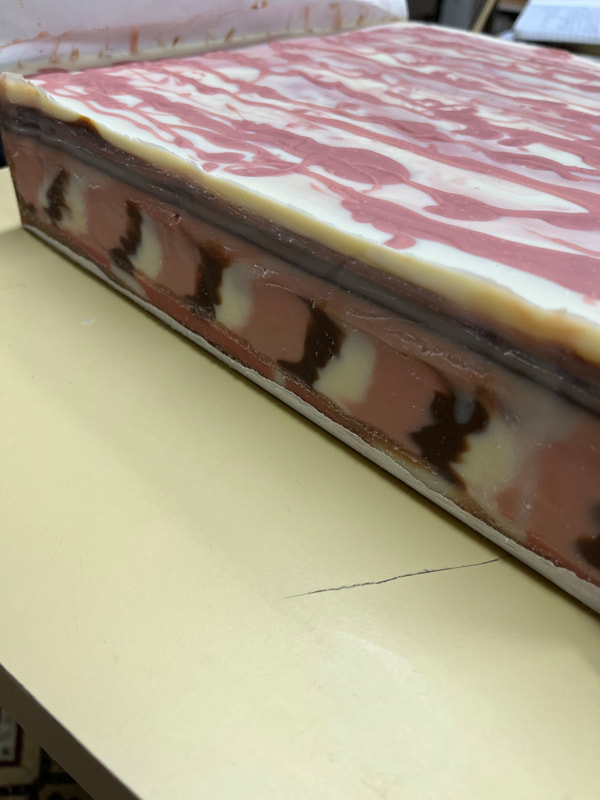
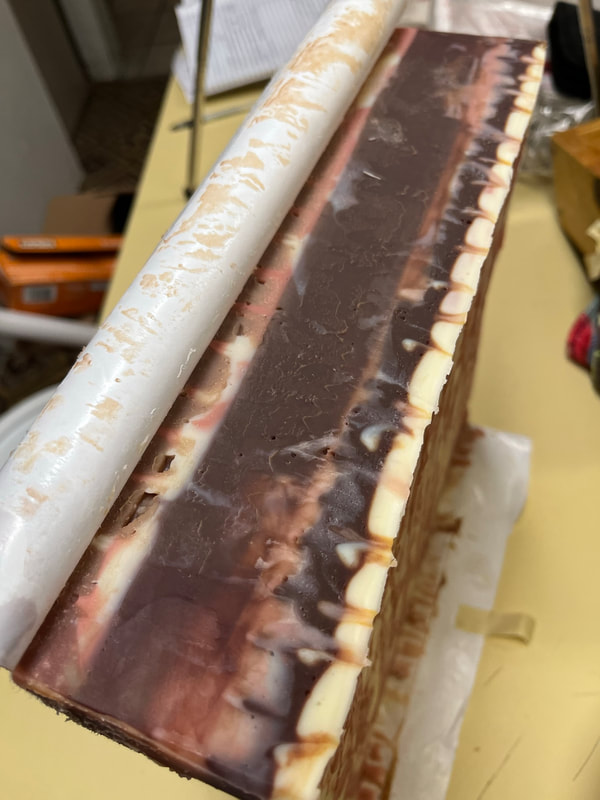
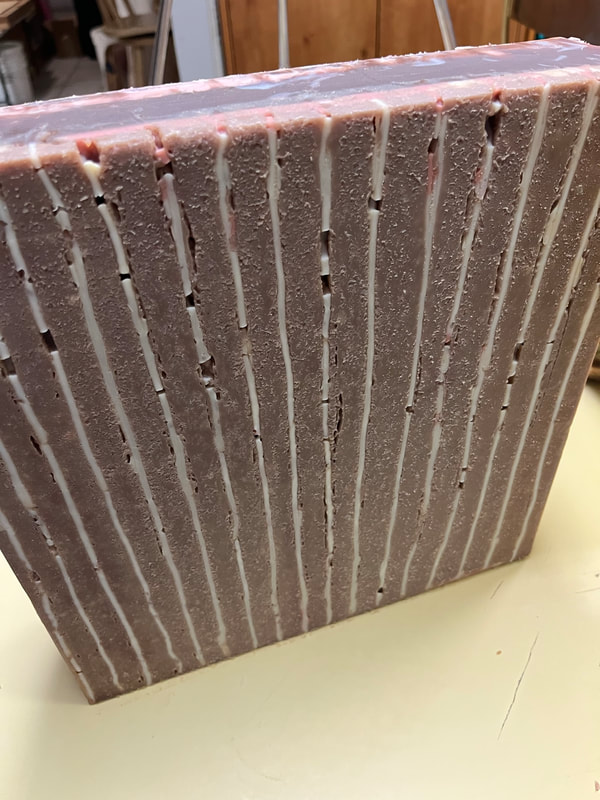
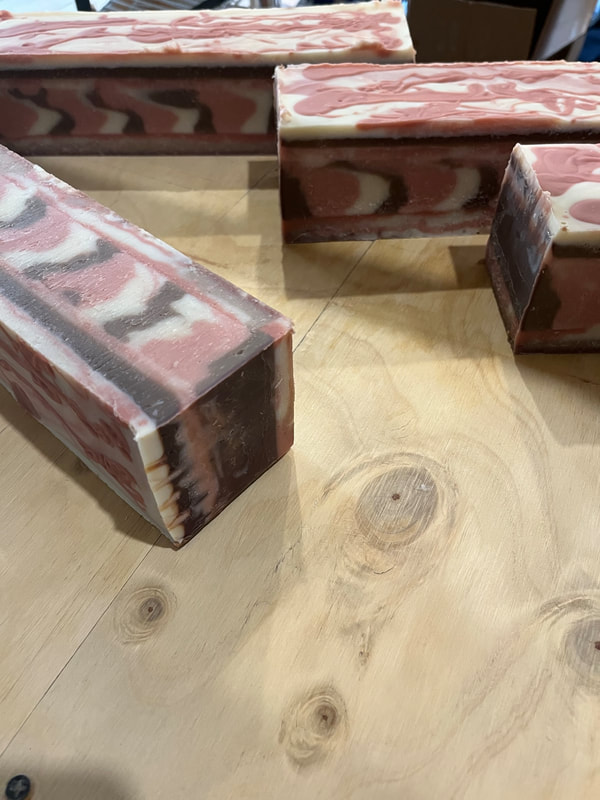
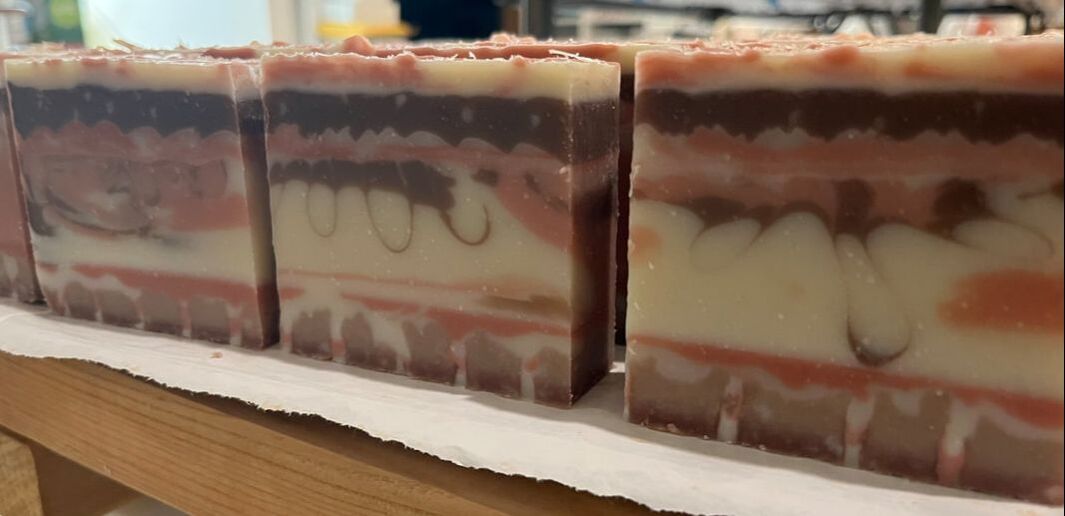
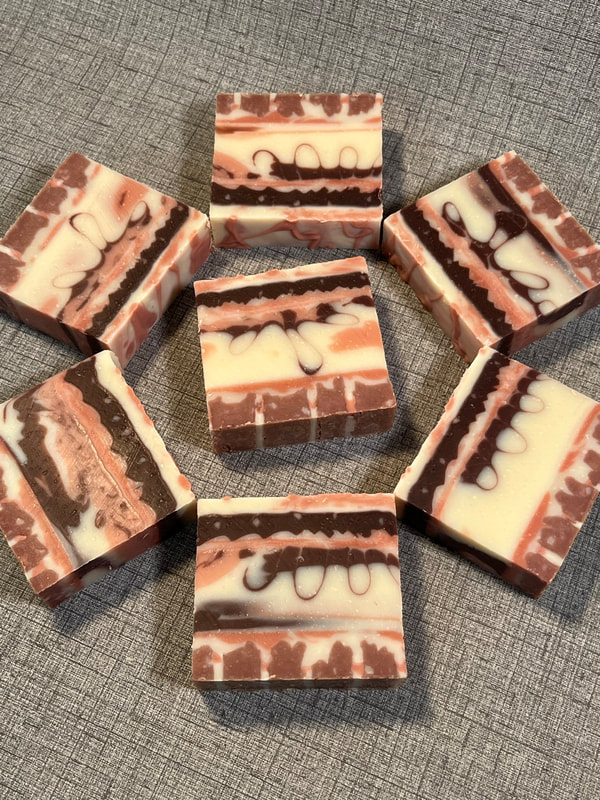
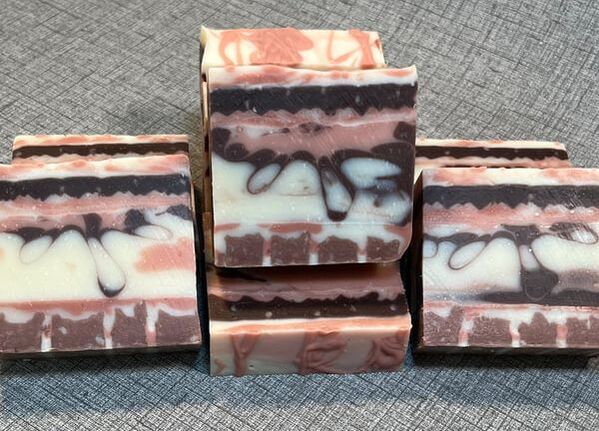
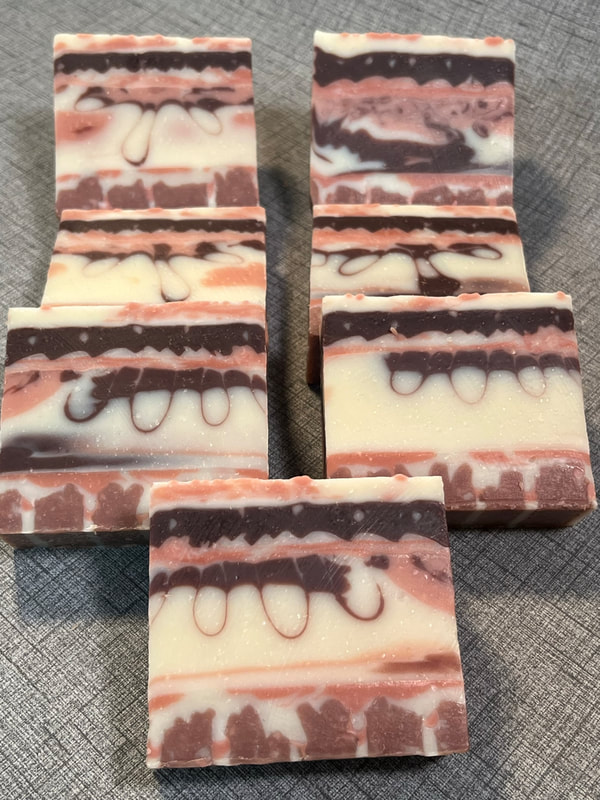
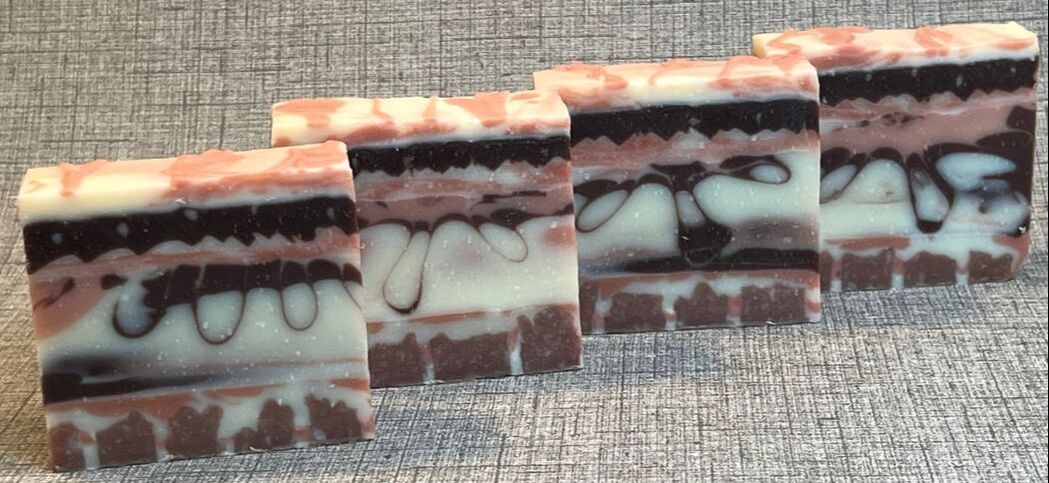
Haven't posted in a while, but I decided to pick up the soap challenge again this month, as production has slowed down a bit - shelves are full for the holiday season! This month, Amy Warden's soap challenge is a "Crazy Layers" technique in which we can really do anything we want. All layers need to be more than one color, extend the whole width of the soap and each layer needs to be a different pouring or swirling technique. Fun times, yes?! Here is Amy's example from the tutorial, which is absolutely gorgeous! My idea for this soap was to make a new "peppermint bark" soap, which I have made in the past and is a customer favorite. The ingredients include cocoa powder for the brown coloring, rose clay for the red and pink, and peppermint essential oil for the scent. These will be a little late for Christmas this year, but people tend to like chocolate and mint throughout the year :) I have never tried the actual Ciaglia method, so I tried that this month and played a bit with sculpting layers and new ways of doing and/or using mini drops and pull through techniques. Lots of messiness with this soaping adventure! And, as it turned out, very difficult to get all layers to look decent in one bar of soap! So...here we go! I started with a layer of brown, adding some chopped up candy cane soap ends for the ciaglia technique. This method uses bits of leftover soap, which you blend into the oils prior to adding the lye. I then scraped this layer to give even lines for the next layer, the vision being red and white stripes to look like candy canes. There are a few different reasons this didn't really work as planned. One, being the texture of the ciaglia layer, I was hoping the bits would be finer? I had a few different ideas for scraping, not having made an official scraper for the job, and the best tool ended up just being a bamboo skewer. It didn't scrape as smoothly as my mind thought it would (and took forever!) which then made the first brown layer very uneven as the soap got pushed up randomly and I didn't take the time to level it all out. I actually like it this way in the final bar, but not what I had originally envisioned. The second layer was designed to have red and white stripes to give the look of a candy cane, spilling over the top to give a thin full layer across the entire bar. This took a bit of time, and as the batter thickened it became more and more difficult to fill in those small spaces. Once I got to the top of the brown, I tried to continue with the layers but because it was fairly thick it did not cover easily for the thinness it needed to be. So, it ended up looking like this. The third layer is the one I was most excited about. I wanted to see if I could perform the pull through technique horizontally, instead of vertically in a tube. So, I 3D printed a rectangular snowflake shape to pull through. To get the color variety for this layer, I slowly built up layers in a striped pattern of red, white and brown using squeeze bottles. The idea then was to slide the 3D printed panel on the far end of the mold and pull it through across all the rows of color. This was a complete fail, as I did not design the tool with enough negative space. Because I was doing a full batch of 40 bars, I had four "lanes" to attempt this, and I switched gears and utilized a wire I've used in the past for this technique instead. This actually worked quite well, and I was pleased with the outcome. I now need to create a wire one, or a much thinner 3D printed design, to use in the future. I'm certainly not done playing with this technique!!! After this pull through layer, I did a simple in the pot swirl of red and white with a sculpted top - the idea being to give it a scalloped looking edge. Again, I did not create anything to do this with, and was relying on the fact that I had a scraper kicking around from cake decorating days...somewhere. I finally found it, but none of the sides had a simple scallop, which was a bit disappointing. However, I played with two of the three sides and liked the result of both - you will see that some bars have a bit of both shapes in them. This was not so easily achieved, as I did not have the sides of a narrower mold to help guide me - part of the reason I wanted to try this, to see if I could have an even hand and attain the desired result. It mostly worked, which made me happy :) Following the in the pot swirl, I made a layer of just chocolate, with the idea of doing some mini drops. The layer was pretty small being only about a cm deep and I wanted my drops to be proportionately tiny. So, I decided to use a syringe for the drops, which mostly worked. I do feel the syringe got a bit clogged up though and I was worried about the consistency of the drop lines. They turned out pretty well though, giving small dots of white and pink in the brown. The final layer was a sad attempt of a one pot wonder, as the batter was not the same consistency for the two colors and one was just covering the other up and not pouring well. But, I completed it, finishing it off with a drizzle of red. Long soap making day...but how I do love waking to the prospect of cutting a surprise batch. Who knows what this one will look like lol! Here's a gallery of unmolding and cutting photos. Such a fun idea for making a bar with a lot of interest! Thank you Amy for the inspiration!!!
These are lovely and I'm glad I had the time to participate this month.
4 Comments
|
Details
TaralynColorado Artisan, making beautiful hand-crafted soaps with all natural ingredients. Archives
August 2025
CategoriesCategories
Comment Policy
We follow Grandma's rule here: If you don't have something nice to say, don't say anything at all. While constructive criticism is always welcome, keep it polite, considerate and friendly. These are simple rules that, if not followed, will result in the deletion of the comment. Thank you. |
|
|
Our soaps and body care products are handcrafted the old-fashioned way, in Boulder County, Colorado by your local Soap Making Artist, Taralyn. Small artisan batches allow for considerable attention to detail during all stages - soap making, hand cutting, six week cure time and hand wrapping - an extensive journey that nurtures the formation of the perfect bar of luxury soap. And to make it even better, we will deliver to your door! Shop by Signature or Artisan, by scent families, ingredients or by name. So much to explore! Check out our collections today!
|
Contact
|
About
Get to Know Your Soap Maker!
|
Customer Service
ASC Creative Credits
|
Other Goodies
Community Connection Blog
Wild Rovings Blog
Why Palm Oil?
Organic Label
|
Copyright © 2009-2025 ASC Soapworks, llc, All rights reserved.

 RSS Feed

