|
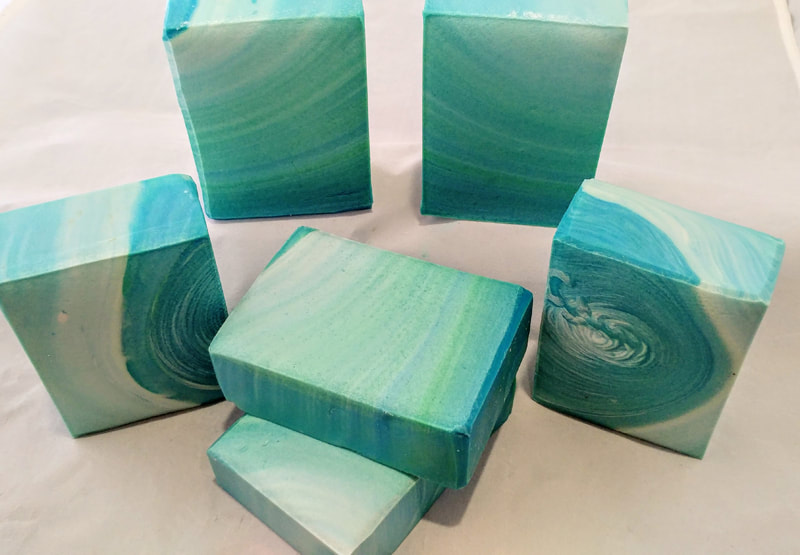
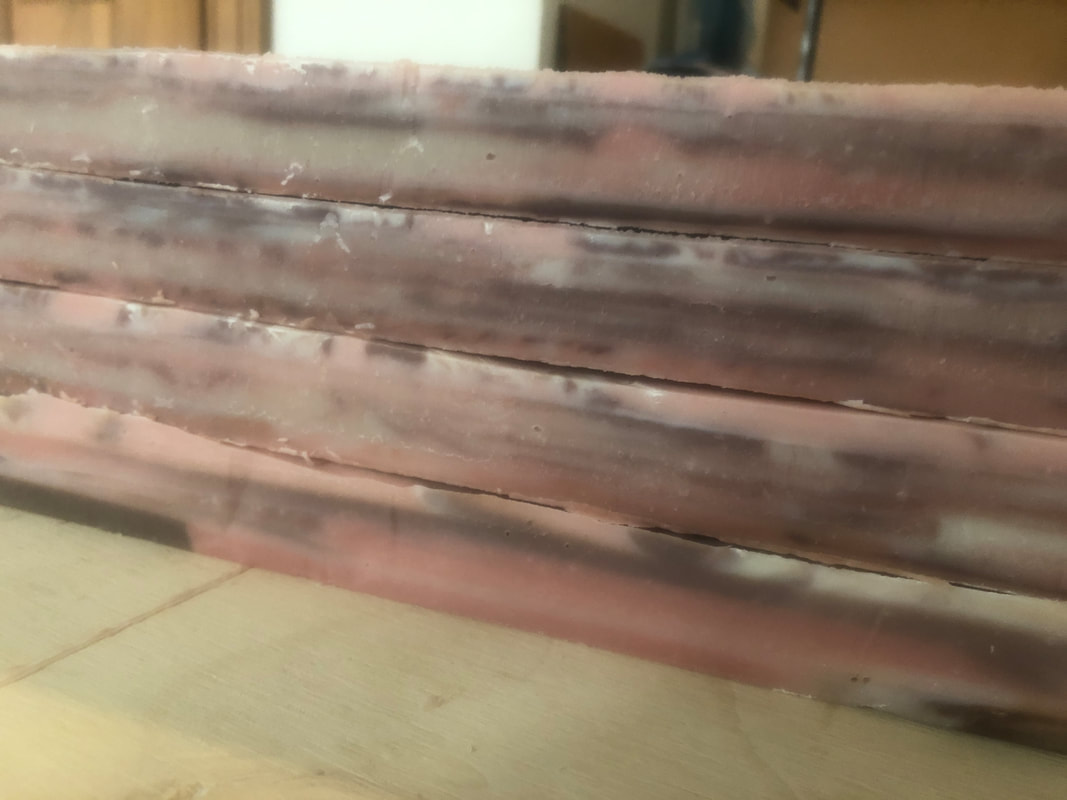
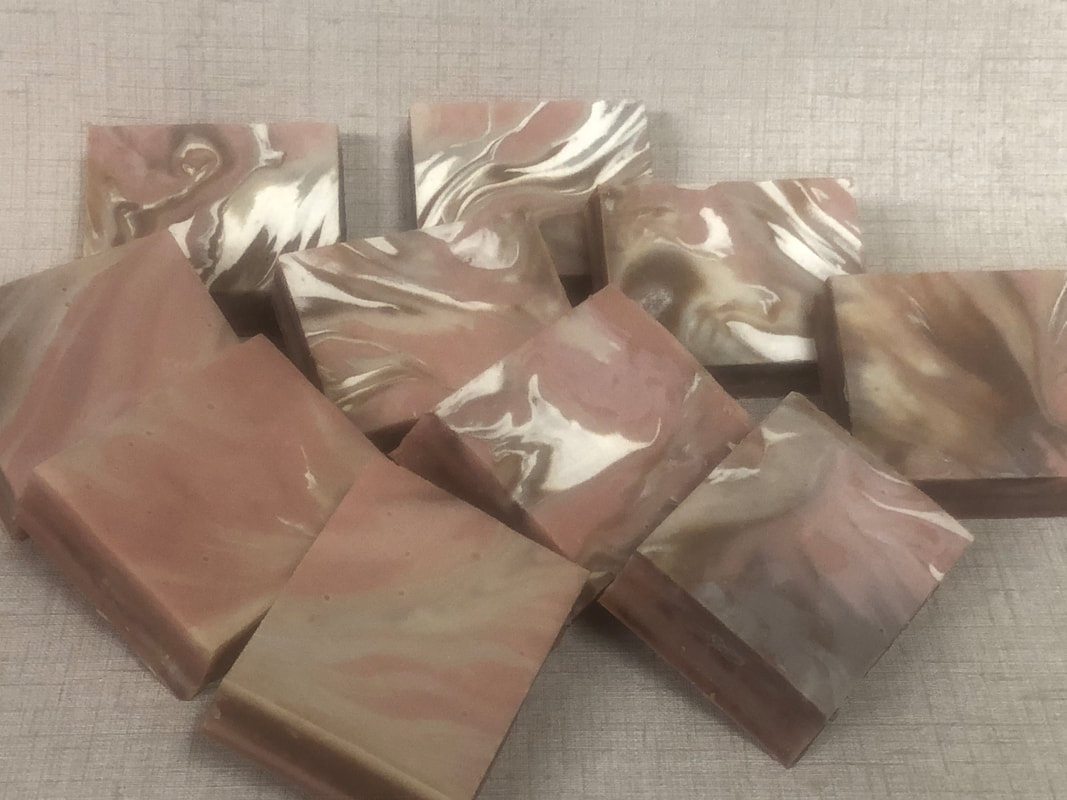
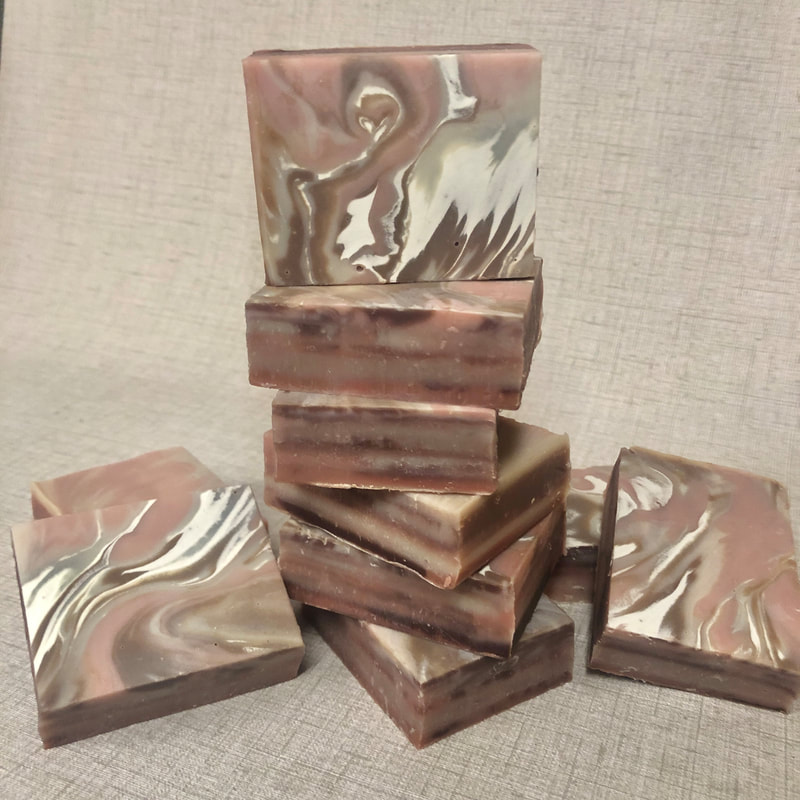
The technique this month is called a Kiss Pour and is guest taught by Joann Watkins of Nature's Potions Handmade Soaps. Joanne, also being a painter, brings some of the techniques used in that world into the soap making realm. This is an acrylic pour style - one that my daughter El plays with a bit. Parts of this technique look a lot like some of her artwork - check her out @tuilastudios! For a brief overview of this technique, you are to make your soap batter with various colors, layer them into two separate pouring containers, and then pour them simultaneously allowing the two streams of batter to "kiss" as they make their way into the mold. The result should give an interesting swirl with feathery effects. Here are a couple of Joanne's examples. I've only allowed myself time for one attempt on this challenge, and I have Mother's Day on my mind. So, I decided to do a pink and brown color palette scented with Lavender Rose, one of my best selling Signature Bars. The pinks are achieved with rose clay and the browns with cocoa. I used a little bit of Kaolin and Moroccan Clay as well for a few of the colors. I also decided to make this soap in layers, as Lisa Cunningham from I Dream In Soap demonstrated, because I love the sides of her soaps :) In previous challenges, I had also attempted to utilize the beauty of the acrylic pour with smaller amounts of soap batter (not very successfully, I might add...), and I agree with Lisa that it would be nice to do this here. So, I made up the soap batter, using my regular recipe, dividing it into five separate batches to get the layered affect. Each of these layers were further divided into six colors. I then layered the colors into two larger containers, minimizing mixing as much as possible by pouring slowly along the wall of the container. Each layer was done a bit differently, playing with the technique as I went along. Some had all the colors in each container, some I split up three and three. I know that the first one had all six and I had poured them in reverse of each other. Other than that, I didn't keep track and I don't remember :) Here are pictures of my pours. So hard to get good pictures with the lighting in my basement...and impossible to get a picture of kissing, as I only have two hands. A case where I should have called Ed down! I really liked Lisa's corner pours, and originally I had planned to do pours from each of the corners and then tilt the mold to get it to cover. In reality, it did not work well that way as my mold is huge and so I ended up pouring fairly randomly - some from the corners, some traveling, some to fill in where it needed to be. I think I could have used a little more batter for each layer, or should have shortened up my mold a little, as I did not take the cup waste into account and I was pushing it for getting it to spread properly to cover each layer. But, the final bars did not turn out too thin, and if they were thicker, I'm not sure how that would have affected the sides and the layer effect that I was going for. Covered the soap up with towels and put it to bed until morning. TIME TO CUT! I love having thoughts of soap getting me out of bed in the morning!!! This is what the slab looked like when I uncovered it. I'm loving the effect the soda ash has on the colors. Not using titanium dioxide, I so rarely get this white of a white - generally more of a natural color, which you can also see here. So, I'm keeping it and not planing or steaming this time. I then cut the slab into strips (left) and stacked them to show the sides (right). Not as dramatic as Lisa's, but I love them just the same. Reasons for this are most likely color choices (obviously...) and my cutting device. I cut using a "blade" and really need to invest in a wire cutter that would be versatile enough for my slabs. Been working on Ed to make me one! I feel that the wire gives you a cleaner look at what's on the inside and doesn't "smear" the colors as my blade tends to do. I could trim these with the wire cutter I have, but no sense in wasting good soap :) I pulled out my favorites from this batch to photograph and here they are. Such lovely soaps! Can't wait to use one in the shower and watch the color changes throughout the bar. These will be available for my customers around April 1st. Thanks for taking an interest and reading to the end!!!
Taralyn
2 Comments
|
Details
TaralynColorado Artisan, making beautiful hand-crafted soaps with all natural ingredients. Archives
August 2025
CategoriesCategories
Comment Policy
We follow Grandma's rule here: If you don't have something nice to say, don't say anything at all. While constructive criticism is always welcome, keep it polite, considerate and friendly. These are simple rules that, if not followed, will result in the deletion of the comment. Thank you. |
|
|
Our soaps and body care products are handcrafted the old-fashioned way, in Boulder County, Colorado by your local Soap Making Artist, Taralyn. Small artisan batches allow for considerable attention to detail during all stages - soap making, hand cutting, six week cure time and hand wrapping - an extensive journey that nurtures the formation of the perfect bar of luxury soap. And to make it even better, we will deliver to your door! Shop by Signature or Artisan, by scent families, ingredients or by name. So much to explore! Check out our collections today!
|
Contact
|
About
Get to Know Your Soap Maker!
|
Customer Service
ASC Creative Credits
|
Other Goodies
Community Connection Blog
Wild Rovings Blog
Why Palm Oil?
Organic Label
|
Copyright © 2009-2025 ASC Soapworks, llc, All rights reserved.


 RSS Feed

