|
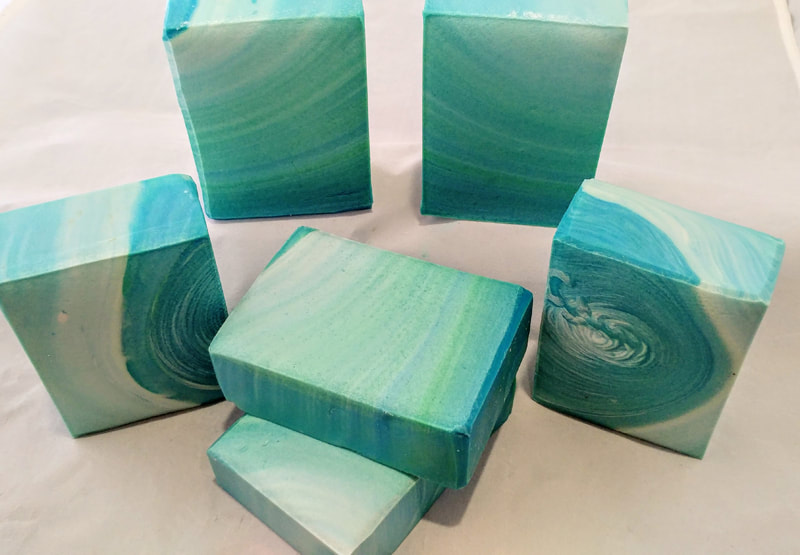
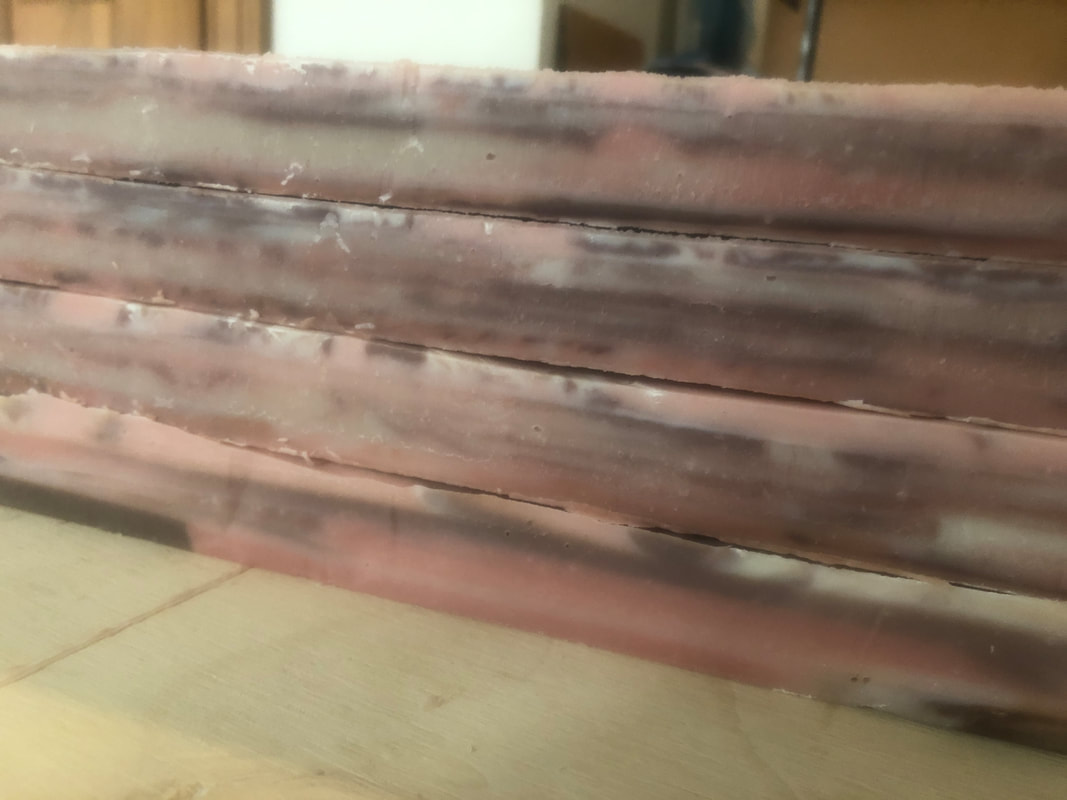
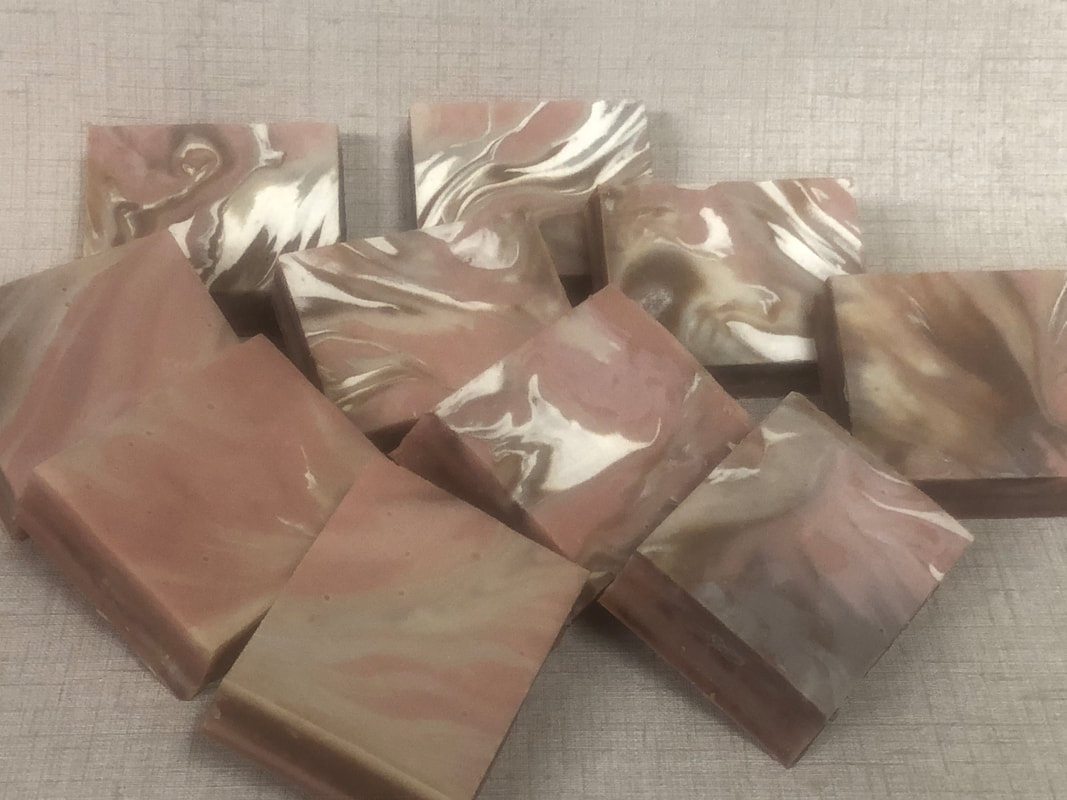
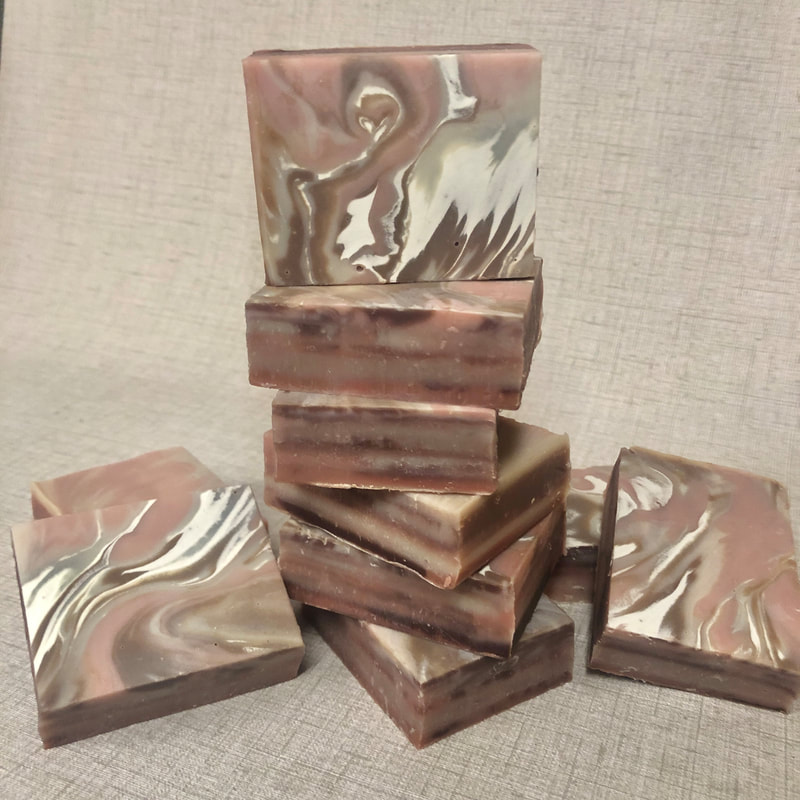
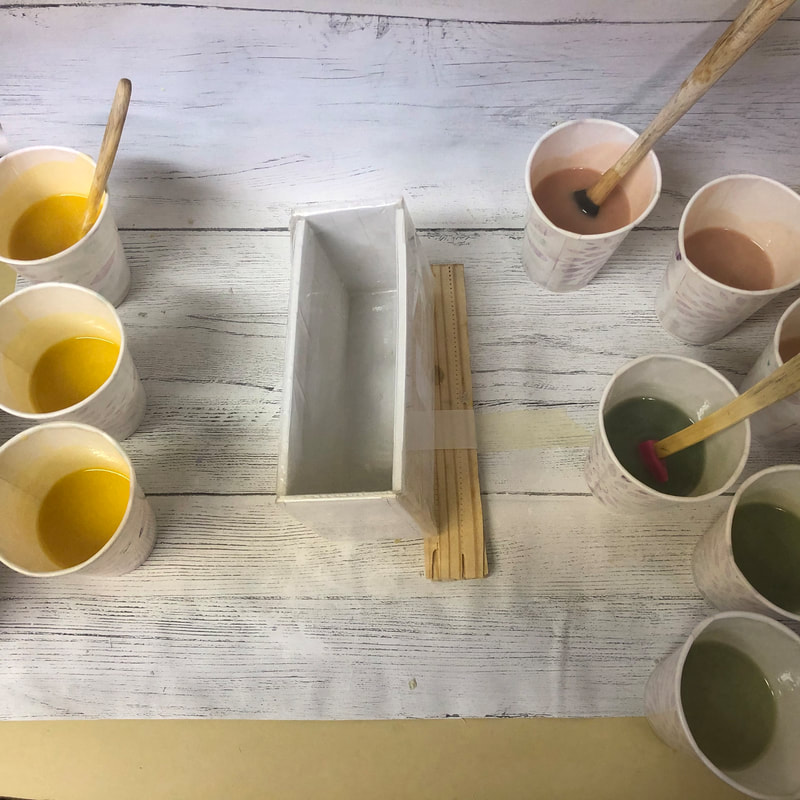
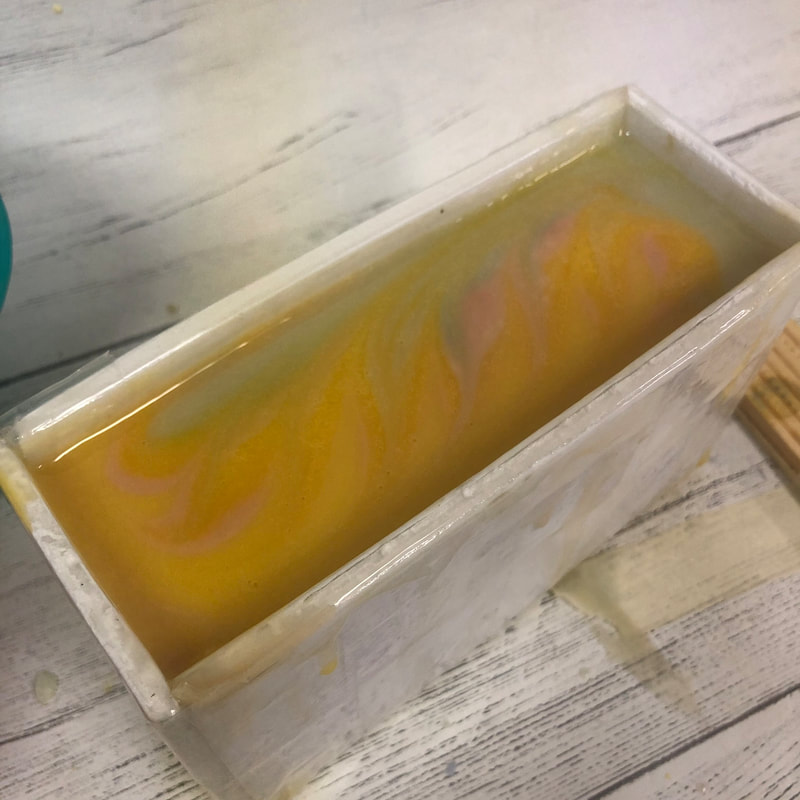
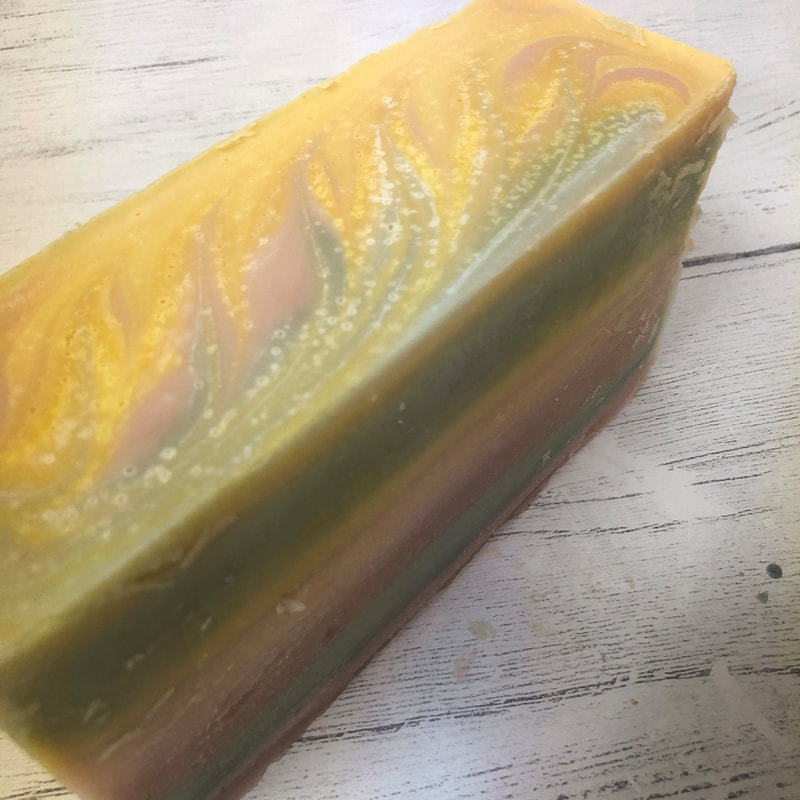
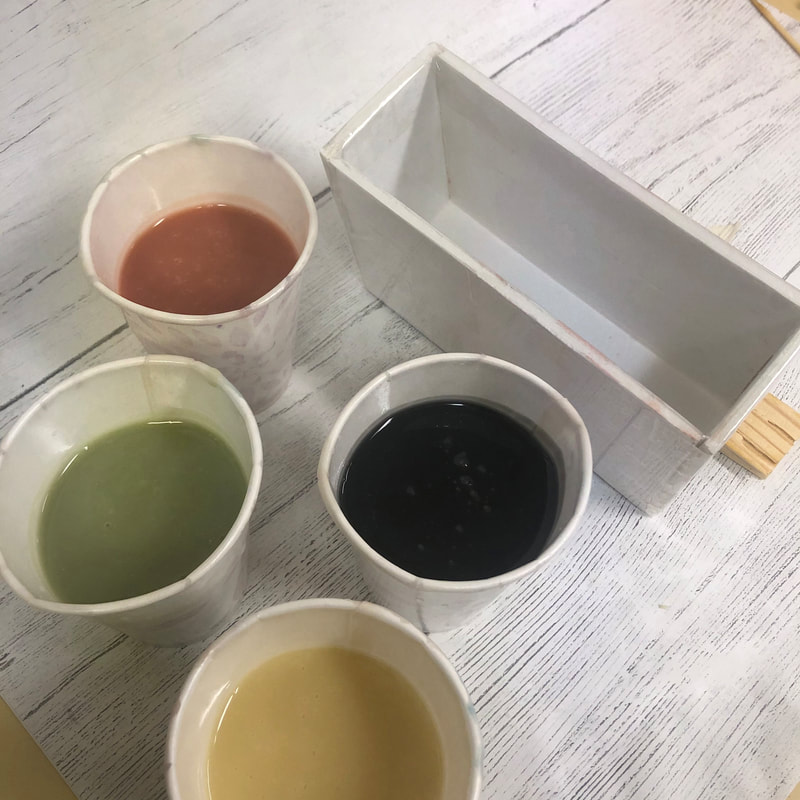
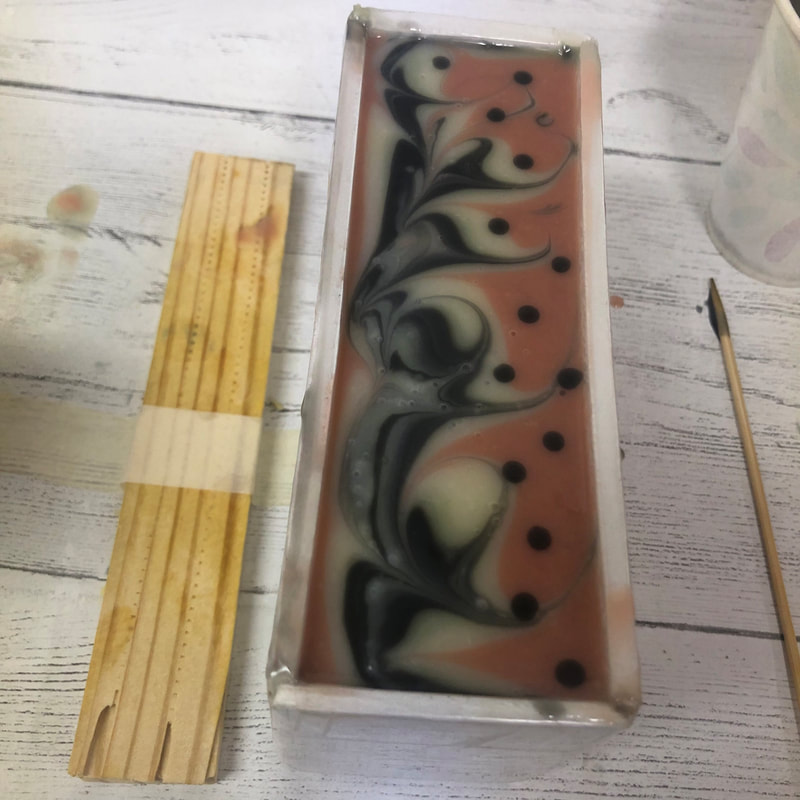
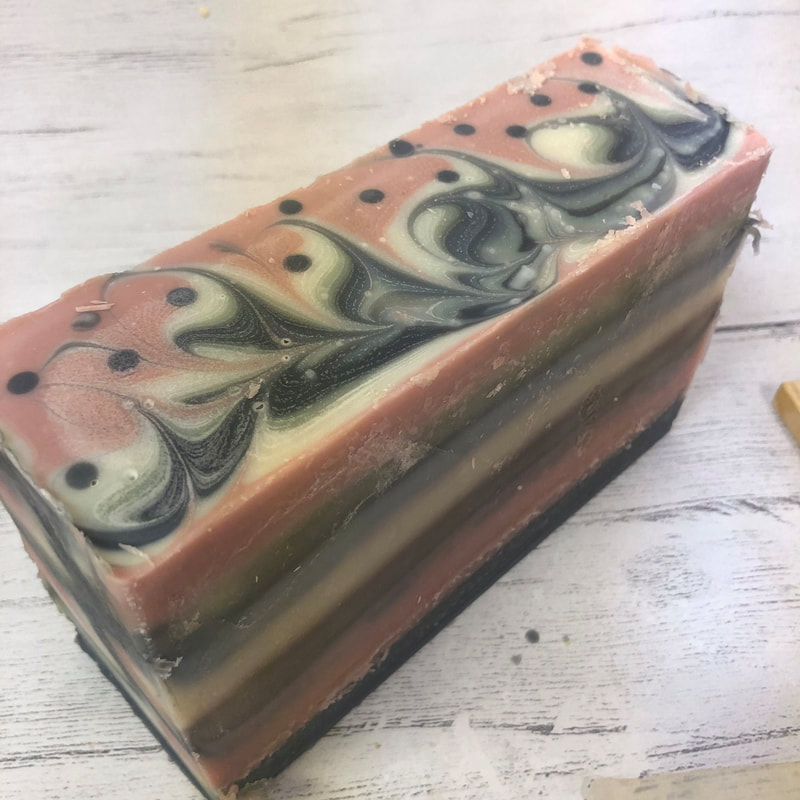
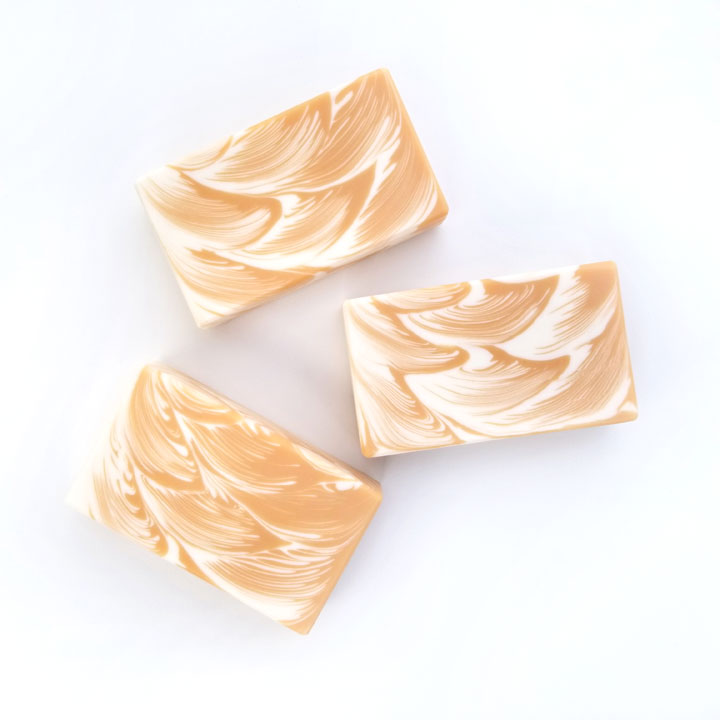
The technique this month is called a Kiss Pour and is guest taught by Joann Watkins of Nature's Potions Handmade Soaps. Joanne, also being a painter, brings some of the techniques used in that world into the soap making realm. This is an acrylic pour style - one that my daughter El plays with a bit. Parts of this technique look a lot like some of her artwork - check her out @tuilastudios! For a brief overview of this technique, you are to make your soap batter with various colors, layer them into two separate pouring containers, and then pour them simultaneously allowing the two streams of batter to "kiss" as they make their way into the mold. The result should give an interesting swirl with feathery effects. Here are a couple of Joanne's examples. I've only allowed myself time for one attempt on this challenge, and I have Mother's Day on my mind. So, I decided to do a pink and brown color palette scented with Lavender Rose, one of my best selling Signature Bars. The pinks are achieved with rose clay and the browns with cocoa. I used a little bit of Kaolin and Moroccan Clay as well for a few of the colors. I also decided to make this soap in layers, as Lisa Cunningham from I Dream In Soap demonstrated, because I love the sides of her soaps :) In previous challenges, I had also attempted to utilize the beauty of the acrylic pour with smaller amounts of soap batter (not very successfully, I might add...), and I agree with Lisa that it would be nice to do this here. So, I made up the soap batter, using my regular recipe, dividing it into five separate batches to get the layered affect. Each of these layers were further divided into six colors. I then layered the colors into two larger containers, minimizing mixing as much as possible by pouring slowly along the wall of the container. Each layer was done a bit differently, playing with the technique as I went along. Some had all the colors in each container, some I split up three and three. I know that the first one had all six and I had poured them in reverse of each other. Other than that, I didn't keep track and I don't remember :) Here are pictures of my pours. So hard to get good pictures with the lighting in my basement...and impossible to get a picture of kissing, as I only have two hands. A case where I should have called Ed down! I really liked Lisa's corner pours, and originally I had planned to do pours from each of the corners and then tilt the mold to get it to cover. In reality, it did not work well that way as my mold is huge and so I ended up pouring fairly randomly - some from the corners, some traveling, some to fill in where it needed to be. I think I could have used a little more batter for each layer, or should have shortened up my mold a little, as I did not take the cup waste into account and I was pushing it for getting it to spread properly to cover each layer. But, the final bars did not turn out too thin, and if they were thicker, I'm not sure how that would have affected the sides and the layer effect that I was going for. Covered the soap up with towels and put it to bed until morning. TIME TO CUT! I love having thoughts of soap getting me out of bed in the morning!!! This is what the slab looked like when I uncovered it. I'm loving the effect the soda ash has on the colors. Not using titanium dioxide, I so rarely get this white of a white - generally more of a natural color, which you can also see here. So, I'm keeping it and not planing or steaming this time. I then cut the slab into strips (left) and stacked them to show the sides (right). Not as dramatic as Lisa's, but I love them just the same. Reasons for this are most likely color choices (obviously...) and my cutting device. I cut using a "blade" and really need to invest in a wire cutter that would be versatile enough for my slabs. Been working on Ed to make me one! I feel that the wire gives you a cleaner look at what's on the inside and doesn't "smear" the colors as my blade tends to do. I could trim these with the wire cutter I have, but no sense in wasting good soap :) I pulled out my favorites from this batch to photograph and here they are. Such lovely soaps! Can't wait to use one in the shower and watch the color changes throughout the bar. These will be available for my customers around April 1st. Thanks for taking an interest and reading to the end!!!
Taralyn
2 Comments
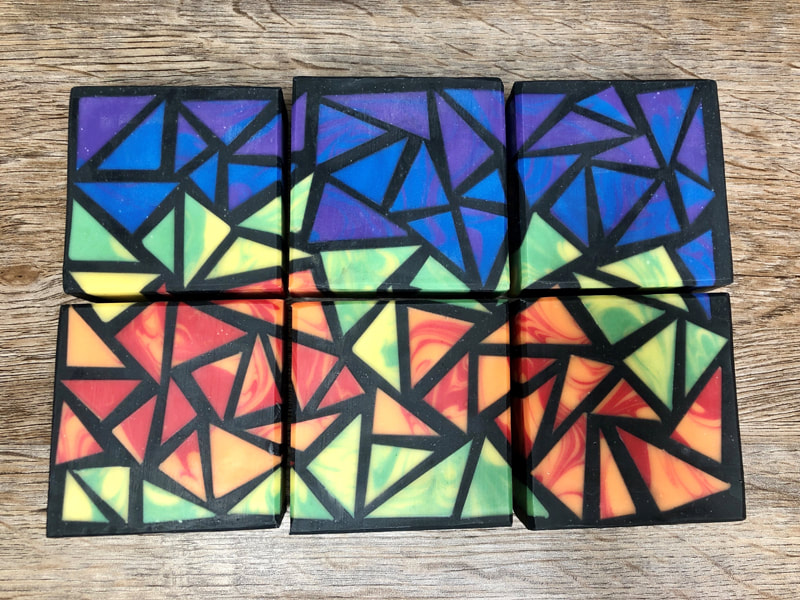
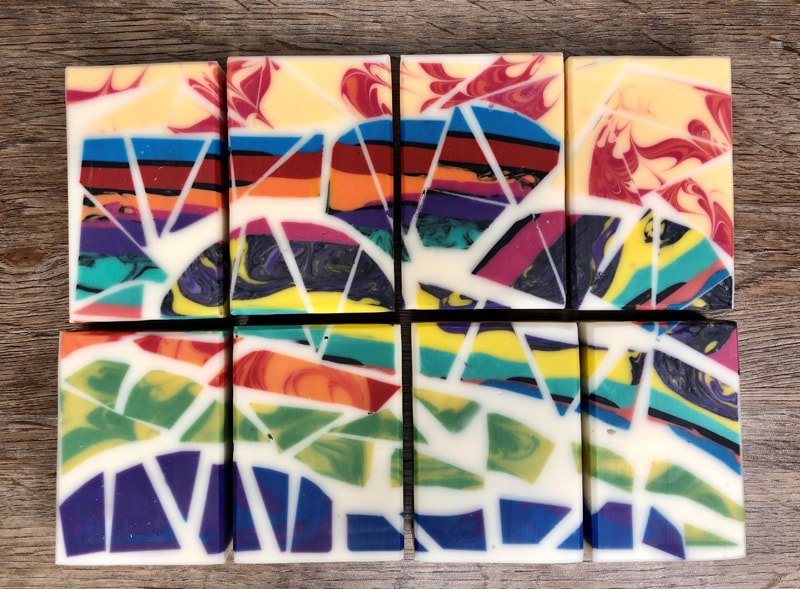
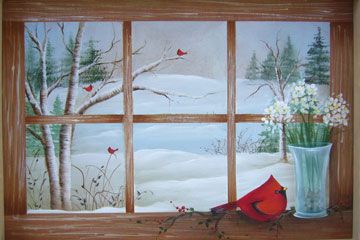
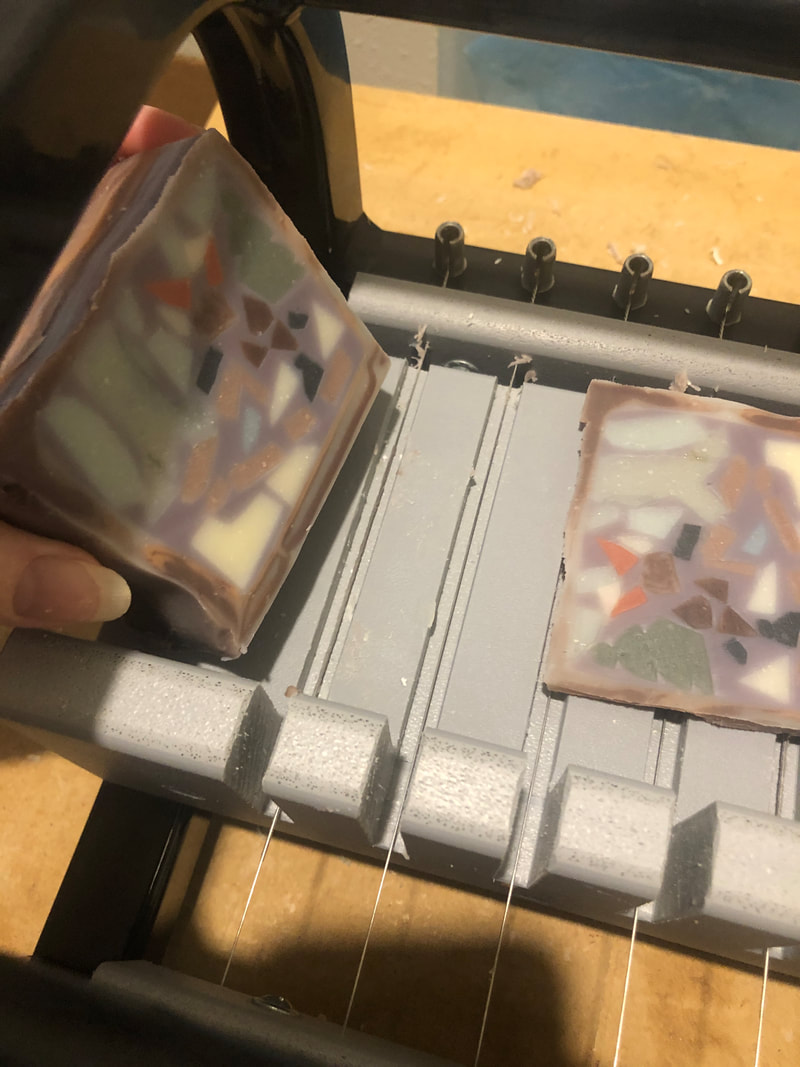
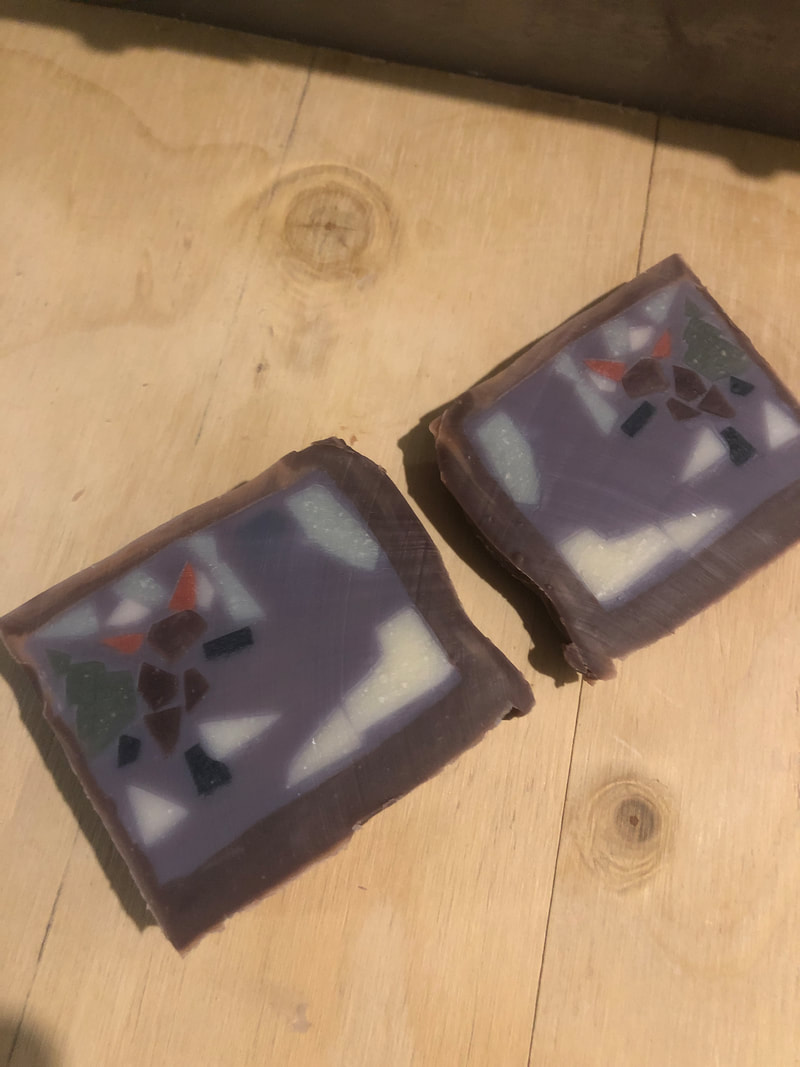
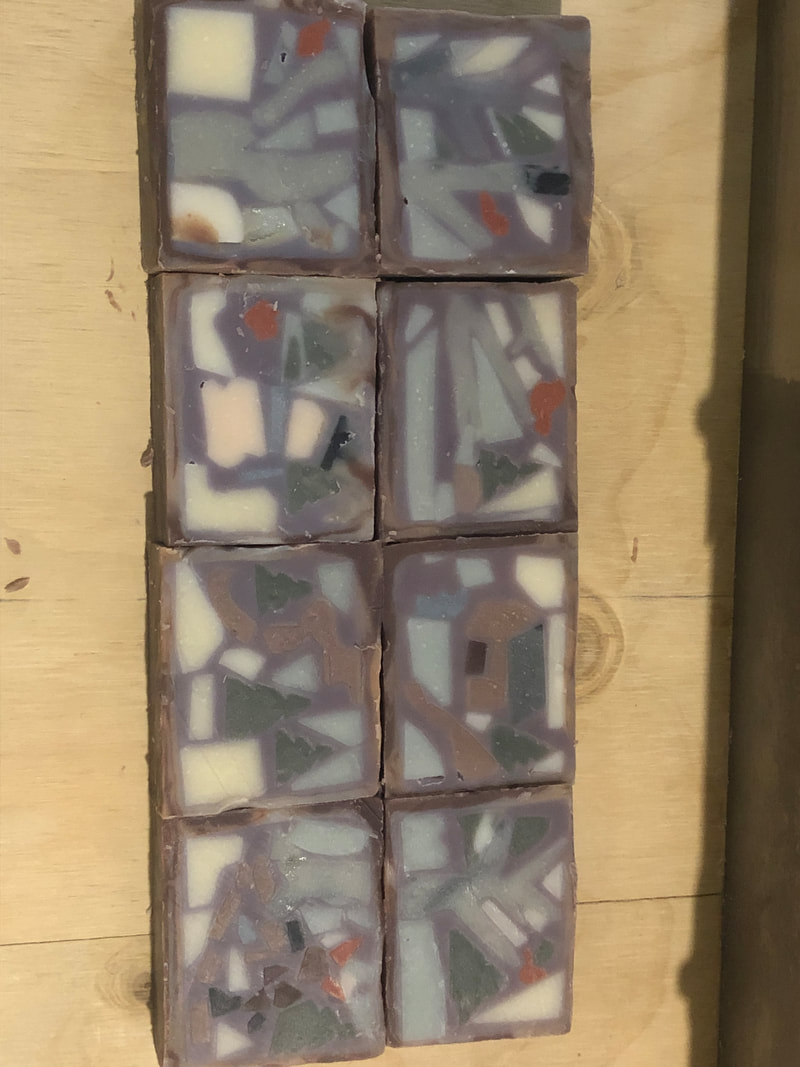
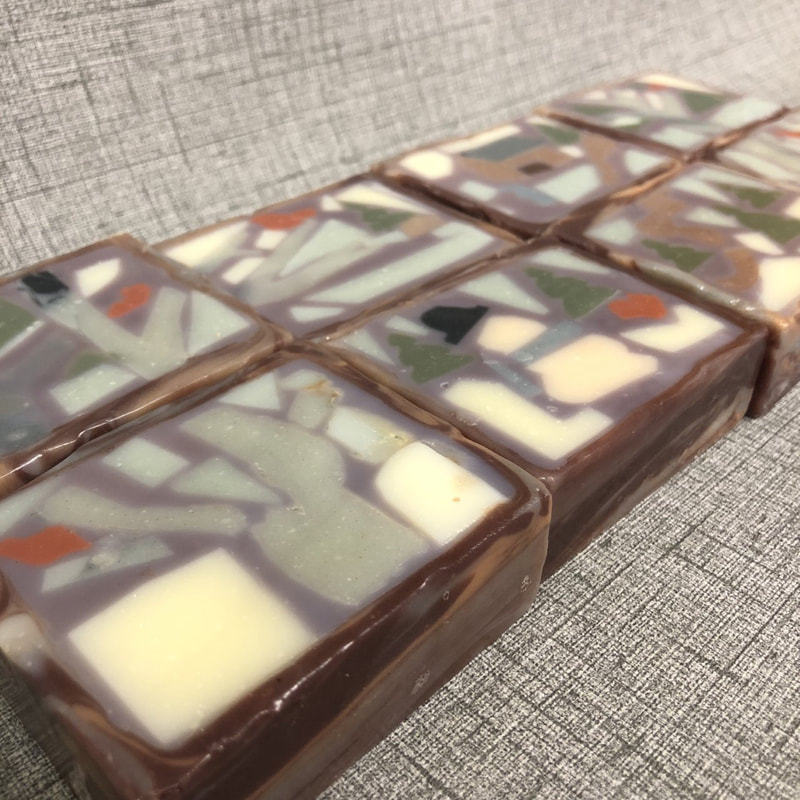
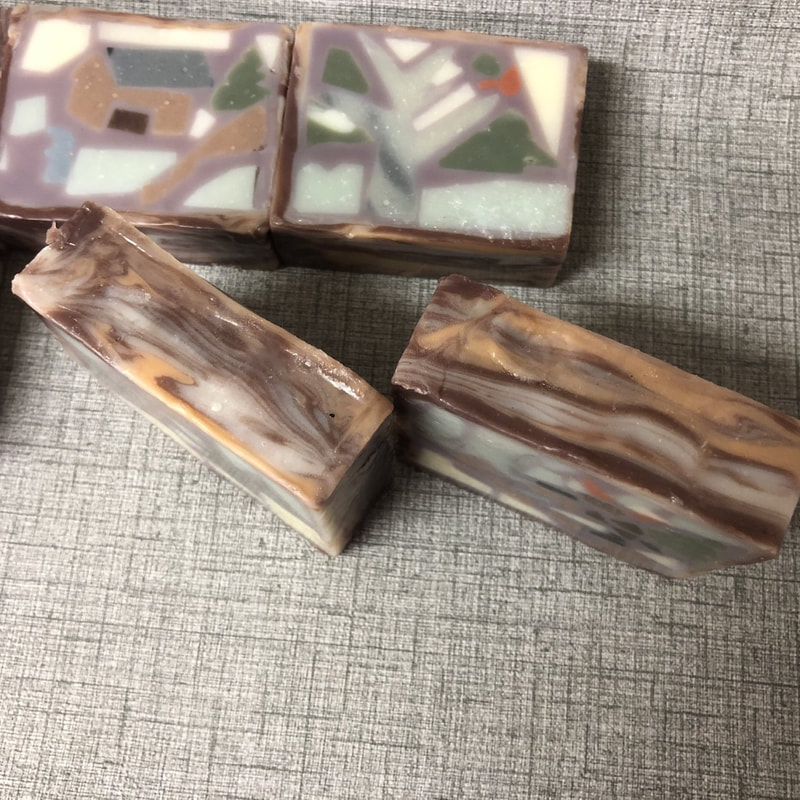
November 2020's Soap Challenge by Amy Warden is Mosaic Soap, taught by guest instructor Leila Hazou from the Mad Soaper. I've created a few mosaics in our home, and have really enjoyed making them, so this is a soap that I've been wanting to try for a while. These are the two soap batches that were made for instruction, the left demonstrating the beginner category, the advanced category on the right. These are certainly some beautiful soaps to aspire to. For the advanced category, one of the requirements is that you need to have an inspiration photo that you are trying to replicate in soap mosaic form. This is the category I will be entering, so below is the photo that I am trying to emulate. I also need a minimum of eight bars, so I decided to add a couple more elements. I added an out building with a path or creek meandering down, a snowman and a moose on a dog sled to a few of the fairly plain panes. So, onto the actual making of the soap. I started out by making a batch of soap with the various colors I thought I would need for the elements of the mosaic. Grays, black, browns, green, a bit of red and blue, and a whole lot of white and very light blue for the snowy parts. All of these colors are made with natural colorants - charcoal, indigo, rose clay, cocoa, chlorophyll etc. I mixed the colors up a bit to hopefully give me some of the mottled colors I would need for the deciduous trees and the body of the moose. I took my inspiration photo and simplified it down to a basic picture, that was more amenable to mosaic making, on a piece of paper. I then used this as a template to place my pieces. Now it was time to set about cutting these soaps into bits to create the soap design. This took over a week - many, many hours of playing with soap :) These pieces were laid out in proper placement prior to putting into my soap mold. Then, they were transferred to the mold, "gluing" them along the way with melted cocoa butter. Tricky this...getting the cocoa butter to be the right consistency, and then not having them move when pouring the "grout", as it did seem to move the pieces a bit. Pouring slowly was key, but not too slowly? I think the cocoa butter unglued as the batter sat in it, and I'm not really sure why as I was soaping at a fairly cool temperature. So, yes, then was the pouring of the "grout". Since I had used so many different colors, I had a difficult time deciding which color to use for this. I wanted something to contrast with all the various shades already used. I decided to use some alkanet infused oils I had already made up, since I had not used any purple for the design as of yet. I have not yet discussed what my plan was for the frame of the window. I put place markers in to hold where I wanted my panes to be. I was hoping to be able to pull them out before the batter was completely solidified, but that did not work. So, I let them solidify and then poured the window pane around them. The batter for the window panes was a mixture of colors - similar to what I have used for my woodgrain soaps. For the most part this worked, although one of the panes turned out kind of light gray and therefore does not show up as well as the others. Also, the woodgrain effect shows up much better on the sides than the top - see the photo near the end of this blog. But, overall I'm happy with the results. Quite an ugly mess at this point, and who knows how they will actually turn out. So, this morning I was extremely anxious to cut into these! And, now for the big reveal!!! Not too bad! I do need to figure out a simpler pattern that I can make a bit quicker, but I'm really happy with these results!!! You can kind of even see the moose on a dog sled if you know what you are looking for...lol! If you want to see where I got this idea, you should check out Lola Bug Creations on Etsy. A rabbit hole of mosaic beautifulness! Here are the final pictures of both my mosaic scene, and the random mosaics made from the leftovers. What an interesting technique, with so many possibilities!!! This was certainly a fun and challenging challenge this month. THANK YOU Leila and Amy for providing the platform and inspiration! I always need a diversion from the norm of everyday, especially during this pandemic!!!
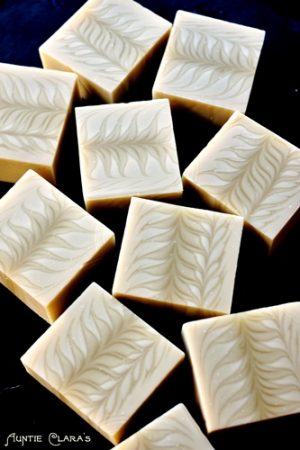
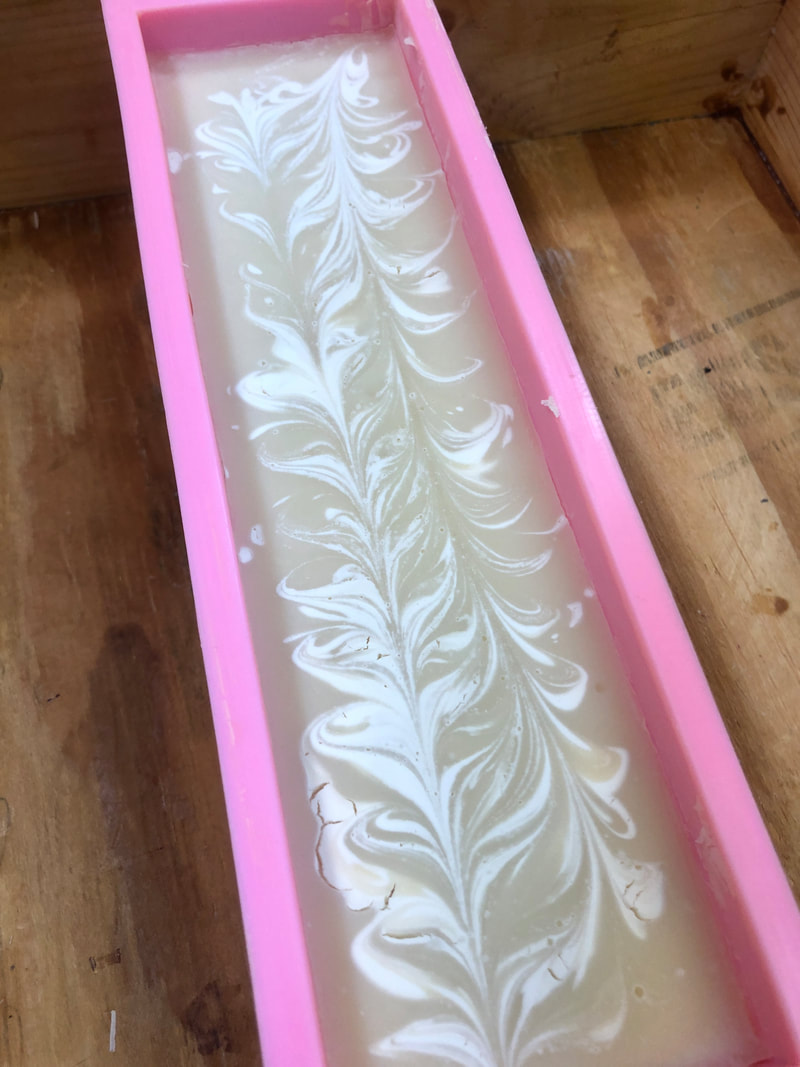
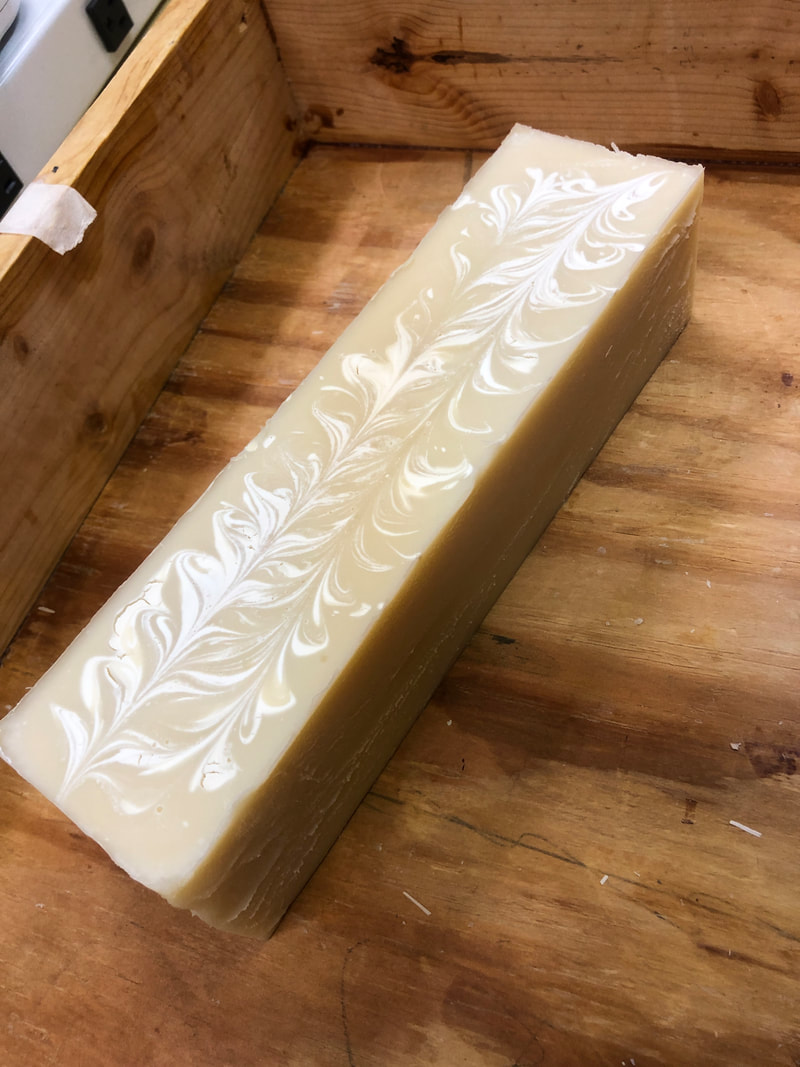
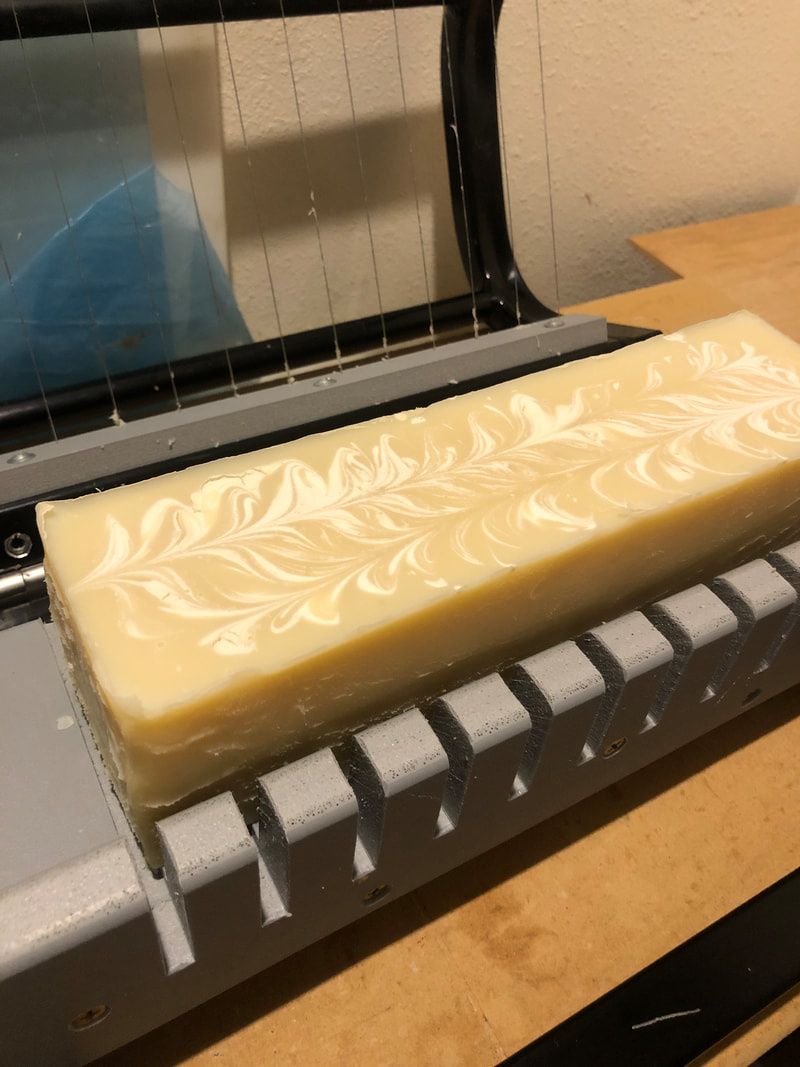
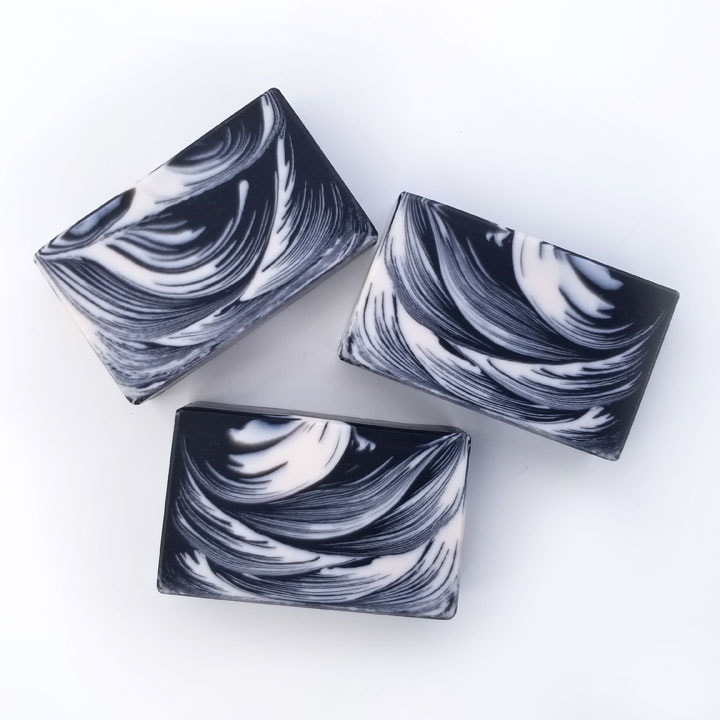
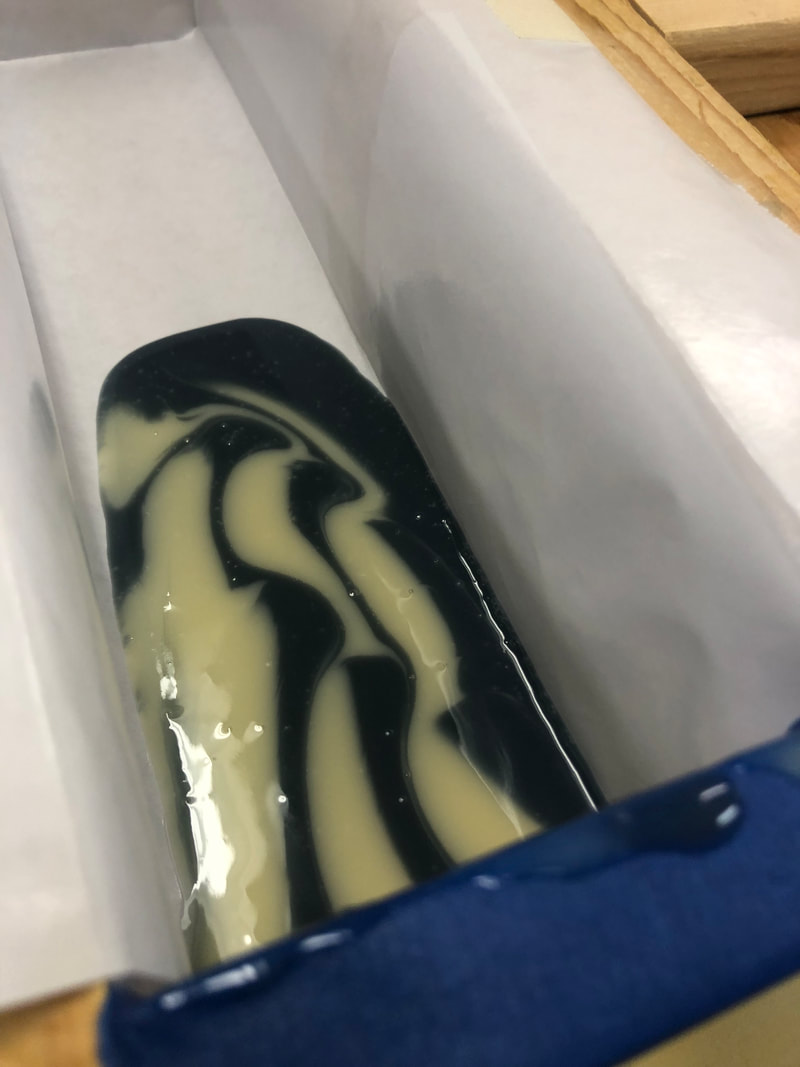
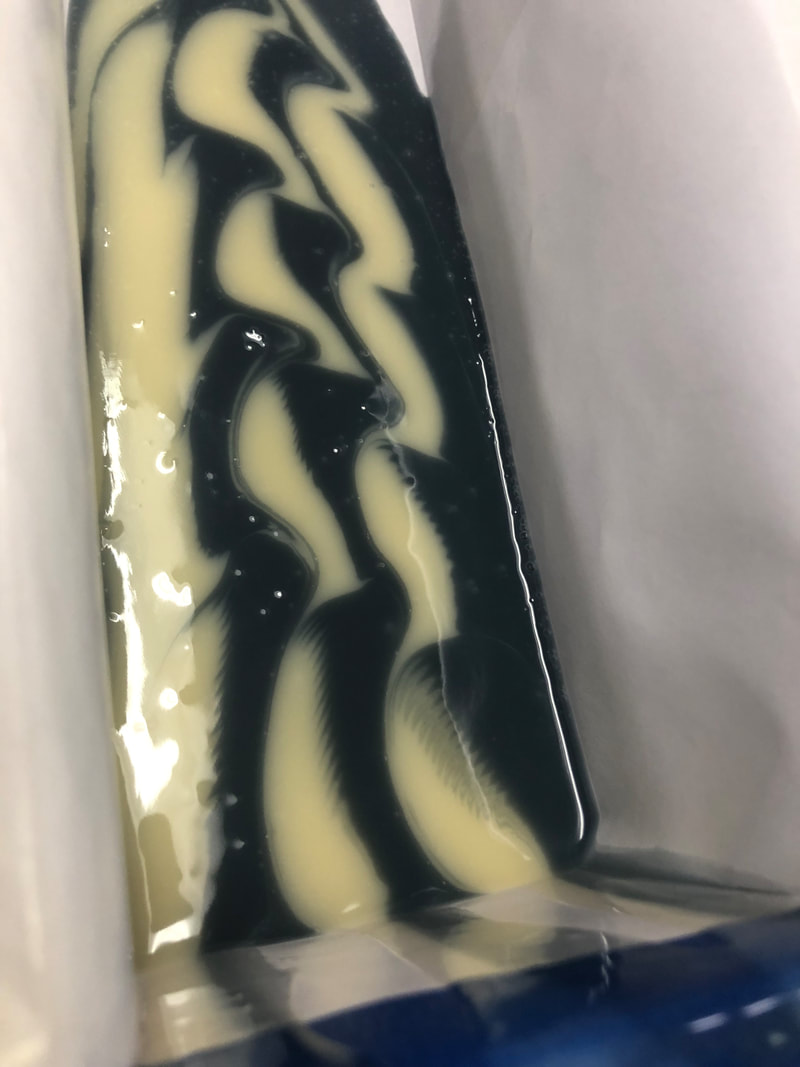
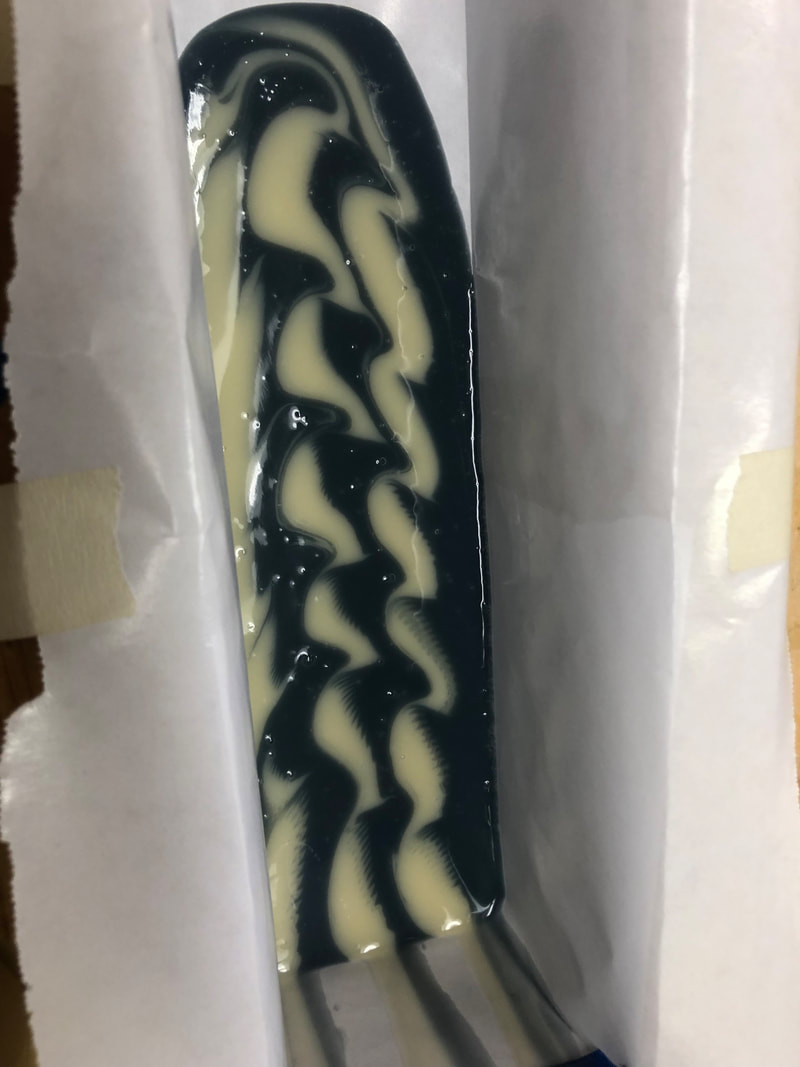
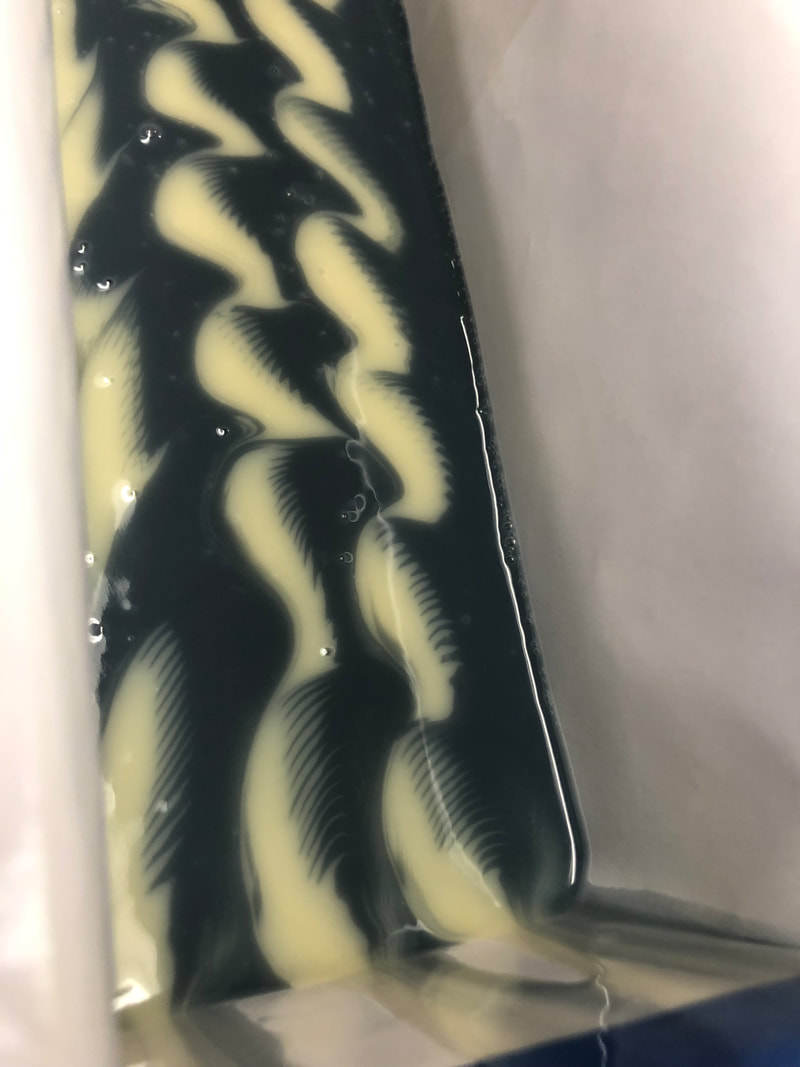
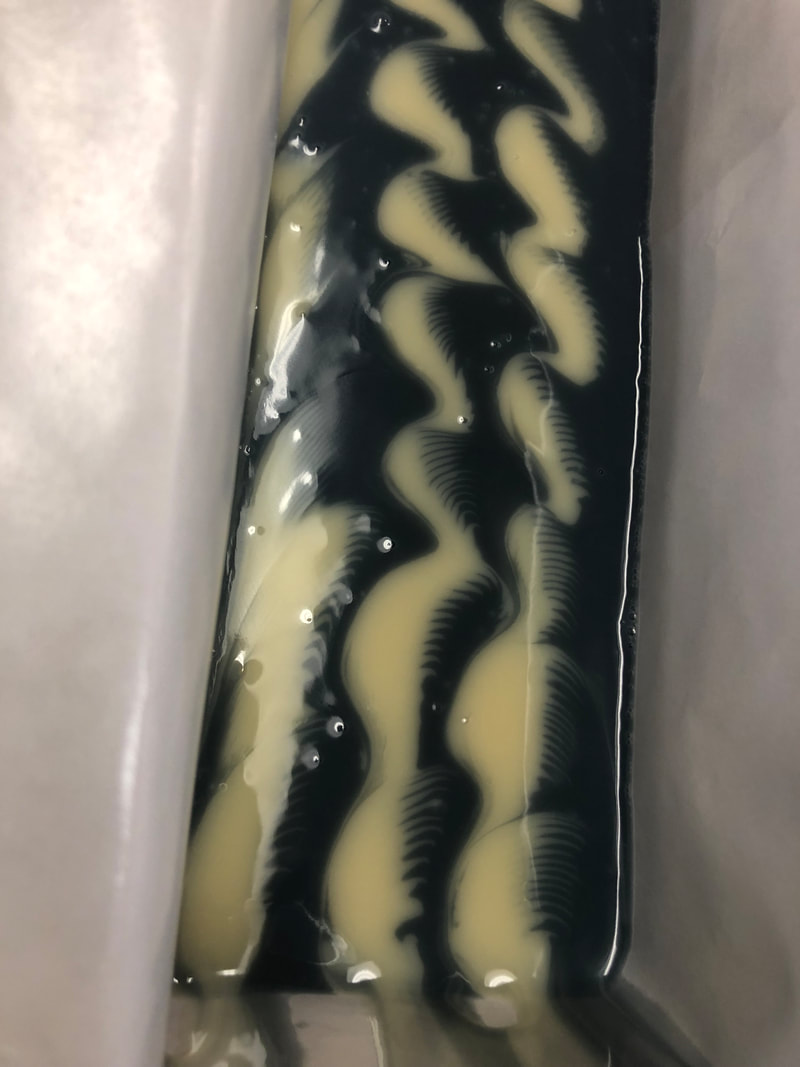
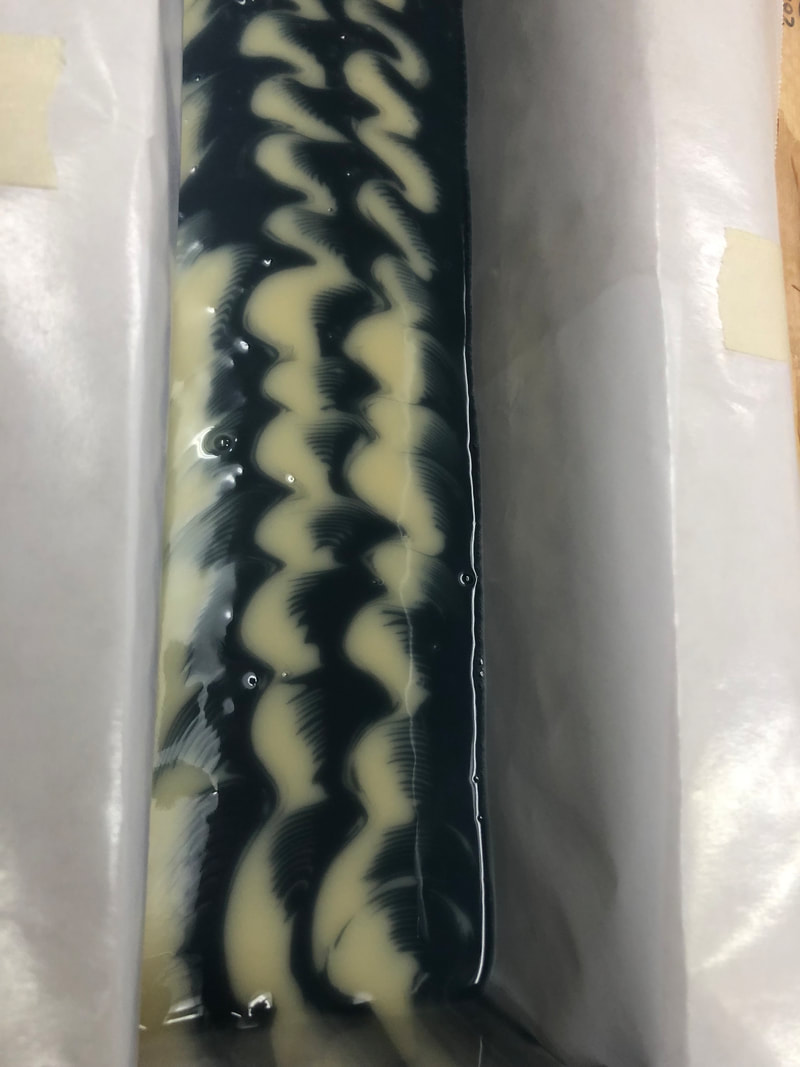
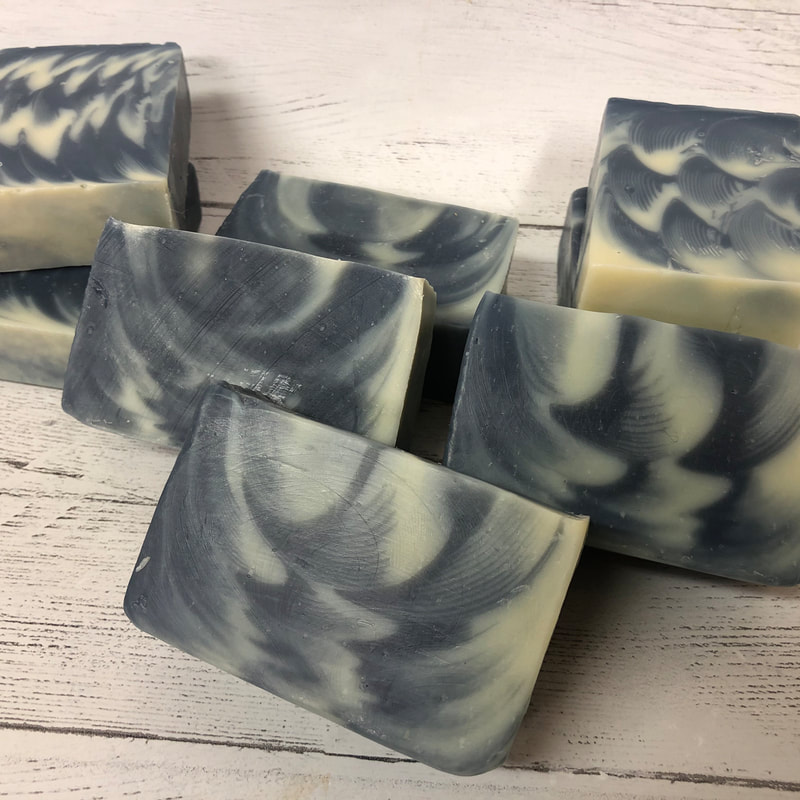
This month, Amy Warden's Soap Challenge Club is exploring the ghost swirl. A very aptly named challenge for the month of October!!! This swirl utilizes different lye concentrations to obtain color variations in the soap. The first time I had read about this technique, years ago, was on Auntie Clara's blog. She has recently posted another blog on the same technique, explaining the process in more detail. I love all of her posts, and it's a good day when I can sit with a cup of tea and peruse websites like hers for hours :) In both of these examples, no added colorants are introduced to the soap batter. Auntie Clara has used a more traditional soap recipe giving a palette of natural white shades, while Amy Warden has used natural red oils in her blend, providing the lovely fall friendly colors. I have chosen to go with my typical recipe with three different lye concentrations, 30, 40 and 50 percent. I'm hoping this will give me some visual contrast in the natural white and off white color palette. The various "colors" come from the fact that with different water amounts, the soap gels at different rates. And, each gelling rate should have a slight difference in hue. I'm using this little mold for the first time. It's a nice size for an experimental batch of soap, and it may be something that would work for a tall and skinny? It's definitely narrow, which made it a bit problematic when I was pouring my batter. With this challenge, the design and type of swirl is up to the maker. I decided to try a teardrop swirl, as I haven't made one of these in quite a while. Needed to research it again to know what I was doing :) I will only have time for one attempt, so.....crossing my fingers I get something I can enter. For this technique, I took three 1.5 oz. aliquots of oil out of the total of 25 oz. I calculated out the amount of 50% lye needed for the entire batch, pulled out the proper amount for each of the smaller aliquots. I then added the proper amount of water to the 30 and 40 percent portions to attain the correct dilutions and mixed the appropriate lyes with the oil aliquots. The remaining lye was added to the remaining oils, and the subsequent large batch of batter was divided into three equal portions. One of these larger portions is poured into the bottom of the mold. Then I took the three 1.5 oz. aliquots and poured them into a line in the center of the base batter, layering the different "colors" onto each other in one line. My pictures aren't the best, but there was a noticeable difference in the color of the batters. Since each portion had lye added separately, and each portion was coming to trace at their own pace, I'm not sure if the different "colors" were due to the various levels of trace, or the concentration of the lye. Then when all the small portions of batter are used up, I took the remaining two containers of "background" batter and poured them simultaneously along the walls on either side. This is a bit tricky, and I do not have pictures, as I do not have three hands :) However, you can see a video of how this is done here. Once I had the soap batter poured, I covered, insulated with towels, and let it sit overnight. Normally, my batches are a little larger, and gel happens easier. I was hoping this smaller mold would still retain some heat and gel properly. I checked on it a couple times, was initially nervous, but after a couple hours it was toasty in there! I woke up this morning anxious to cut the loaf! The contrast was impressive, and I was hopeful that the soap may turn out - that's if I was able to obtain a teardrop shape...which has been problematic in the past, but YES! Here are pictures of the final product. The teardrop shape was not so impressive throughout the entire loaf, and I have some ideas why. I really had a difficult time keeping both of the containers pouring along the wall at the same time.
I'm going to try again today with an alkanet infused oil I have kicking around. Should be fun to see how the ghost swirl behaves with that! This summer has been crazy, with CoVid and all, and I haven't had much chance to get any creative soaping done. However, I finally made it work this month....YAY! Once again, I'm entering Amy Warden's Soap Challenge Club. August 2020's tutorial is entitled "Layers with Drop Swirls". In my soap designs, you will find both of these elements, but I'm not sure if I've ever combined them. This month inspired me to try some new to me techniques to create an autumn tree. I do have to apologize, as time was short this month, and I barely got these done. This post will not have the usual amount of photos of my process. I'm going to try this one more time though, and I'll see if I can get photos done during that batch. So, my idea for this month is to create a tree with a layered landscape background. The tree leaves will be made with the drop swirls. All of my colors are made using natural colorants and infusions. Here are some inspirational photos... For my first attempt, I used charcoal (black), Moroccan red clay (red/orange), cocoa (brown), annatto seed (yellow) and alkanet root (purple). I only have one picture of the process...and these are the sculpting tools I was trying to use. Second time trying to sculpt soap, and I just can't get it right. I do think this was a bit of a complicated design for a beginner though. I tried to using "Sculpting Layers" to create the tree. It was an epic fail...but kind of looks like a Joshua Tree? Here is the final result...the leaves are all just kind of floating on top, and the colors did not contrast as much as I was hoping they would...not really what I was going for. So, for my second attempt, I decided to make a tree shaped embed instead. And, I decided to reserve the yellow and orange for the leaves only. I really like the result! No pictures of the process this time...did it late last night. I do think I will give this one more go...so check this blog out in a day or two to see if there is an update.
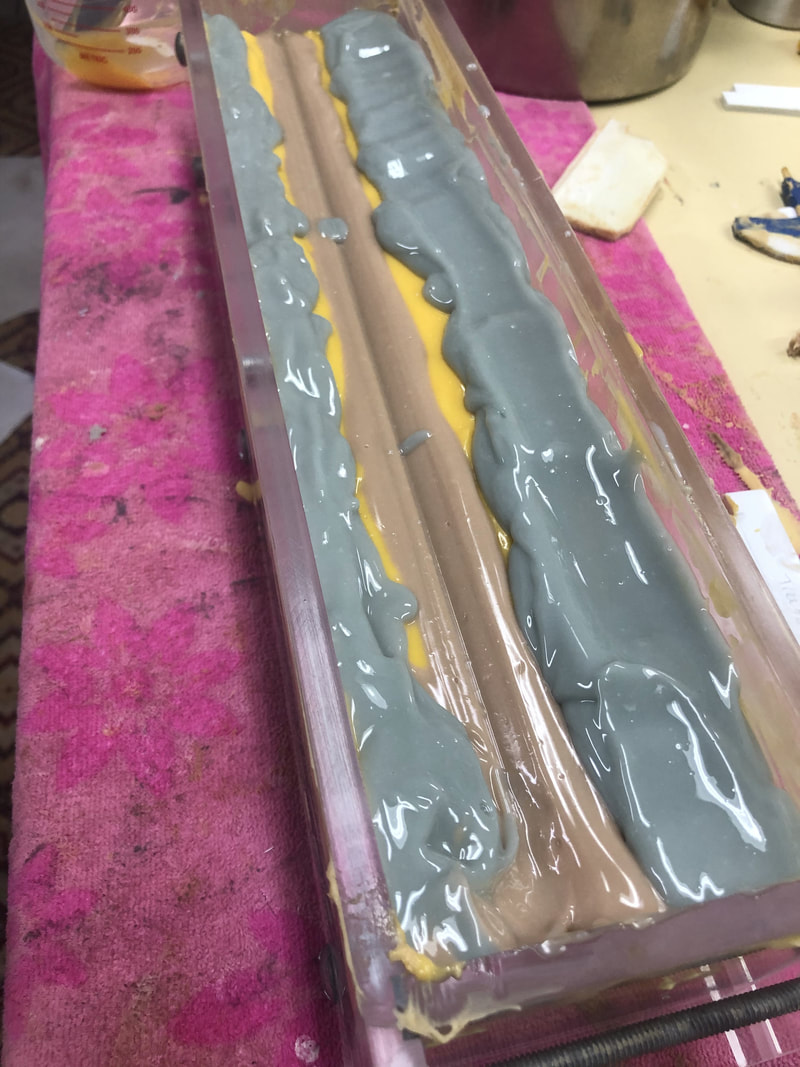
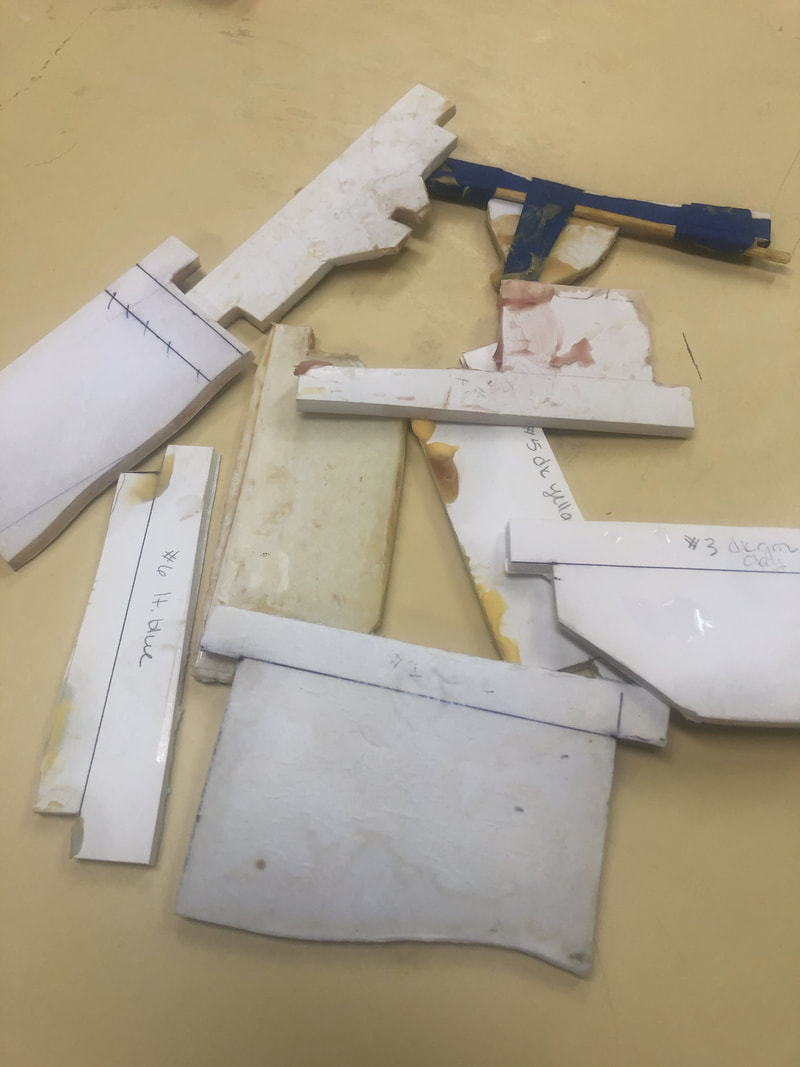
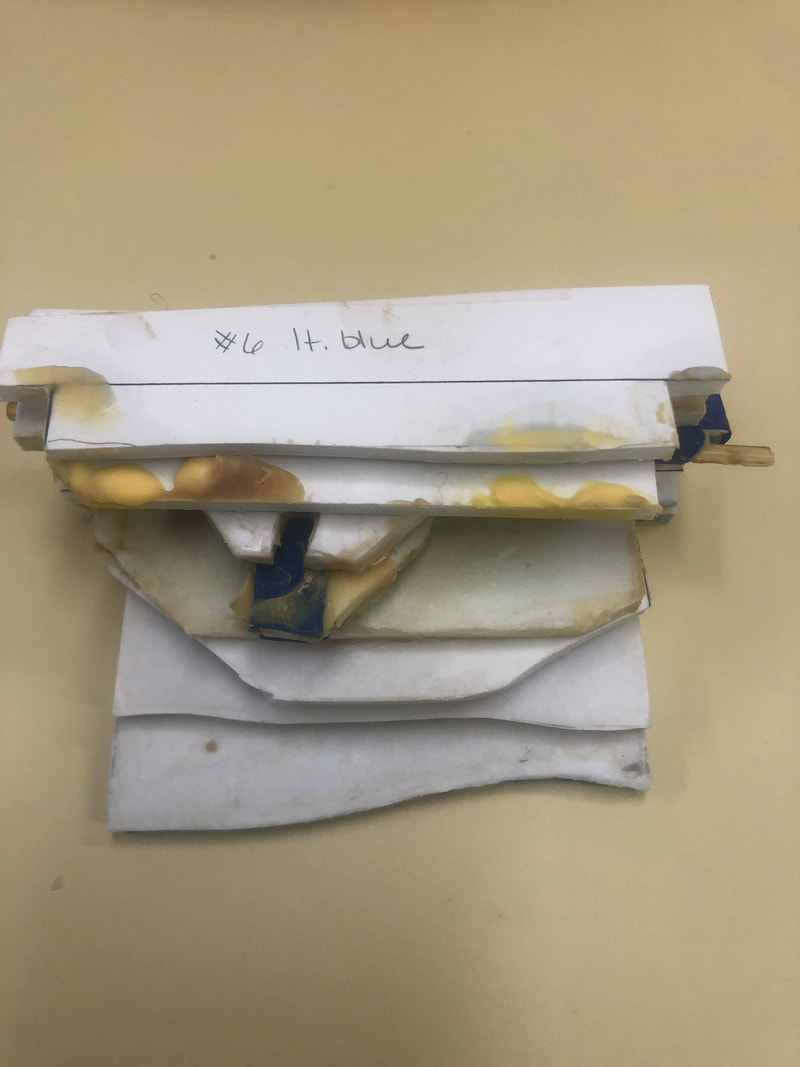
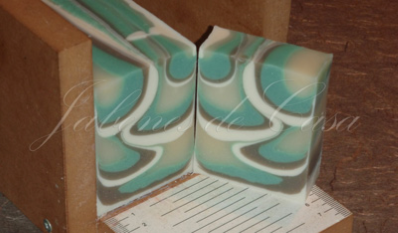
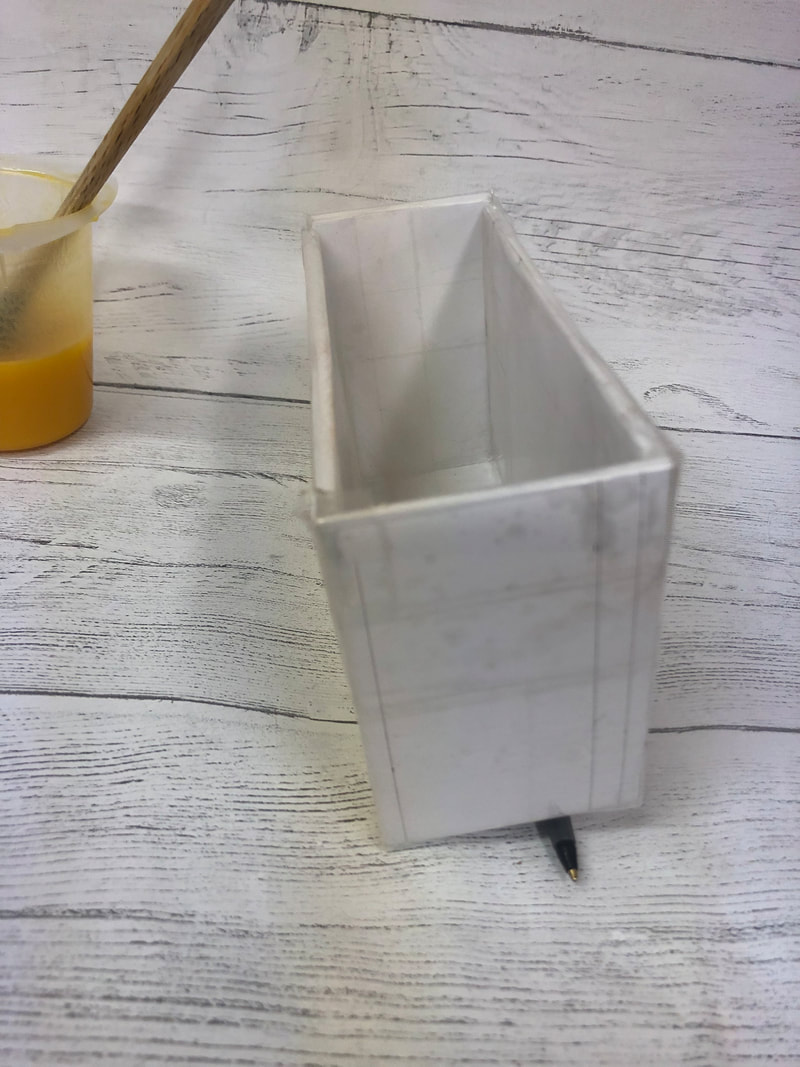
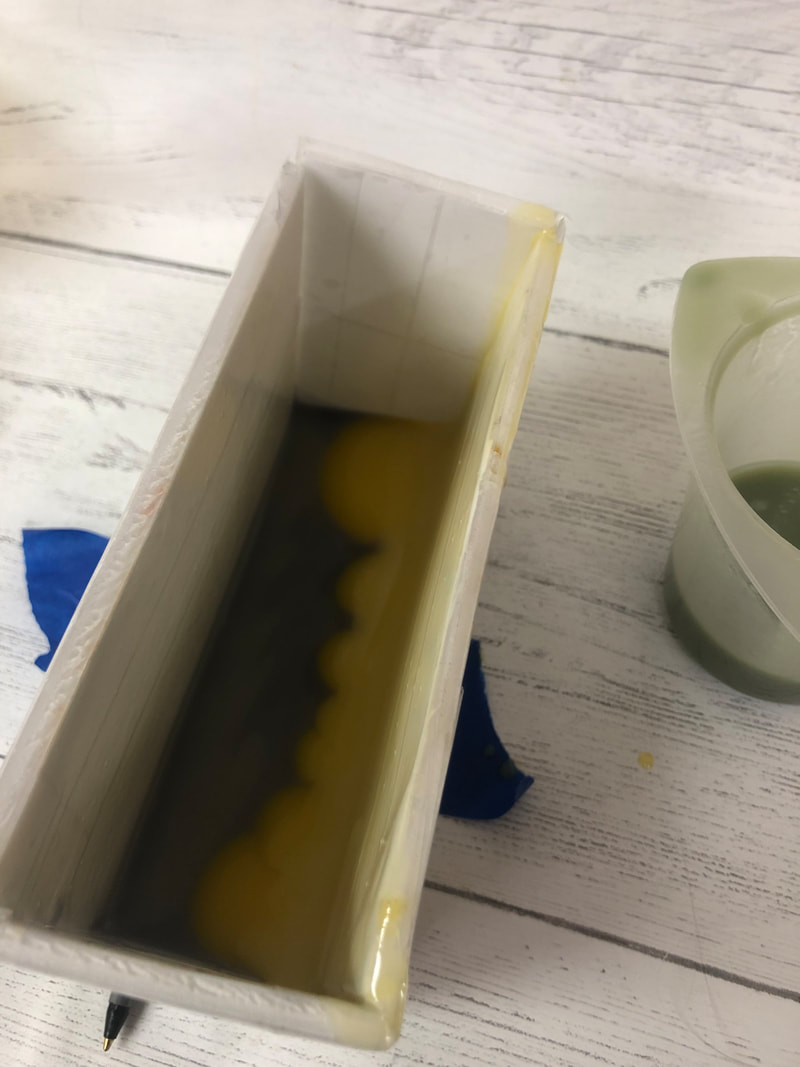
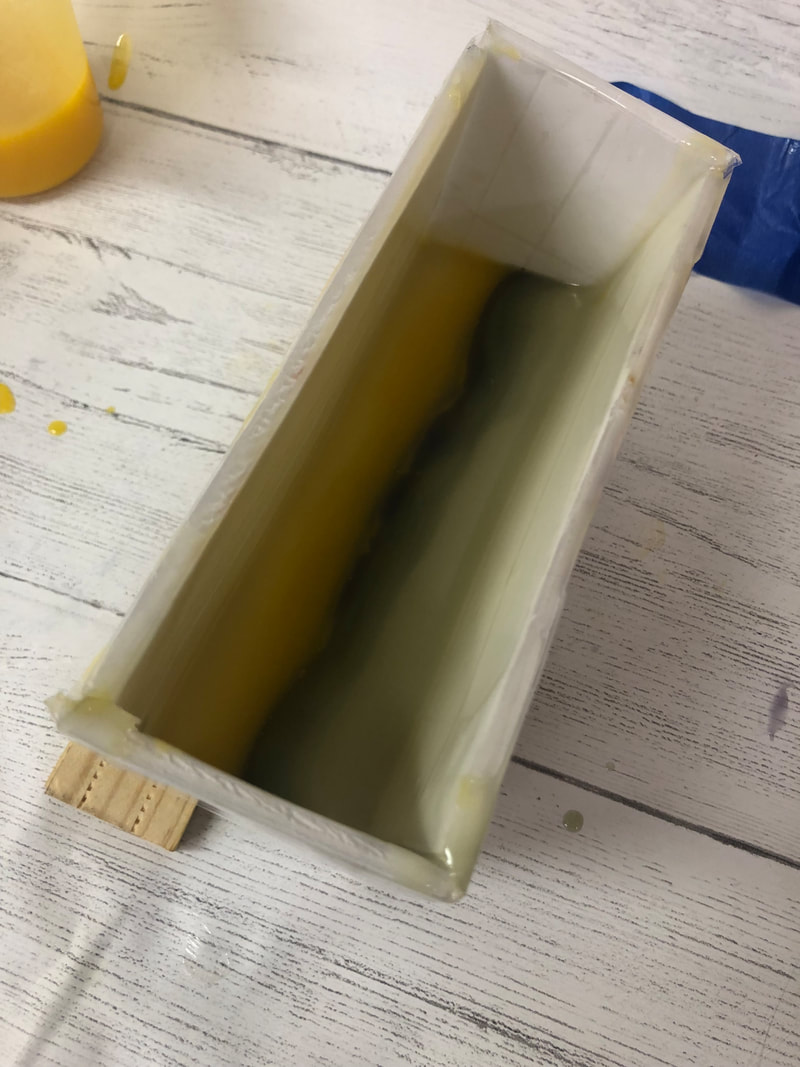
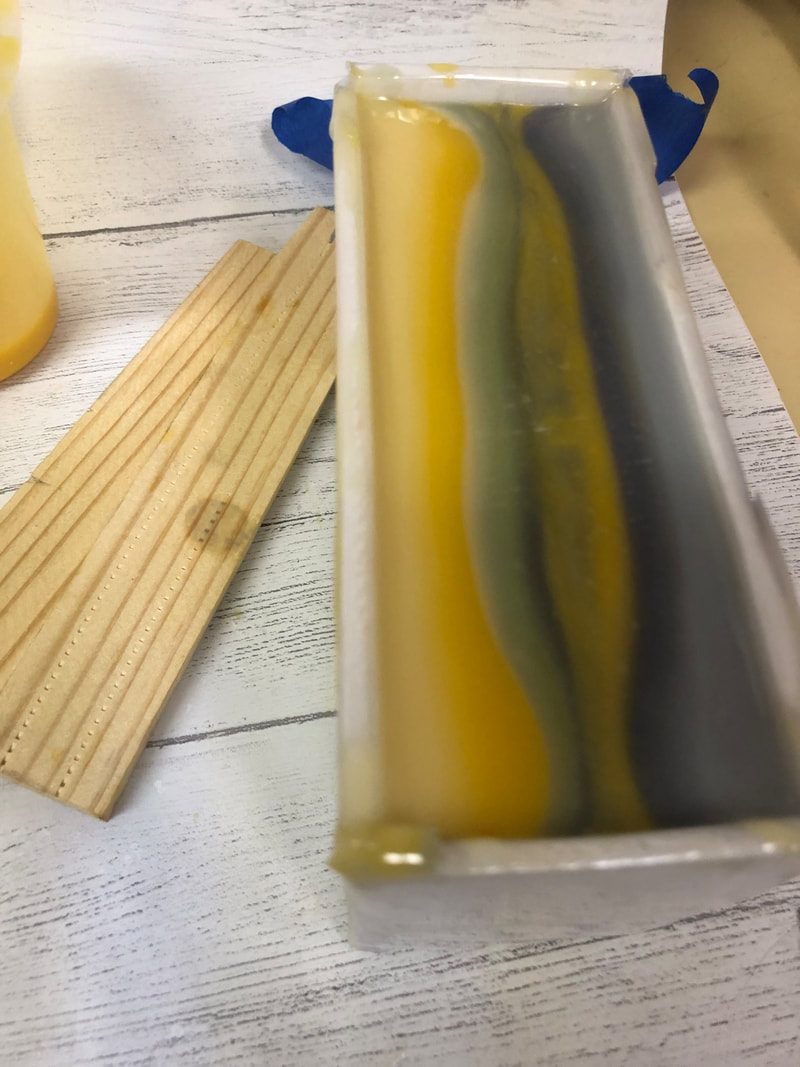
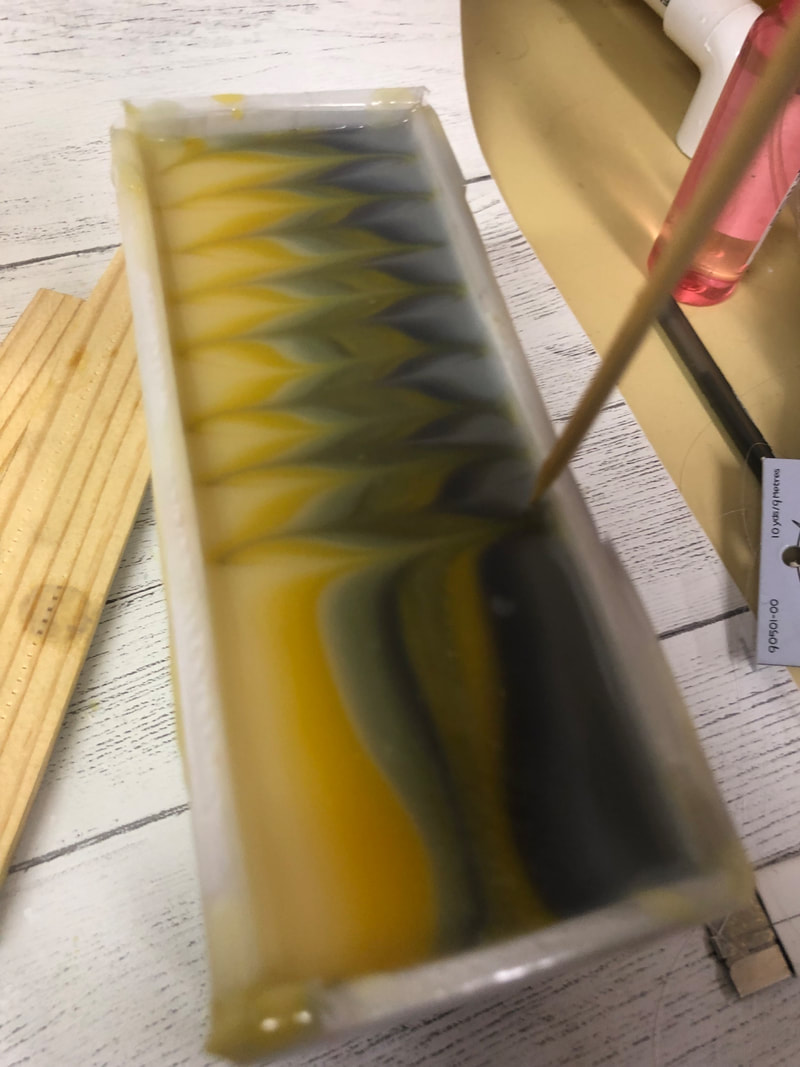
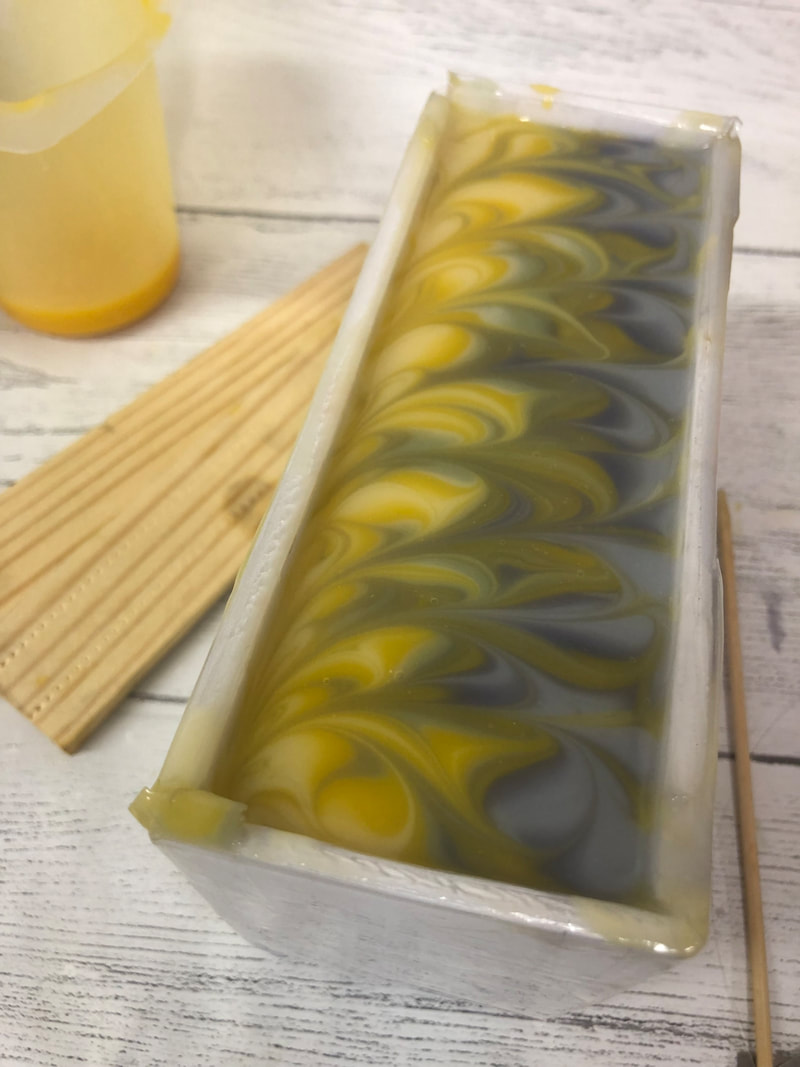
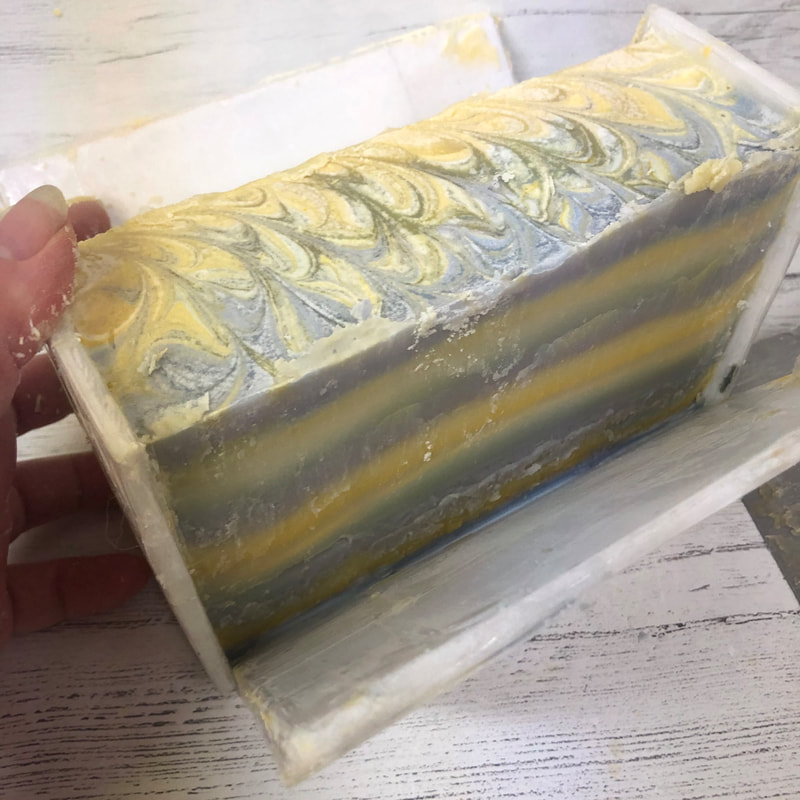
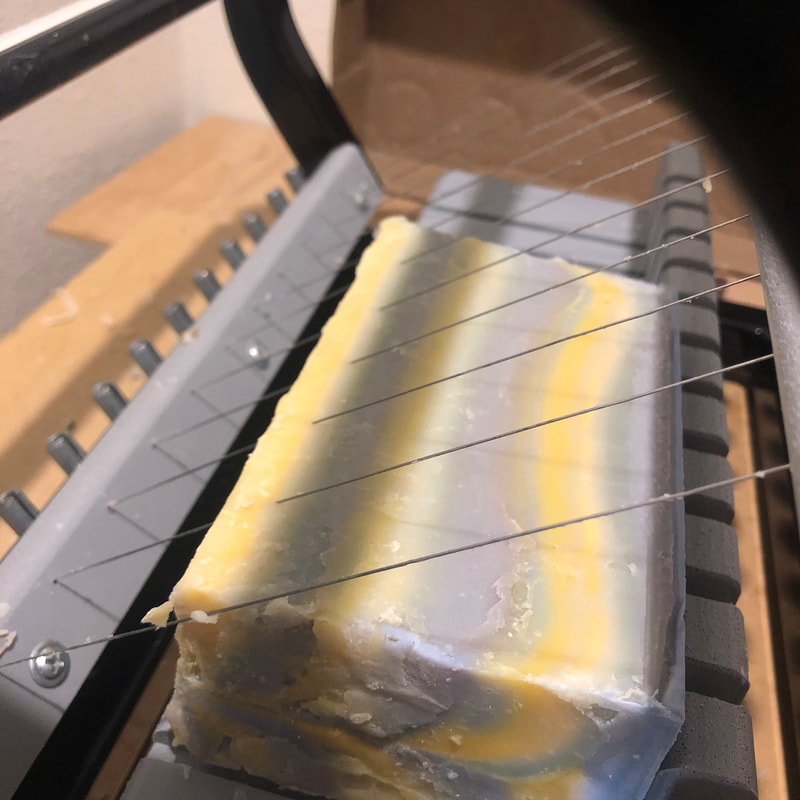
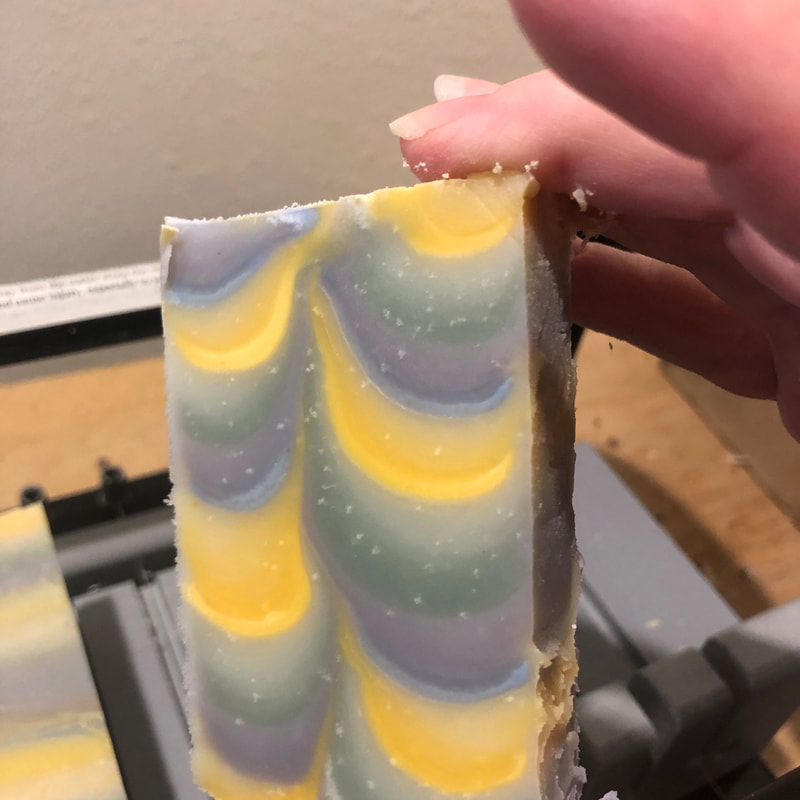
Time for another Soap Challenge Club batch, and this month's technique is the Tall & Skinny Shimmy. This was originally presented back in 2015, with guest instructor Tatiana Serko, and it was the first challenge that I had officially participated in. You can see my Harvest Shimmy here, and the other attempts here. They weren't the best, but I did love them and the technique. I've learned a lot about soap over the last five years, so I was hoping to do a little better this time around. So, let's resurrect this technique and do a few for this spring and summer. The pictures above are what we are going for with this challenge. The one on the left was the one used as the tutorial back in 2015, made by Tatiana Serko. The one on the right is, from what I've read, the original inspiration for this technique. It was done by Jabone de Casa in 2013. This technique is a wall pour, where you use a tall and skinny mold and alternate the sides you pour from, hopefully with a nice palette of colors arranged in the correct order (this part is challenging for me! ...especially since I use only natural colorants), to give a fluid motion effect of the shimmy. I was able to get three attempts in this month! For my first attempt I went with yellow (annatto seed infused oils), purple (alkanet infused oils) and green (chlorophyll) - I am so ready to see these colors growing outside! The scent is a fruity/floral combination of Yuzu and Lily of the Valley. The lighting isn't the best in these photos, but I was aiming for a gradient of each color. During the pour, you elevate one side of the mold. In the photos below, you can see that I have a pen underneath the mold. When you switch to the other side, the batter shifts and it provides the "shimmy" effect between the layers of soap. The pen decided to move on me, so I attempted to tape it down. Because I already had a bit of a soapy mess going on, that wasn't really working for me, so I ended up using some wood shims I had kicking around. For later batches, I taped these shims down so it was a good stable edge to lean the mold against. The pour was done by starting at one corner of the lower leaning edge and slowly pouring as you drag the cup along the long edge to the other corner. I apologize for not having any good pictures of that...I'm not talented enough to take the picture without an extra set of hands. (There are many good videos on the web demonstrating this though :) I just kept alternating yellow, purple and green until reaching the top of the mold. Each color had four pours ranging from dark to light. Then I put a bit of swirl on top with a bamboo skewer. I wrapped this up in towels, let it sit overnight, unmolded and cut. I think the batter was a little thicker than it should have been, not allowing for as much fluid movement as I would have liked. And, the green and purple should have been separated by the yellow...my difficulties with the color design showing here. But they are nice bars of soap all the same. Onto Batch #2... Again, I attempted a gradient of each color, but went with yellow (annatto seed infused oils), pink (rose clay) and green (chlorophyll). The scent here was a combination of mint, lavender, lemon, eucalyptus, rosewood and cedarwood. I moved a faster this time around, being a little more familiar with the technique. Definitely has more fluidity going for it, and I like the color design a little better. Now for Batch #3... I had been playing with the idea of doing all three colors on each side, each time I poured, so this was that attempt - no gradient this time! I chose to do black (bamboo charcoal), pink (rose clay), green (chlorophyll) and white/natural (kaolin clay). The scent combination was a mixture of orange, grapefruit, sandalwood and ylang ylang. Now, these I absolutely love! I think the contrasting colors really nailed it and I'm thinking I should always leave a bit of white....if I could only remember that going forward!
This was an enjoyable diversion this month. Thank you Amy for deciding to do the challenge in lieu of the HSCG conference! Has anyone seen any part of the virtual conference? I keep meaning to take the time to look... We all need to relieve a little stress right now, being in the middle of this world wide pandemic. One of the ways I like to do that is to play with a new, or favorite, soap technique! Thanks to Amy Warden and her soap challenges, we have this outlet in our lives :) This month's Soap Challenge is called Clam Shell Technique, and it was guest taught by Teri Endsley of Tree Marie Soapworks. The end result should look something like these two soaps. Now, I have to say that I watched the tutorial videos the very first day that they were made available to me, and a few weeks later while I was in the midst of making other soaps, I decided to throw this into my day without watching the video again. So....I forgot one of the most important tips for this technique, raising the far end of the mold. My soaps still turned out ok, and even if they are not a perfect clamshell, I am happy with the results! For this technique to work, it's best to use a slower moving recipe and fragrance in order to allow for the batter to flow well all the way across the mold, throughout the entire pour. My stress relief blend tends to behave this way for me, at least when I don't want it to lol!, so that is what I chose for this recipe. For the colorant, I chose to play with my indigo blue again, one of my new favorites. I decided to do a full batch experiment. I had read somewhere that the use of a larger container would work well so you don't need to stop to refill. However, I find it easier to control the pour with a smaller container, so that is what I used. I poured a portion of each color equally and at the same time into the smaller container to prepare for the pour. With this technique, you determine three places that you want to pour and alternate. I also did not remember to go from left, right middle or right, left middle. I went left, middle, right....oops! As you can see, the batter was not piling up the way it should because I had not elevated the far end of the mold. As I went along, I could see more of the clam shell effect coming through. The clam shell effect got stronger, it may have been that the trace was too thin in the beginning. Pictures also got worse, I'm thinking maybe some soap batter got on the lens, yikes! After the pour was complete, I covered it with towels and let it sit overnight. Now, for the cut. I couldn't resist playing with it a bit to see what was on the inside. So, my first cut was a wide one from the far end to see how the inside looked. This small block was then cut horizontally.
This technique is very addicting, and ever since I poured this batch I've been thinking about how it could be improved. Of course, watching the videos again helped me to see where I went wrong lol! I just didn't have the time to repeat this one during the challenge. Regardless, these are beautiful soaps that will certainly be enjoyed!!!
It won't be long before I try this one again! With the current world climate, people everywhere are being more vigilant about hygiene these days. This involves nearly all we do during our day - where we go, what we touch, how often we wash our hands, using hand sanitizer, you name it, we are all thinking about it.
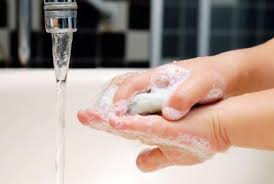
So, how do we keep our hands clean without drying them out? Keep hydrated and use a good bar of soap! This is something I learned a long time ago, which brought me into the world of soap making. ASC Soapworks soaps are highly superfatted to give a luxurious hand cleaning experience without all the harsh chemicals found in many products. So, what's on our minds? Handwashing, Hand Sanitizer, Disinfecting. Let's discuss each of these. Handwashing: It should be a matter of habit. We should have been taught to wash our hands throughout the day, as young children - after using the toilet, before eating, after coughing or sneezing, whenever you touch something "yucky", petting zoo, etc. Indeed, as a mother and a former child care provider, yes, I am a bit militant about the washing of hands in my house. We tried to make it not only habit, but as fun as possible. With this in mind, we tried various methods, and found that hand soap in bar form was best for children. My main reason for this thought was that they will actually play with the bar of soap for several minutes if you let them. They love that slippery feel! The CDC suggests lathering up the hands for a minimum of 20 seconds. With the children we always sang our ABC song, which lasted just about that long, but the bar soap helped them to achieve soapy contact for at least that long. Liquid soap often will barely touch the hand and the little glop will slide right off and into the sink. Now, many people over the years have disagreed with me, for a couple of reasons. Some hear stories of how bacteria can be transferred from bar to hands. And, of course, bars are certainly messier on the sink. However, research has shown (here comes my biochemistry background...oh do give me something to spend hours researching in the primary literature!) that this is completely unfounded. Although persistent bacteria may stay on the bar, it does not seem to transfer to your hands. And, for me personally, I don't compromise on health for convenience, so I'll clean up the sink. Several of my former child care colleagues, some of whom I never thought would change their minds, have made the switch to bar soap, as they have found they same to be true in their experience. The main points for washing your hands are these:
Click here for the CDC Guidelines for Washing Your Hands, in case you need a refresher :) Hand Sanitizer: Okay, this one I have a hard time with, as I have never held much stock in this product. However, I have read books on how this developed in the hospital setting with MRSA, etc. and I do believe there are places for it. I use it at times when I am out and about, am grateful when I see it in a port-a-potty, and definitely for things like the county fair when you are touching all those animals and then eating something to the like of cotton candy. I admit I used it while traveling this week, as I was over thinking everything I touched. Well, maybe you really can't over think that right now...or we are all over reacting - only time will tell. Reasons I personally do not use hand sanitizer
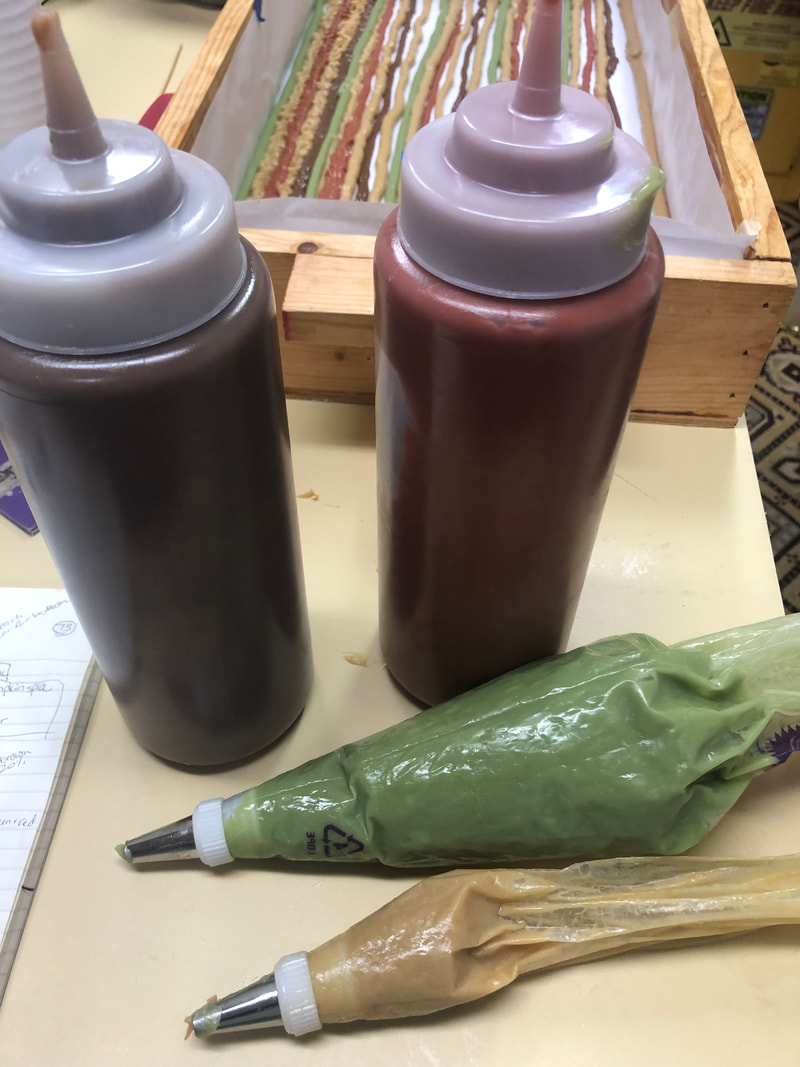
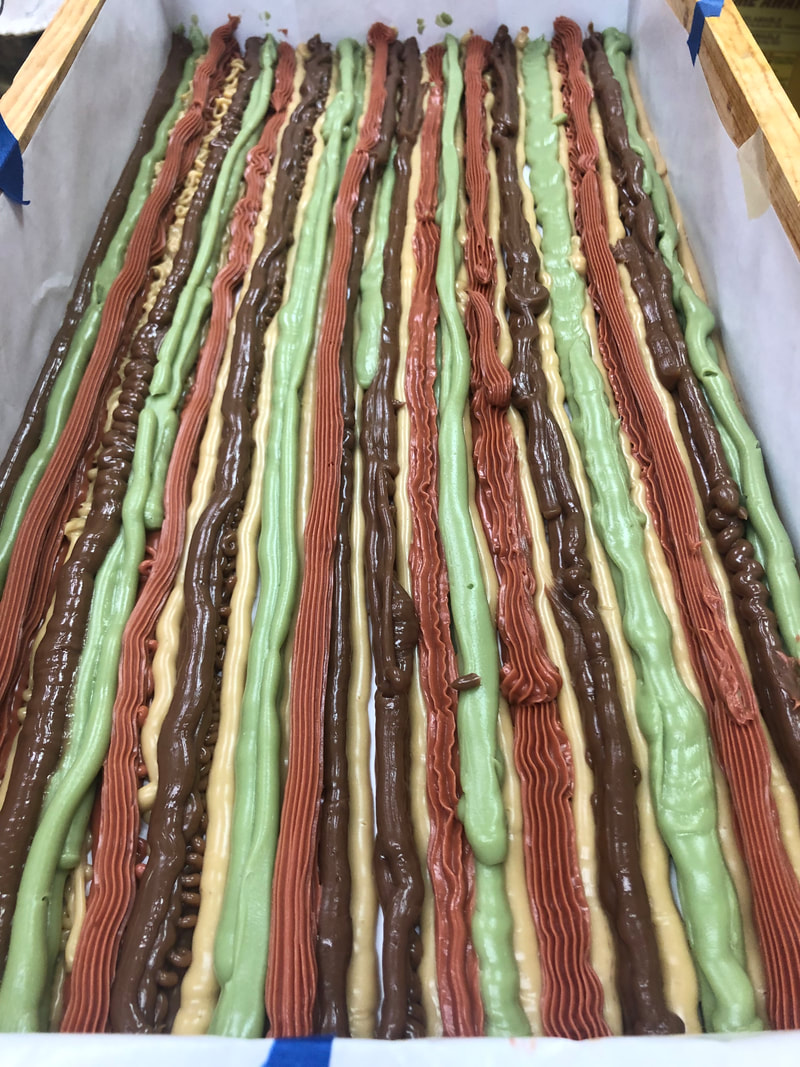
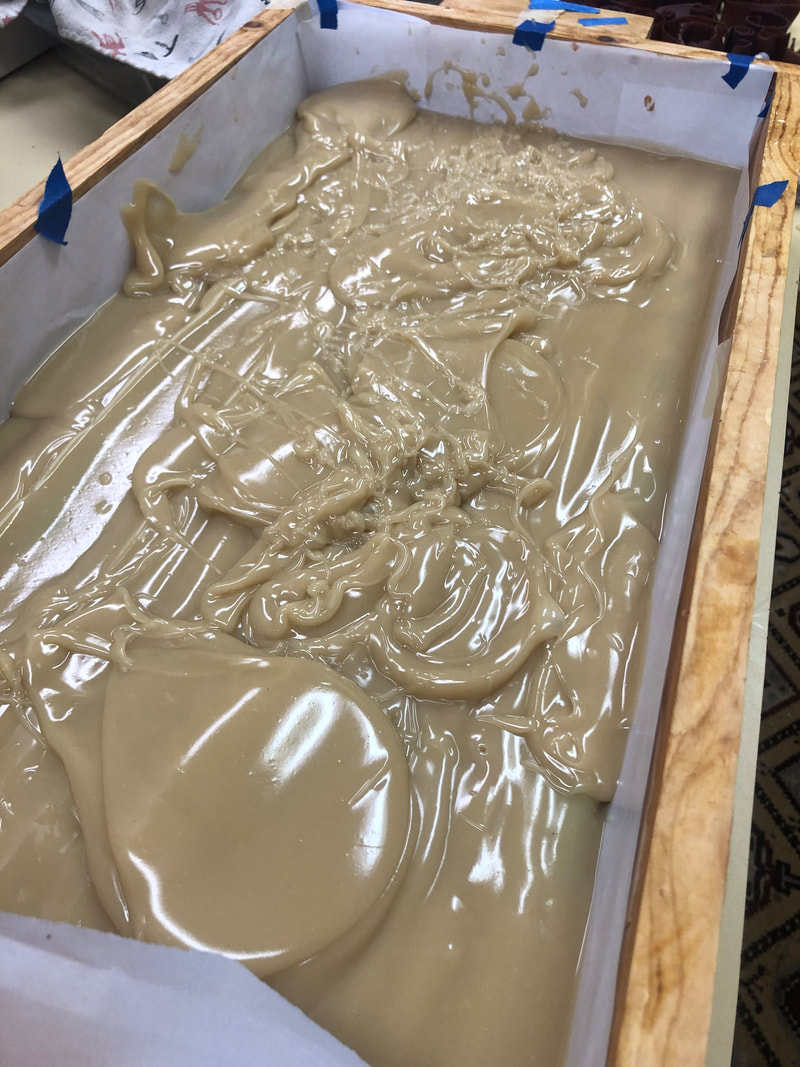
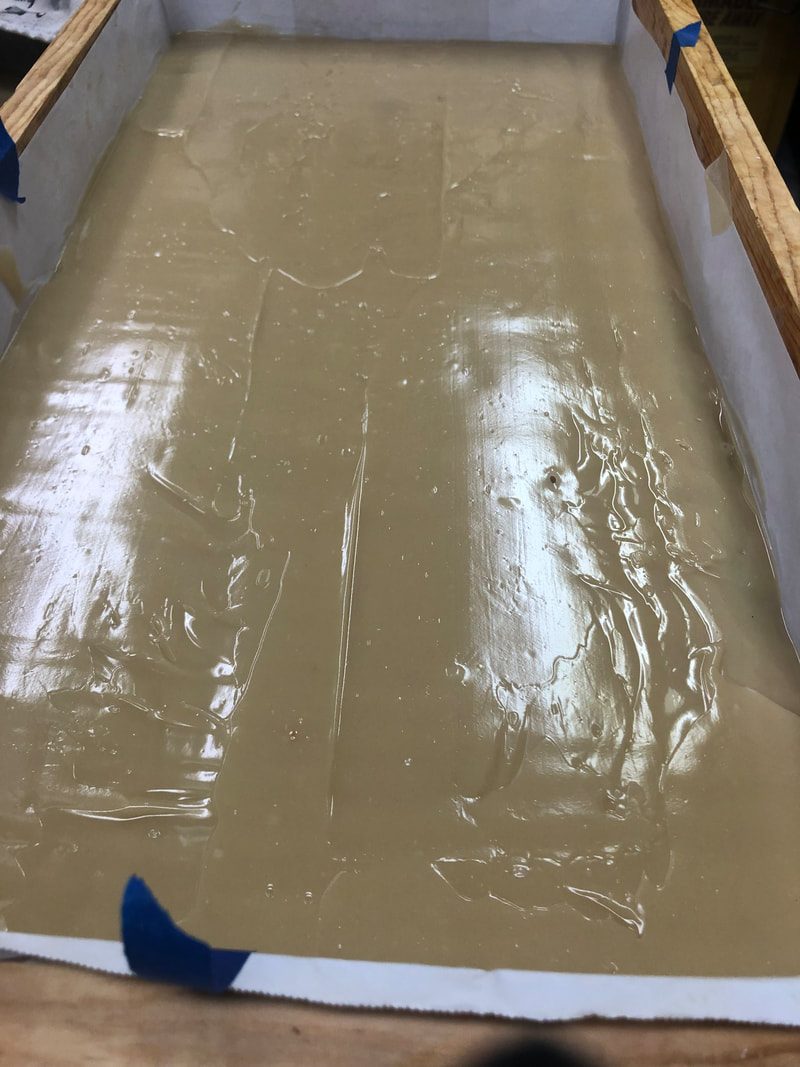
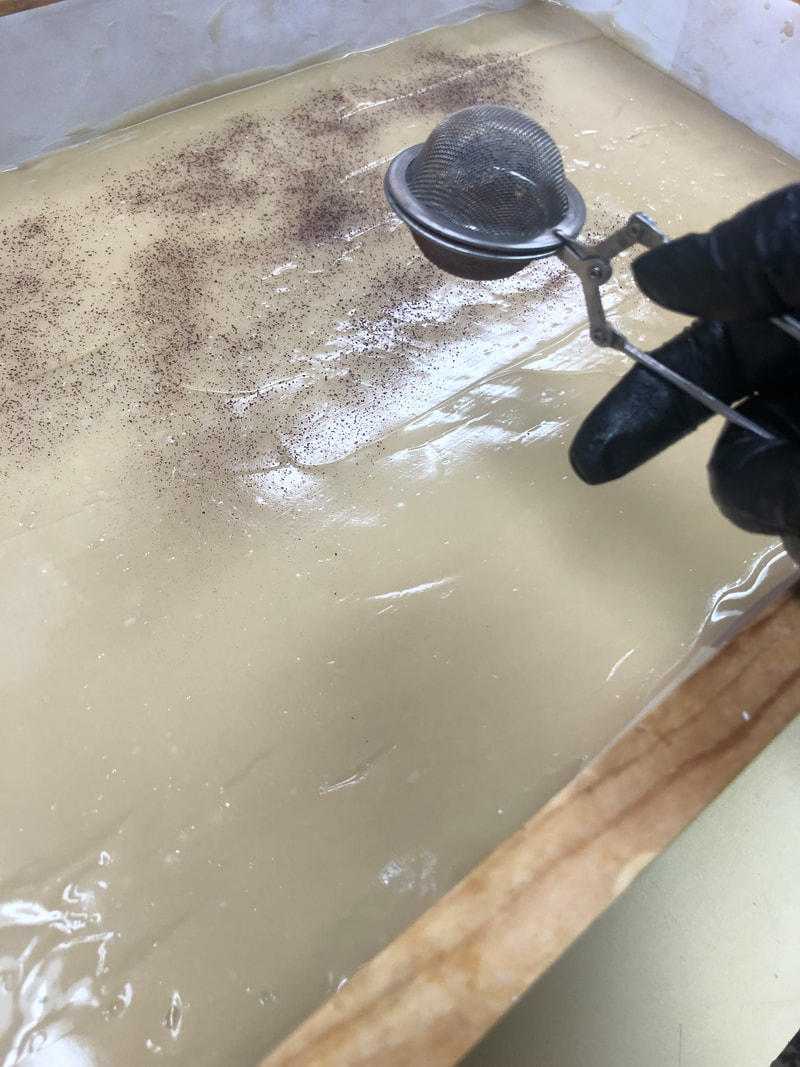
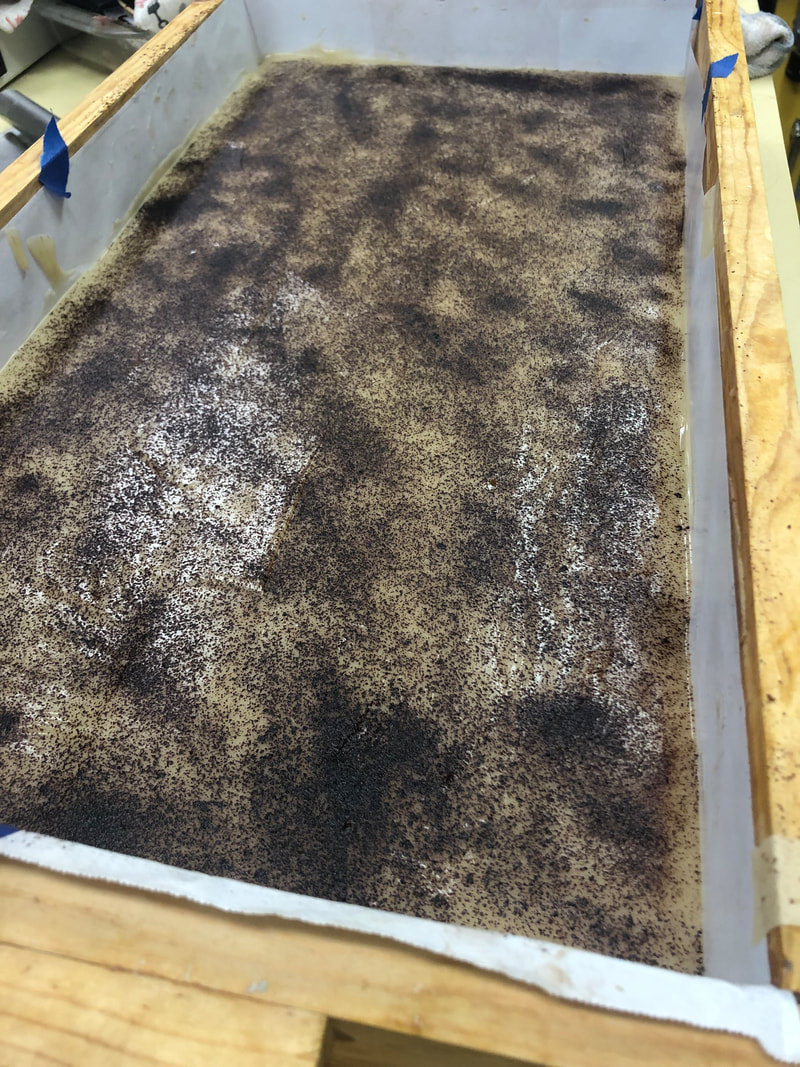
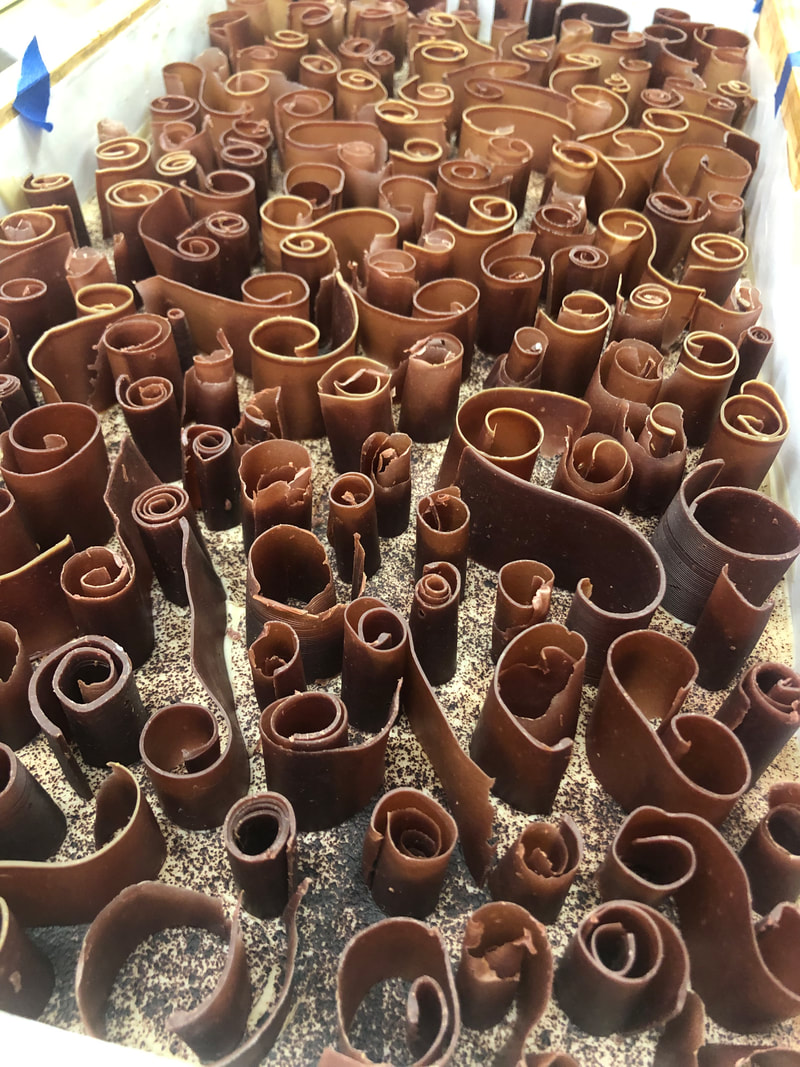
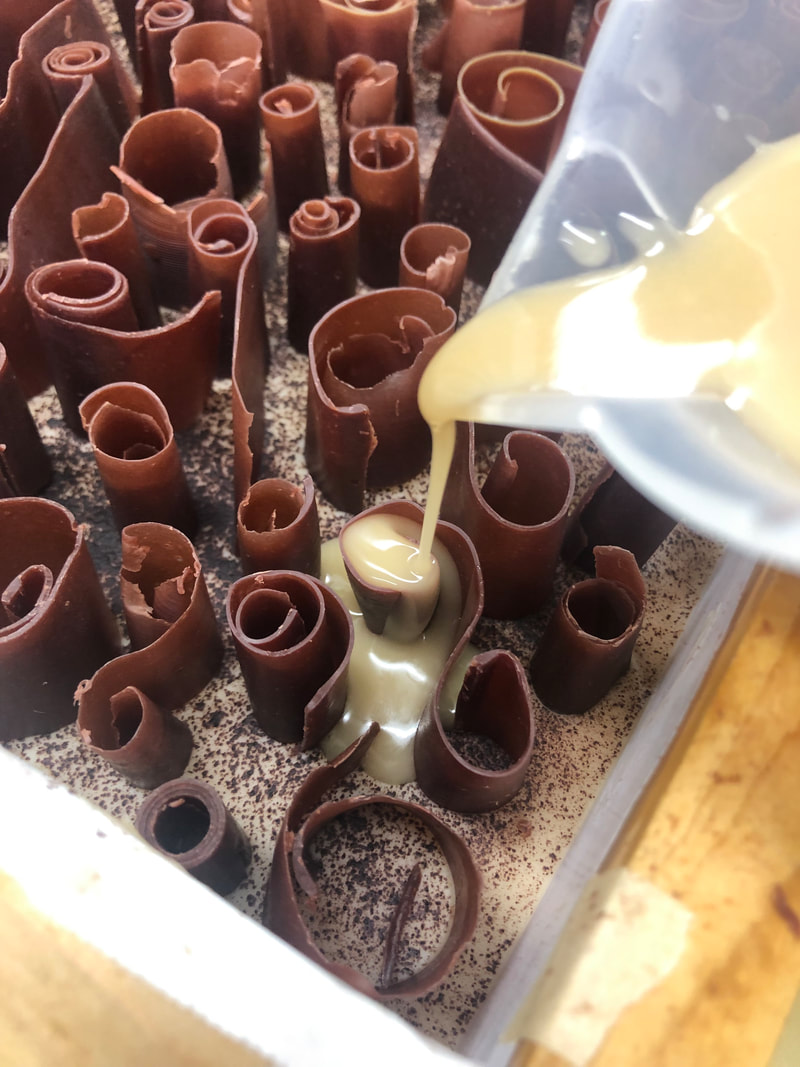
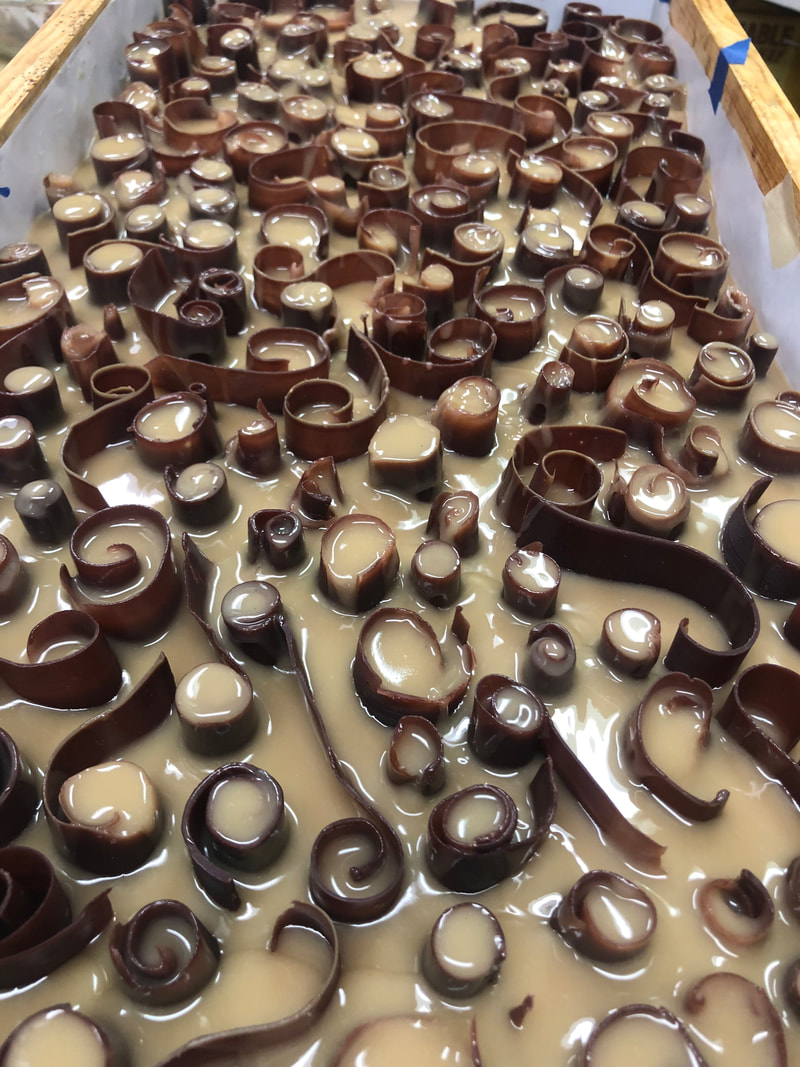
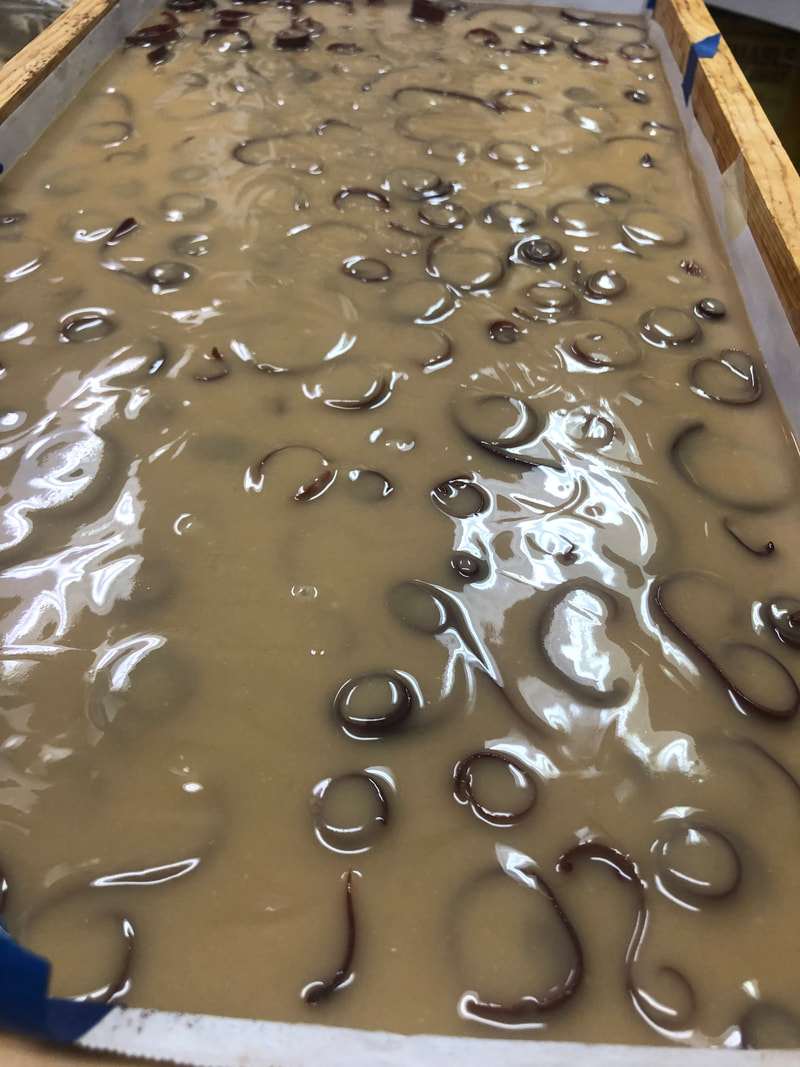
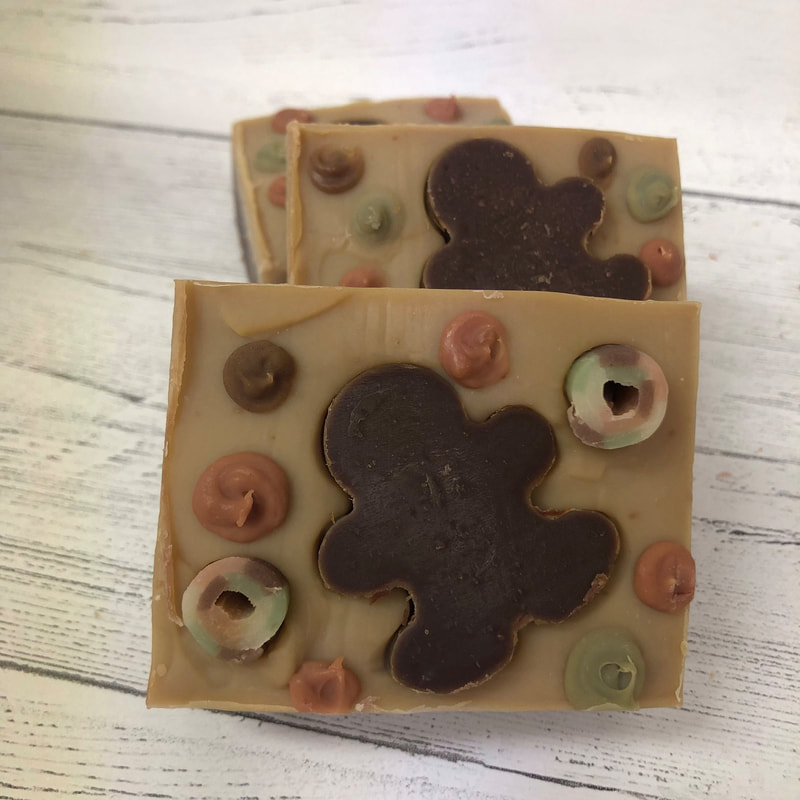
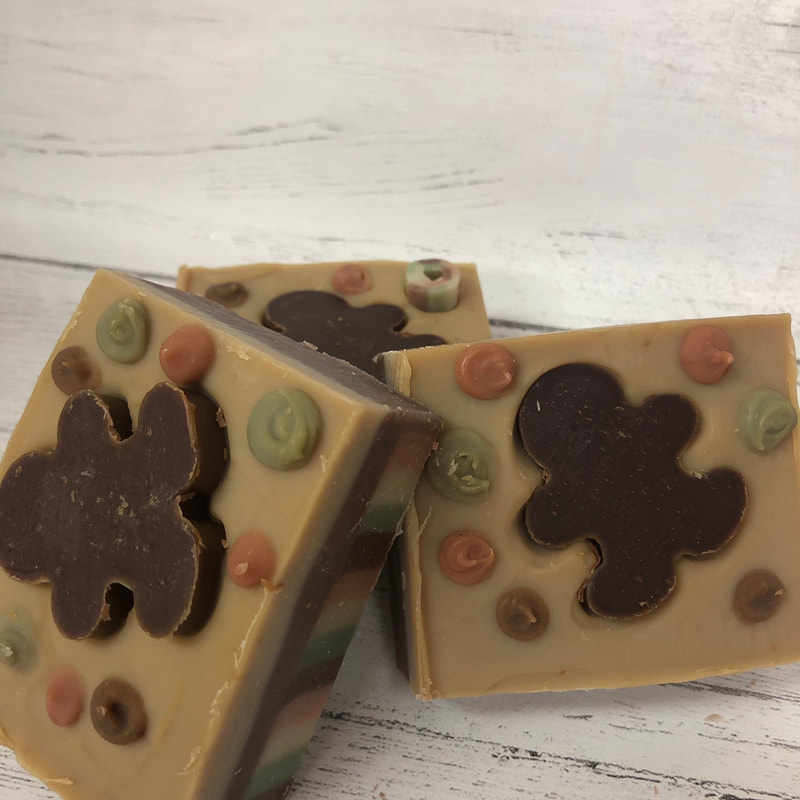
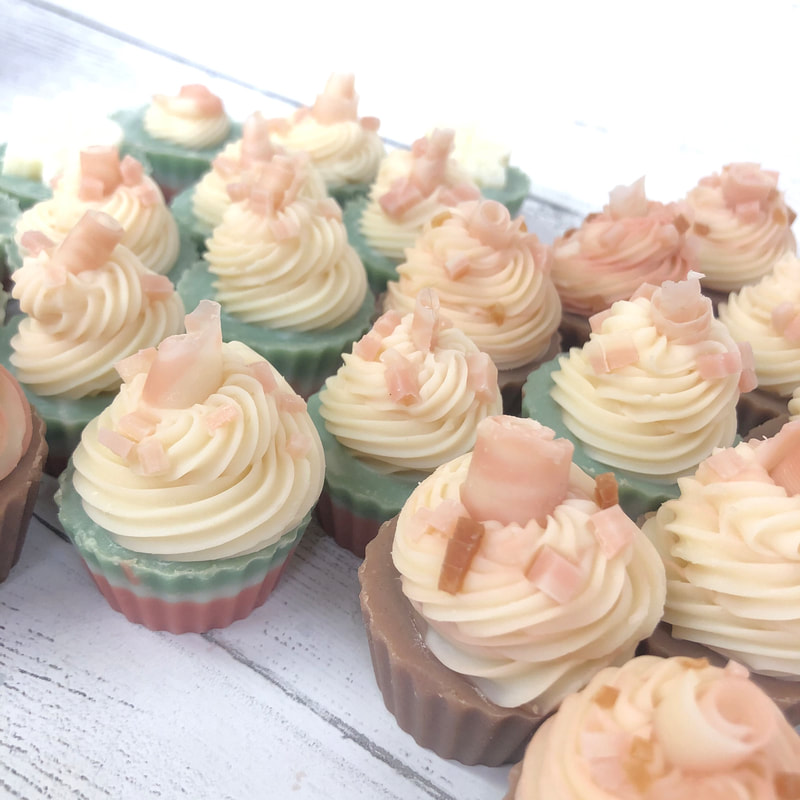
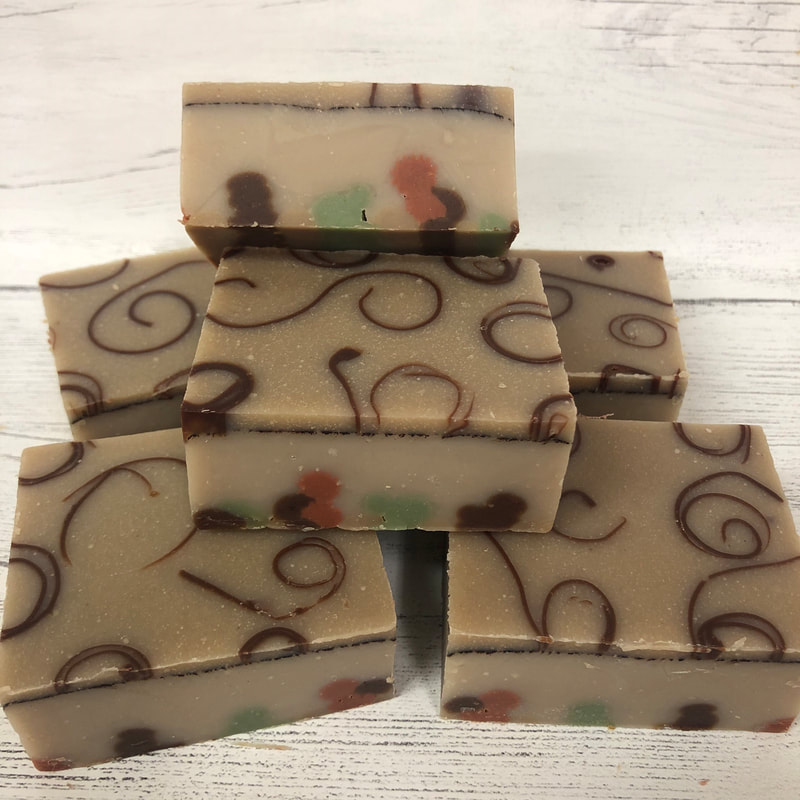
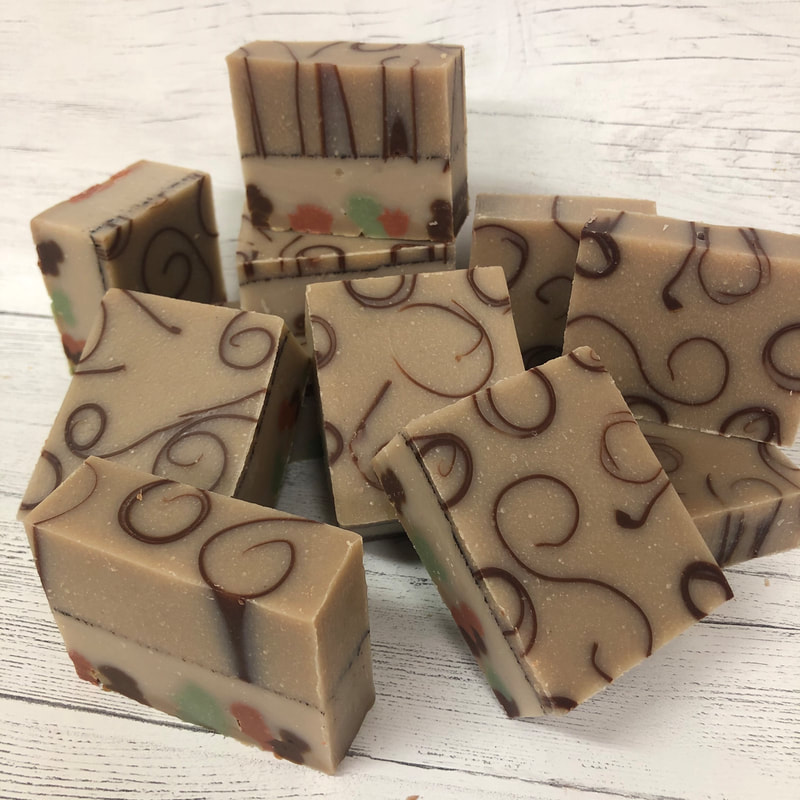
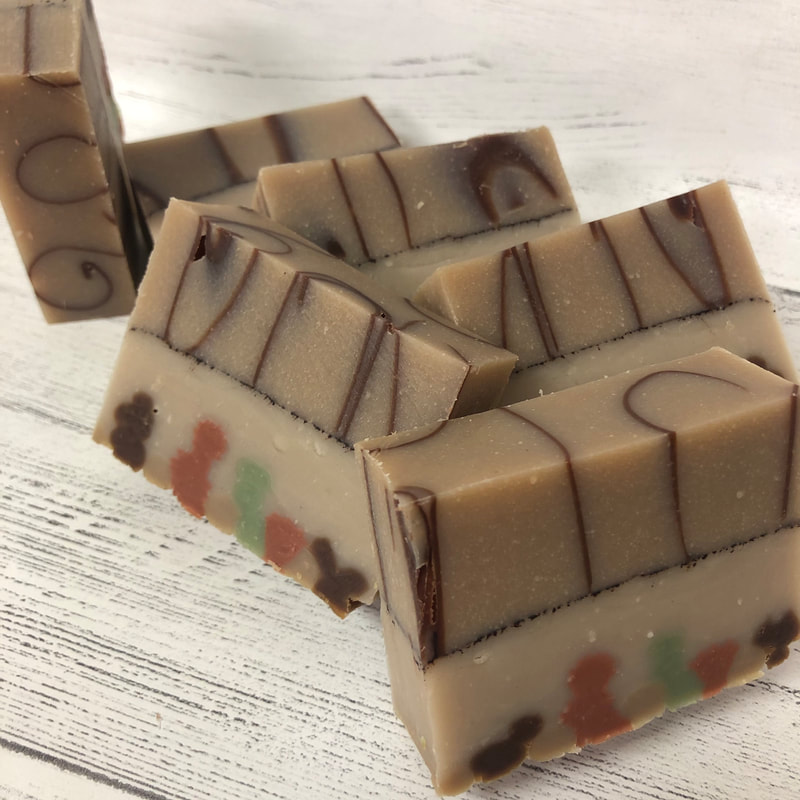
With that being said, I have recently been experimenting with making my own fragrance free hand sanitizer, that will be available to customers once I know that it really works. I'm loving the product right now, as it is very moisturizing, but I need to do some control experiments :) Click here for the same link to the CDC website on handwashing. If you scroll down, it also covers hand sanitizers. Disinfecting: I have never been a "germ-a-phobe", and and believe in the philosophy of eating a peck of dirt before you die. Therefore, I have never been overly concerned with disinfecting surfaces. However, I am very aware of where raw chicken has been laid, and I have been known to have bouts of Lysol spraying when all the kids are sick. I definitely believe in disinfecting door handles, light switches, etc. when we have an active outbreak in the house. So, I do keep things in perspective. Did I bring wipes with me when I flew this week? Yes, I did :) Was I overly concerned? Not really. It was an easy thing to do though and I figured why not. Most illnesses are contracted through air and hand to hand contact, so I generally don't worry too much about my surroundings as most of it is out of my control. However, my immune system has been pretty strong, this is not true for everyone. So, use your own experiences and common sense to do what is right for you. And, don't forget to be mindful of where your hands have been and where they are. It's a hard thing to do, but maybe touching your eyes after handling a grocery cart is not the best idea. Be conscious and aware :) Just keep in mind those basics that we all know will help to keep us safe and healthy. They won't protect us from everything, but overall you can be healthier. So, what's your take on all of this hyper vigilance? Is it really necessary? What are your safety concerns and what are you doing to protect you and your family? I'd really like to hear from you!!! A busy summer and getting ready for fall and winter sales has kept me away from participating in Amy Warden's Soap Challenge Club recently. This month however, all the stars aligned - I was in a soap making mode and this challenge lined up with items I was already going to make. The challenge was entitled "Soap Curl Designs" and you could make the soap one of two ways. One was to put curls into the top of the soap as an embellishment, resulting with them sticking up. Alternatively, you could embed the curls and slice through the soap to have the curls show up as a flat image on the face of the soap. So, having Christmas on my mind...and needing to have these done before December 1st, I set about to create some sudsy holiday fun! I really liked this example from lyubavasoap on instagram, that was linked to in the tutorial, and I decided to modify the idea for our 2019 Gingerbread Soaps. My idea was to add some color to the bottom part of the soap with vertical lines in gingerbread colors - I used moroccan red clay, cocoa (light and dark) and chlorophyll for the colorants. Thinking of ideas to get this done - without making a separate batch of soap, flipping it and then pouring another layer over the top - I decided to make thick layers with the colors, hoping it would be straight enough for "lines"...knowing deep in my heart that this really wasn't going to give me was I was going for. I've done this in the past with my American Flag Soaps, and they are a VERY artistic rendition of the flag :) But before all of that, I needed to make dark brown curls. So, I made a separate batch of soap using my usual recipe. After an overnight cure, I unmolded it and played with making curls - this is where my obsession kicked in. I now have curls in various scent varieties scattered throughout the house, just waiting for a suitable home. Making curls was not as easy as Amy and others make it look, probably because I did not modify my recipe. I tried using my soap planer without too much success. I think that the soap was too soft at that point. Some curls were used with a regular potato peeler as shown here, but my best curls were made with my cheese knife, which I unfortunately did not get a picture of. Now, onto the soap pouring... To obtain the colored layers, I tried both the squirt bottle and piping bags. For those that are interested, the piping bags worked better, as the batter was fairly thick. I ended up taking the batter out of the bottles and putting it into bags to finish this layer. I then poured a layer of light brown over the top of the lines to fill all the crevices, solidify the base and smooth it all out. I finished this layer with a sprinkling of cocoa powder. Now, time to add all the curls I had made. This month, because I made so many new soaps, I've had a really hard time waiting to cut my soaps. This was certainly one of those batches! Next day... Stripes were not as pronounced as I wanted, but they are adorable just the same. I wasn't sure how I wanted to cut these bars, so it was time to play... The second batch of Gingerbreads also had some swirl play involved, however, the result was not exactly perfect. The curls were too thick to give much detail, and because of the Gingerbread Man embed, it wasn't able to be sliced off well. However, I did take the time to get the bottom the way I wanted them to be. Of course, I had to add swirls to some cupcakes... Here are the final entries for the contest...does anyone other than my daughter see the little "people" in the colored bits on the bottom?
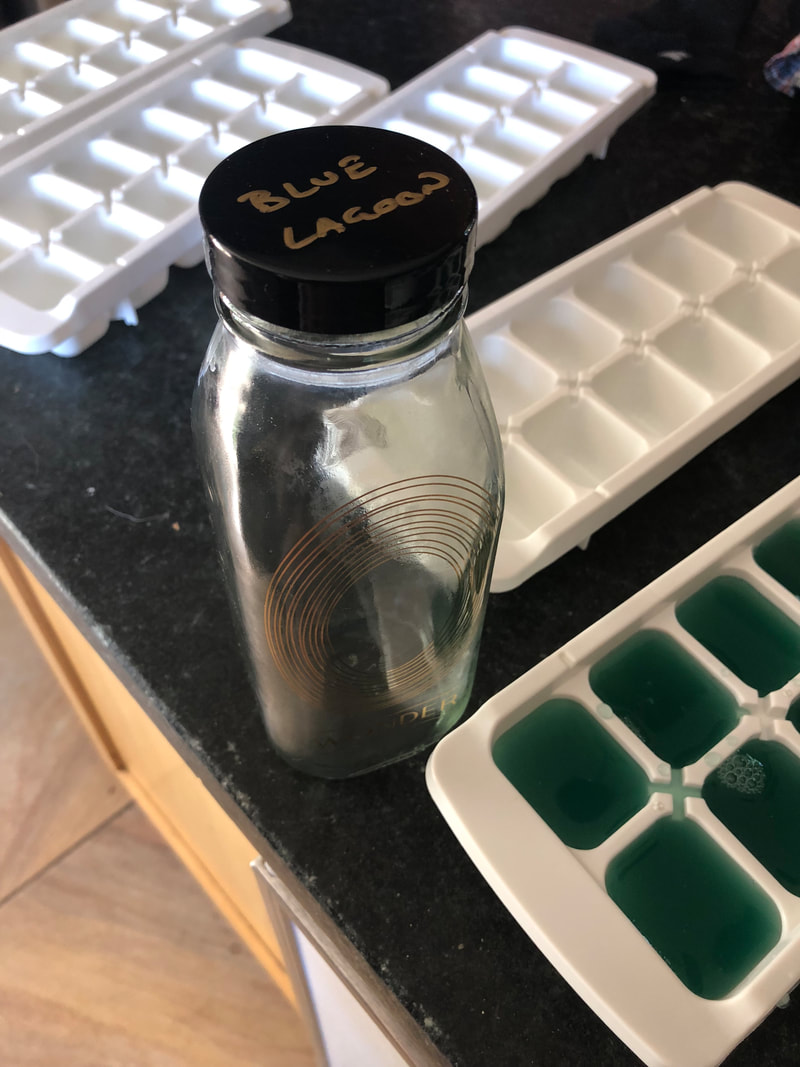
Now I need to figure out what to do with the rest of my curls!!! This month's challenge from Amy Warden's Soap Challenge Club was to incorporate food and drink into your soap recipe. I have been looking at a few different projects with this very thing in mind, so this challenge was aptly timed for me. One of the project soaps I was thinking of was using various juices. A company in Boulder called Wonder Press was interested in having some of their unique juices made into soap, and I was curious how they would turn out and if the colors would survive the process. So, here I have the initial experimental results.
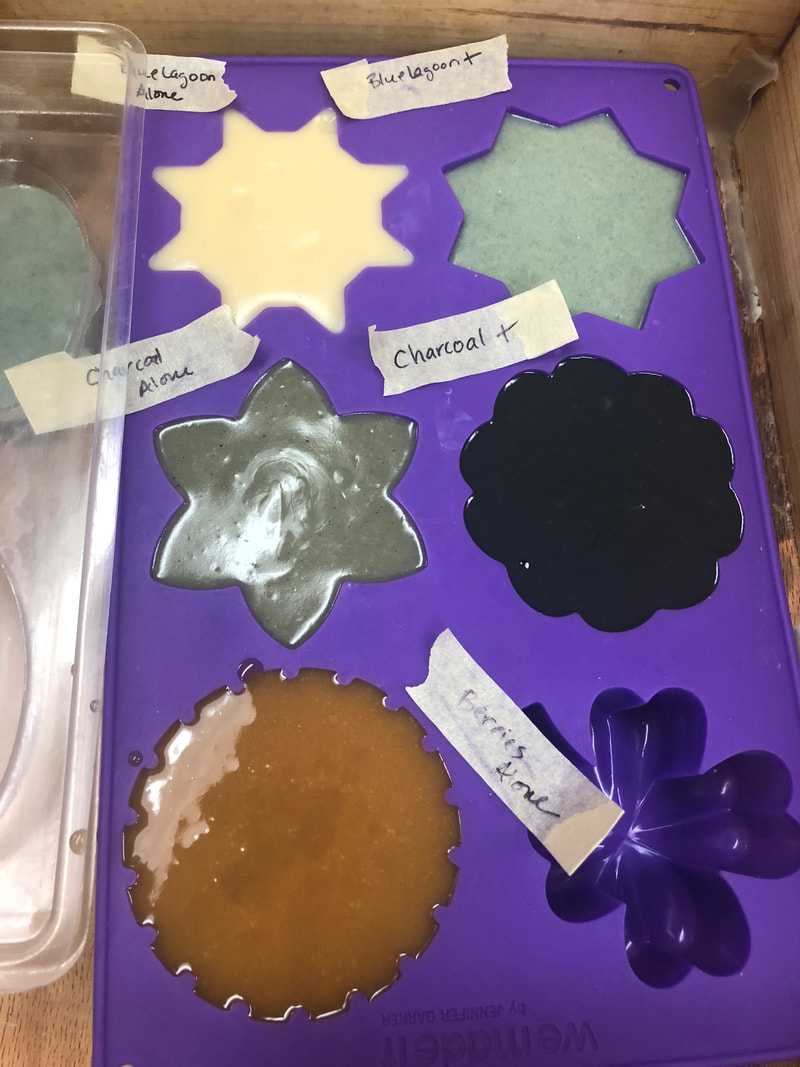
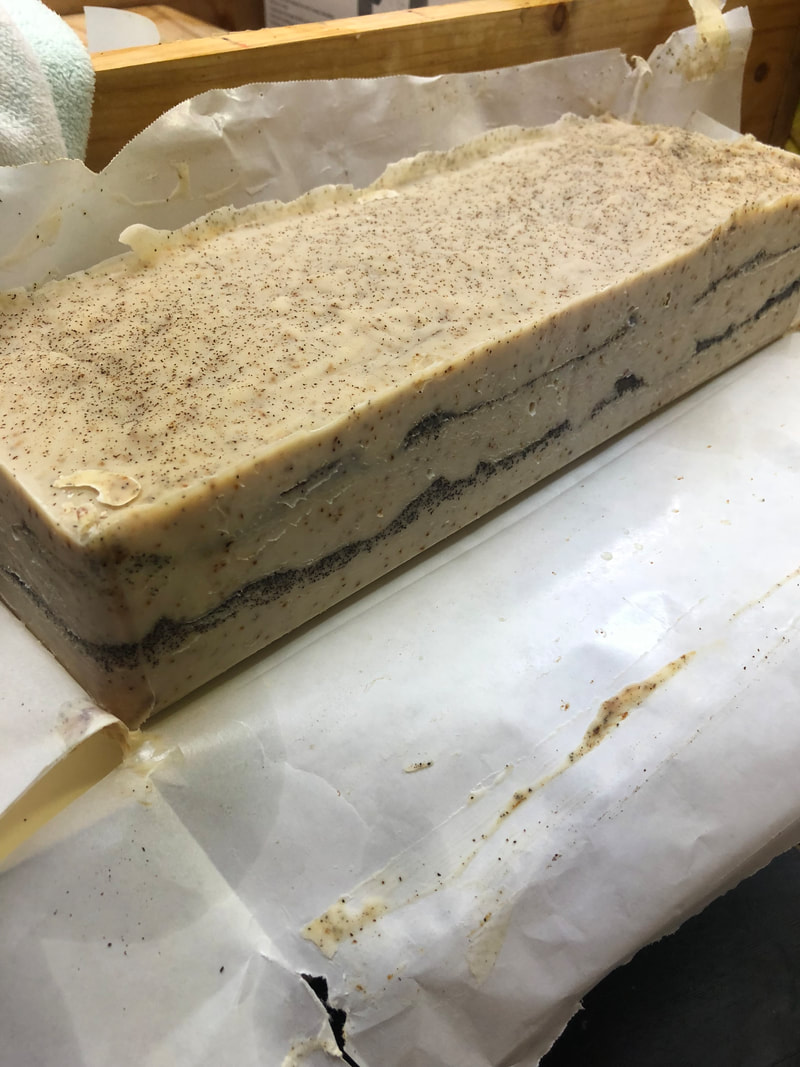
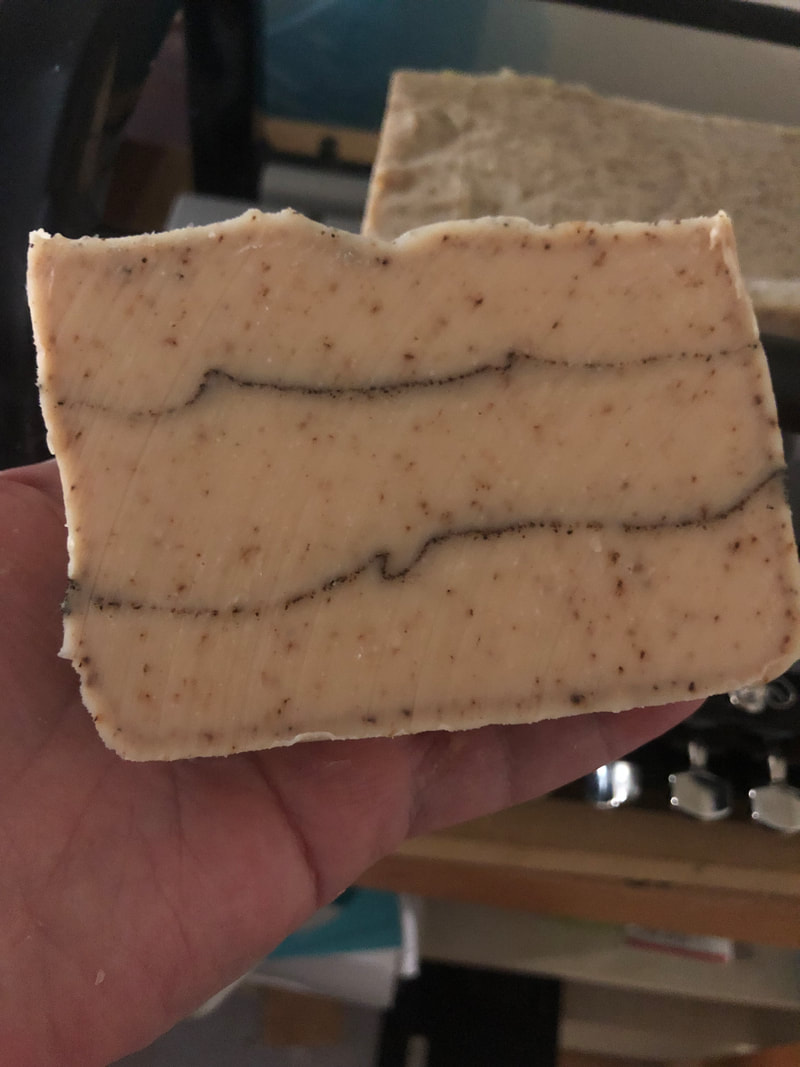
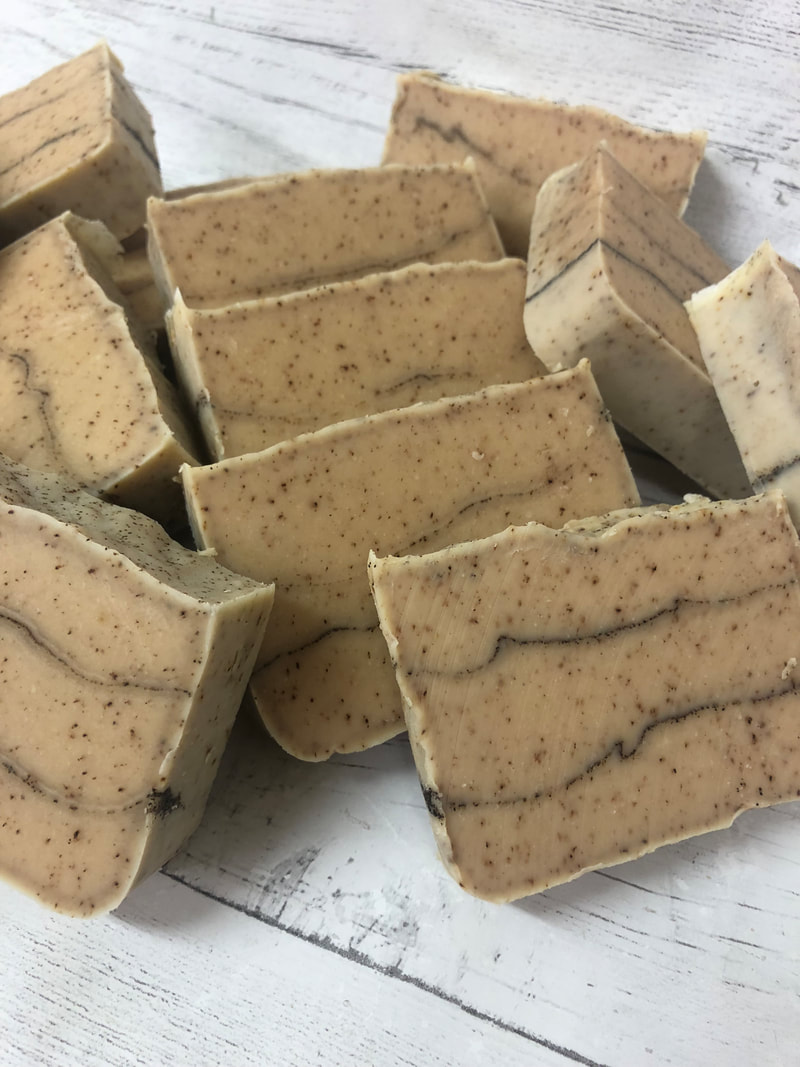
The middle two soaps were made with a charcoal thyme lemonade, a very intriguing combination. The star shape, middle left, was the juice straight up. No added charcoal or fragrance. The color actually ended up similar to what I was hoping for with the first juice, but still no scent. On the right, I added charcoal and essential oils to create something more representative of the juice it originated from. And, the bottom left soap (there actually was no bottom right...) was made from some juice I had in the fridge. It was an Odwalla Berries Gomega, which is technically a smoothie - made from the puree and juice of a combination of fruit and berries. The final soap turned a light brown color, so as I expected, the purple did not come through. However, and interesting finding was that it did smell faintly of berries, making this a natural way to obtain a berry scented soap. Now, on to the soap that i entered into the soap challenge. The hand therapist, whom I saw several times a week after my carpal tunnel surgery, actually owns a brewery out east of where I live. During my hand massaging sessions, we had talked about possibly making some soap from his beers. It never came to fruition, as the seasons and timing weren't right, but I have kept this on my mind ever since. So....I headed over to Echo Brewing in Erie, CO and picked up some beer. Varieties that caught my eye for soap making were a Blackberry Wit, a Peach Pale Ale and a Hefeweizen with hints of banana and clove. So, I brought them home, boiled the alcohol out and froze them into ice cubes. I have made beer soap in the past, using Left Hand Brewery's Milk Stout (my favorite...). It made a nice dark bar of soap with a wonderful lather. Many of my customers have commented on the luxuriousness of this soap, and I agree, it's a beautiful bar. However, I have wondered what a bar would be like with a lighter, hoppier beer and have been wanting to make one for years. Now was my chance! So, this bar was made with using the beer as 100% of my liquid component. The lye mixture was very dark, making me think that there wasn't any way of getting around the dark color with a beer soap. I mixed the beer/lye mixture into the oils and brought it to trace. I then added 1/8th of the mass of the oils (170 g) pureed banana to the batter. I poured a layer of soap, sprinkled with some clove powder to give a thin line effect and repeated, finishing with a light powdering of clove powder on the very top. I was pleasantly surprised at how well these bars turned out. The color is perfect for a Banana Clove feel, and the natural scent (nothing added!) is a strange combination of beer, banana and clove.
I'm not finished with these experiments.... This month, Amy Warden's Soap Challenge Club presented a new to me technique which she calls Pour/Pull Through Technique. The guest instructor was Joanne Watkins from Nature's Potion Handmade Soaps, and she demonstrated how to use this type of acrylic paint pour methods in making soaps. You pour the soap batter over an item that will allow it to flow through or around and you pull the item up through the soap batter when you are finished pouring. This creates an interesting pattern in the soap. For the challenge, we could either use a "found" item, such as a strainer or wire netting found in a hardware store or you could make your own design using your own materials. Of course, I took the challenge of making my own, although I have to admit that all month I have been looking at everything through this lens. There are lots of ideas everywhere! I took some wire I had kicking around the house, and using needle nosed pliers, bent it to create a design. I took this design and placed it into the bottom of my mold. In order to allow for even and easy pull through, I tied strings to the metal in nine different locations and put PVC tubes through the loops. I then got my soap batter ready to pour. I chose to divide the batter into four colors: pink (rose clay), yellow (annatto seed infused oil), natural (no colorant) and black (charcoal). I poured the batter over the metal design, kind of haphazardly, ending with a layer of black on the top. I then put my arms under the tubes and lifted the wire design evenly up through the batter. Other than the little bit of raised design on the top, I did not see much happening at this stage. I was concerned that the batter was too loose, or that the wire was too thin, all sorts of ideas on how to improve the technique ran through my head. When I went to cut them the next day, the initial impression was not too great. However, after experimenting with the cut I found that shaving 1/8 - 1/4 inch off the top, the real beauty came out. These are definitely some fun bars, and I can't wait to use them to see how far in the design goes!!! Other entries for this challenge (that I liked the best) tended to have smaller holes and larger negative space areas. So that is something to consider for the next time I attempt this technique. I will be keeping my eyes open for items to pull through the soap batter, as this seemed less time consuming than some of my other favorite techniques, ending with a dramatic result.
|
Details
TaralynColorado Artisan, making beautiful hand-crafted soaps with all natural ingredients. Archives
August 2025
CategoriesCategories
Comment Policy
We follow Grandma's rule here: If you don't have something nice to say, don't say anything at all. While constructive criticism is always welcome, keep it polite, considerate and friendly. These are simple rules that, if not followed, will result in the deletion of the comment. Thank you. |
|
|
Our soaps and body care products are handcrafted the old-fashioned way, in Boulder County, Colorado by your local Soap Making Artist, Taralyn. Small artisan batches allow for considerable attention to detail during all stages - soap making, hand cutting, six week cure time and hand wrapping - an extensive journey that nurtures the formation of the perfect bar of luxury soap. And to make it even better, we will deliver to your door! Shop by Signature or Artisan, by scent families, ingredients or by name. So much to explore! Check out our collections today!
|
Contact
|
About
Get to Know Your Soap Maker!
|
Customer Service
ASC Creative Credits
|
Other Goodies
Community Connection Blog
Wild Rovings Blog
Why Palm Oil?
Organic Label
|
Copyright © 2009-2025 ASC Soapworks, llc, All rights reserved.
































 RSS Feed

