|
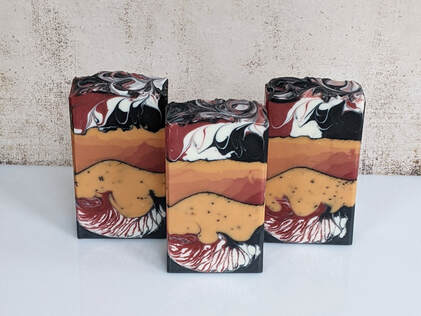
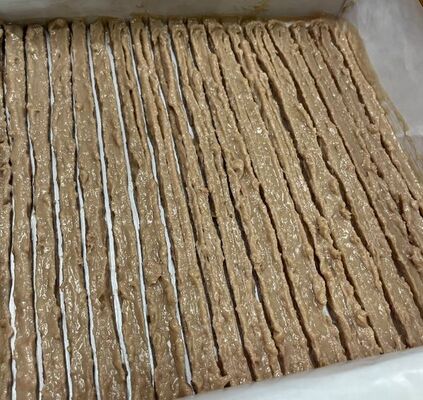
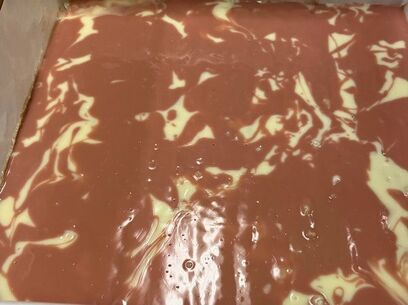
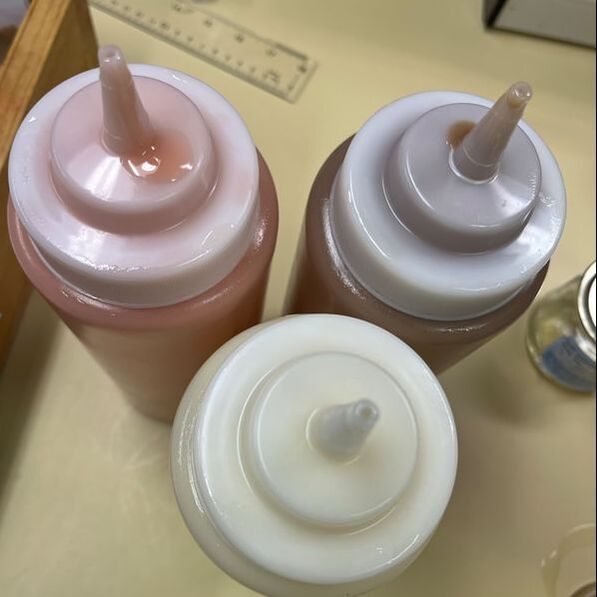
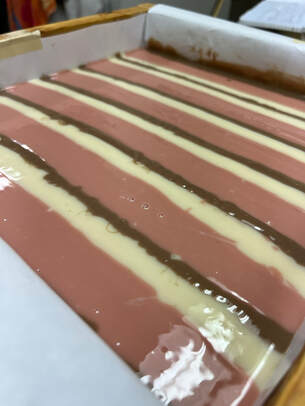
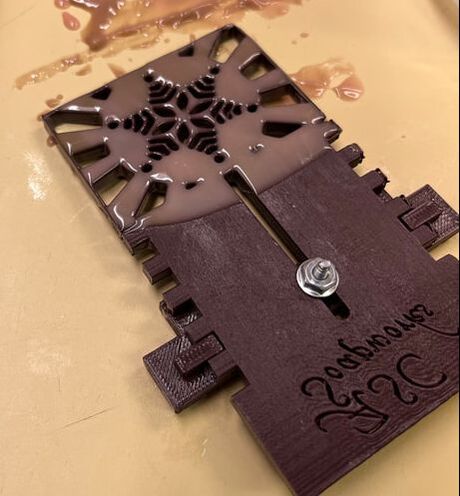
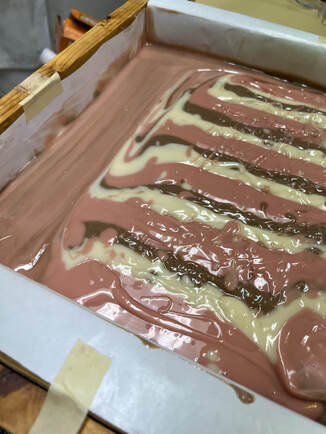
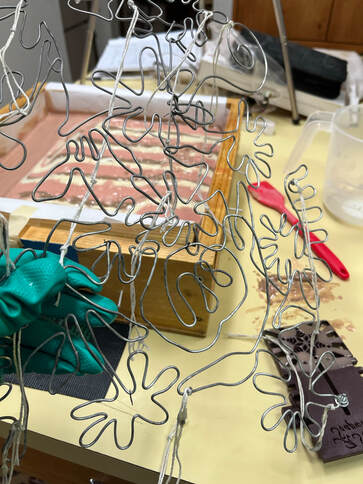
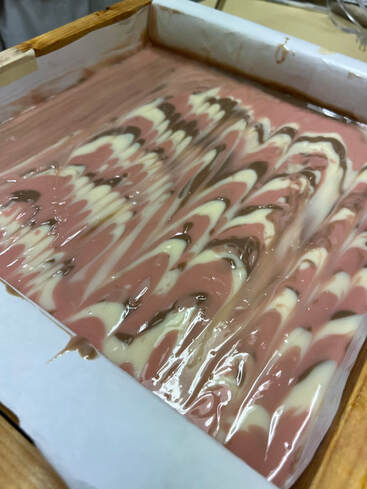
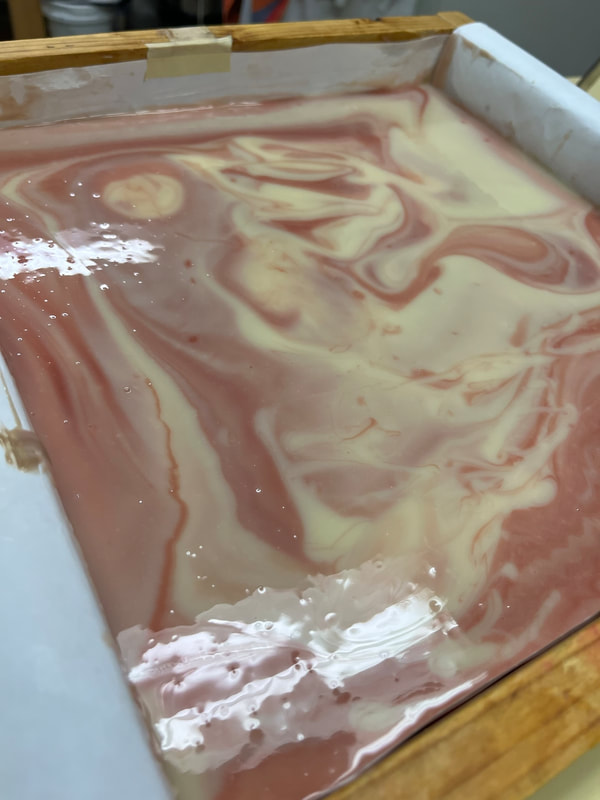
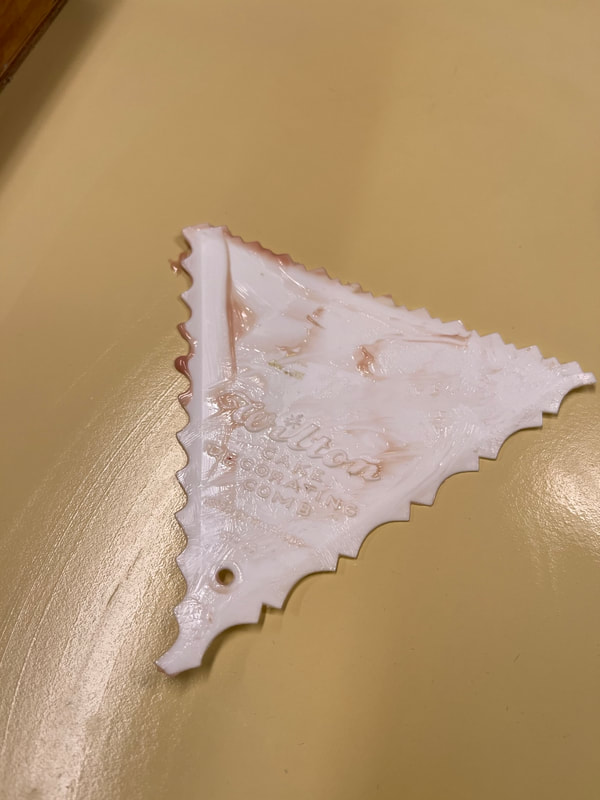
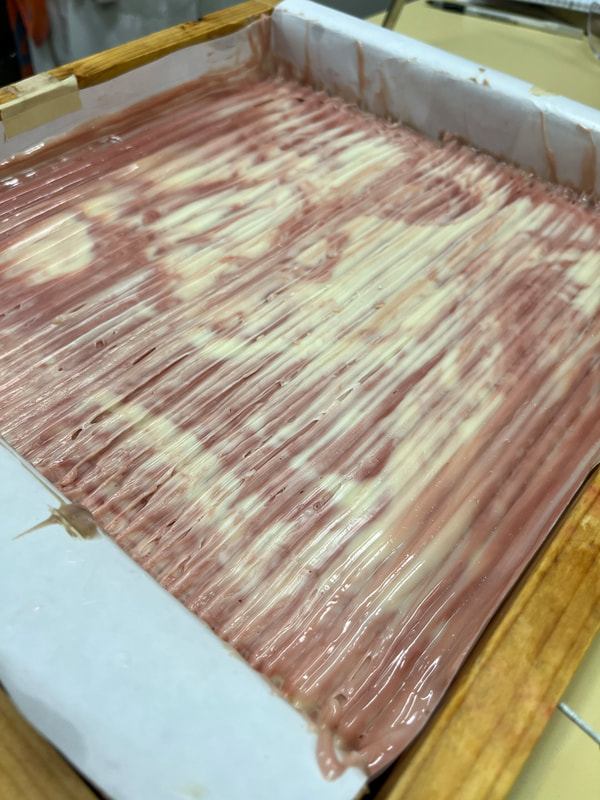
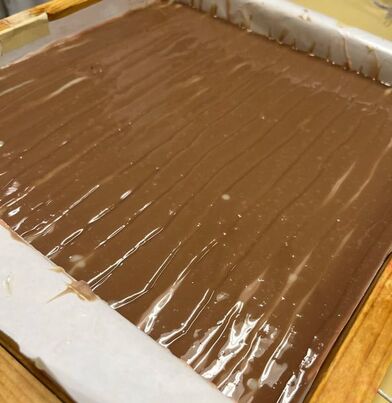
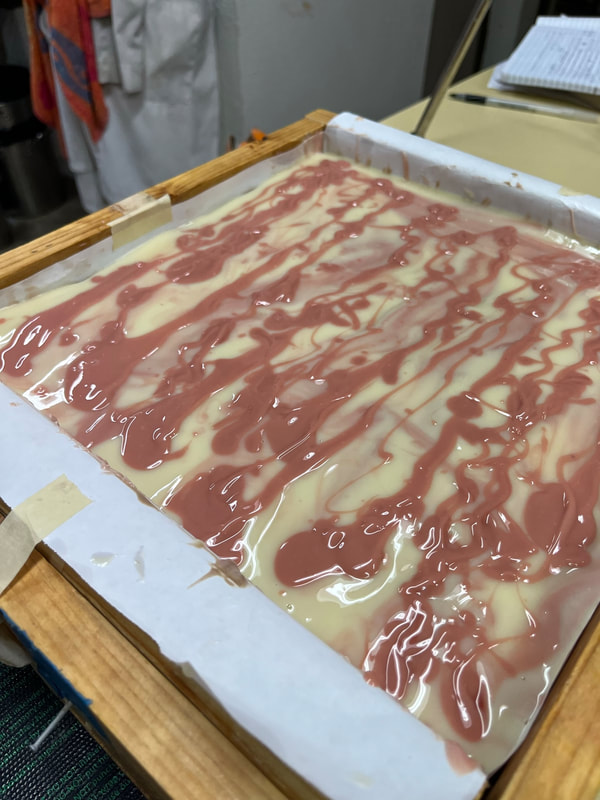
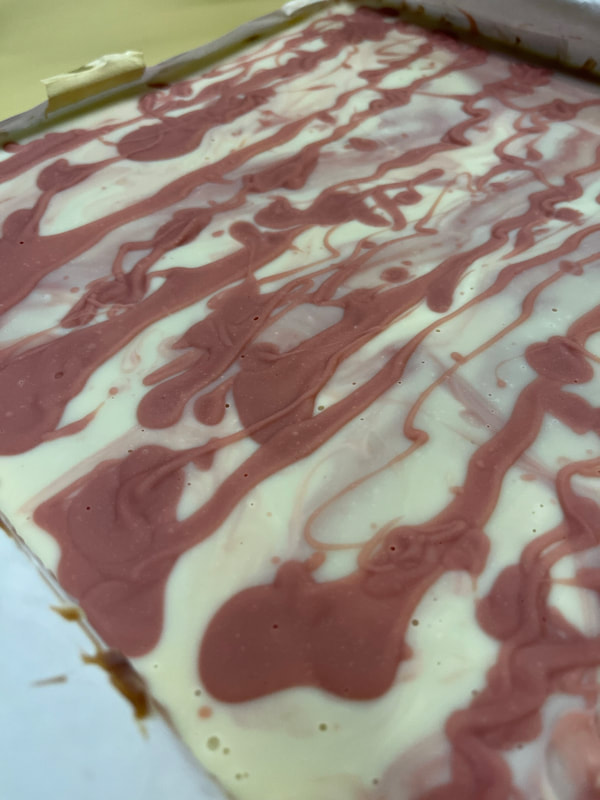
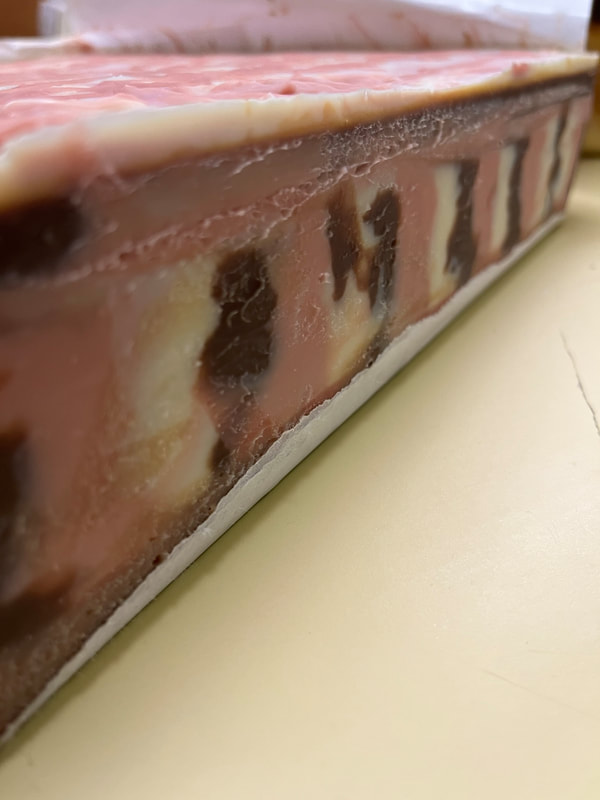
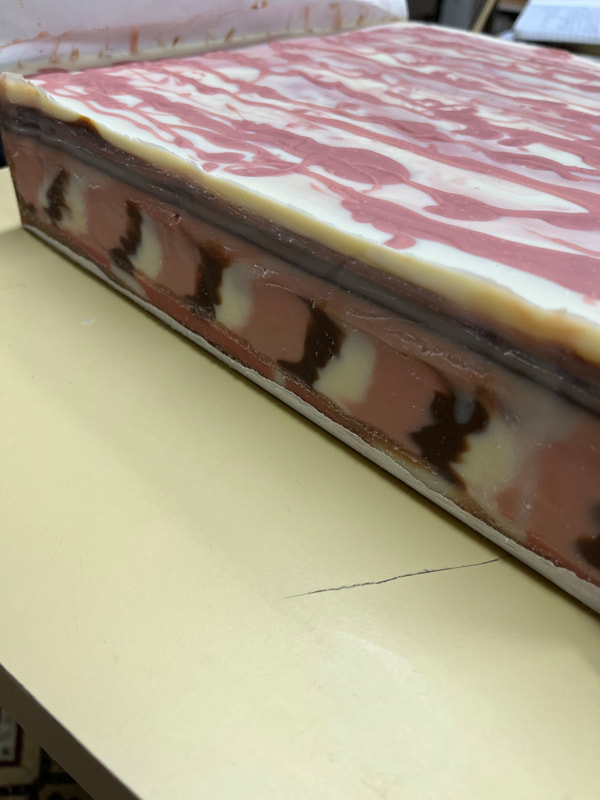
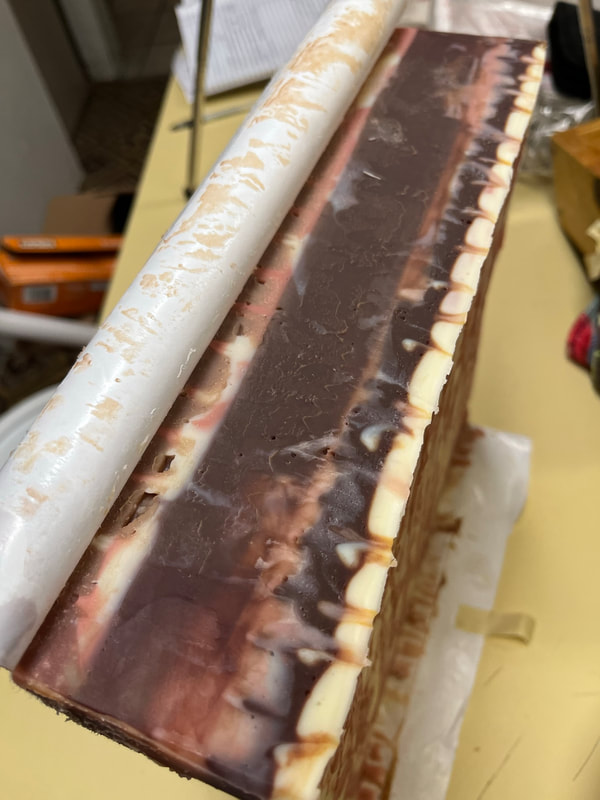
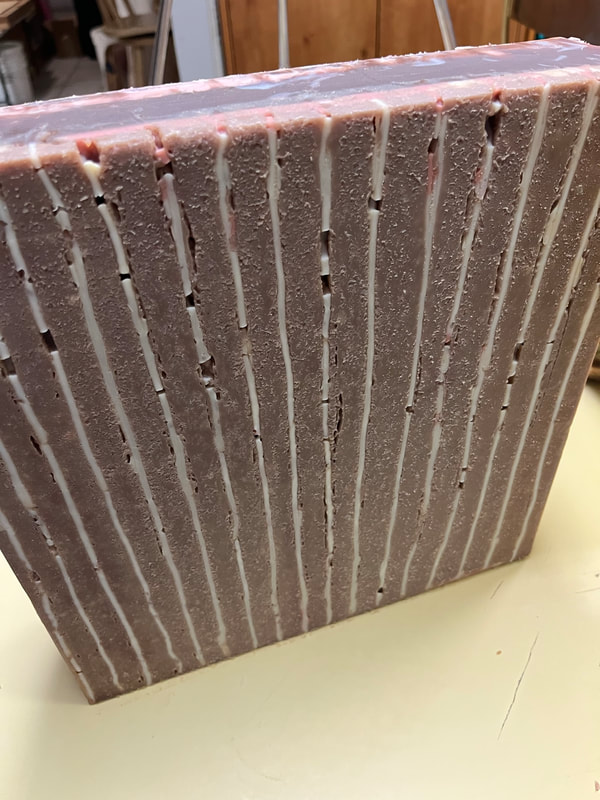
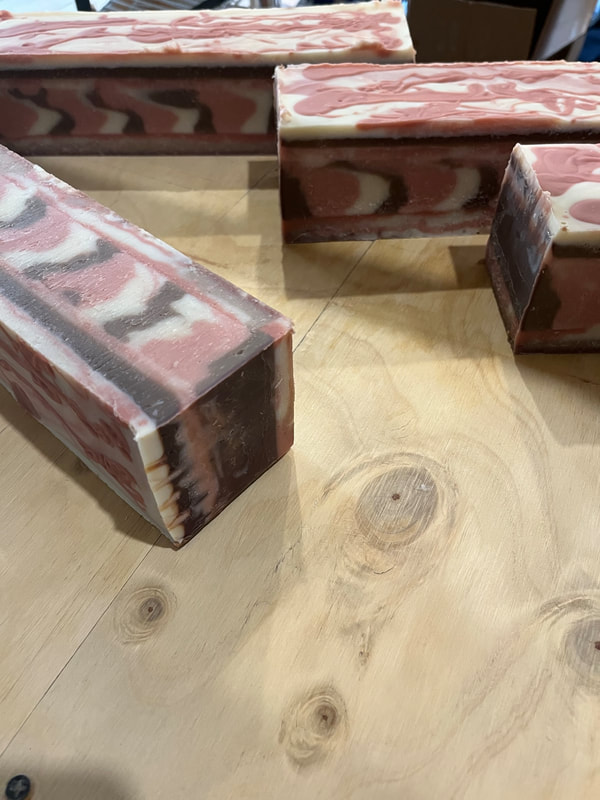
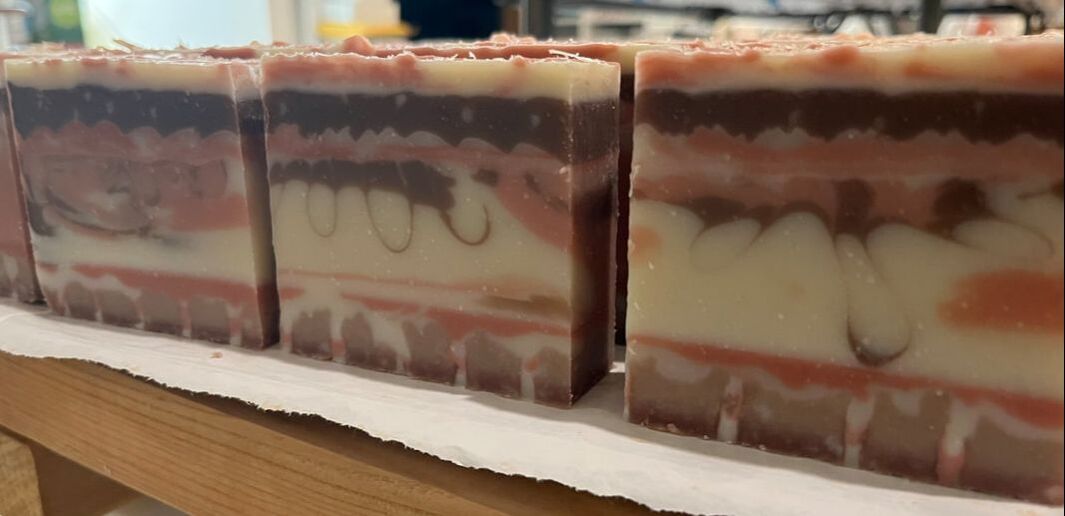
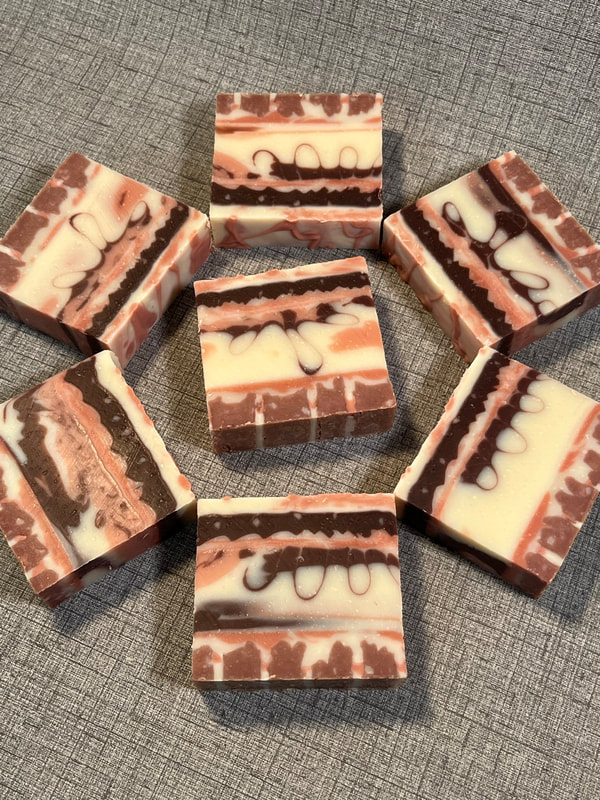
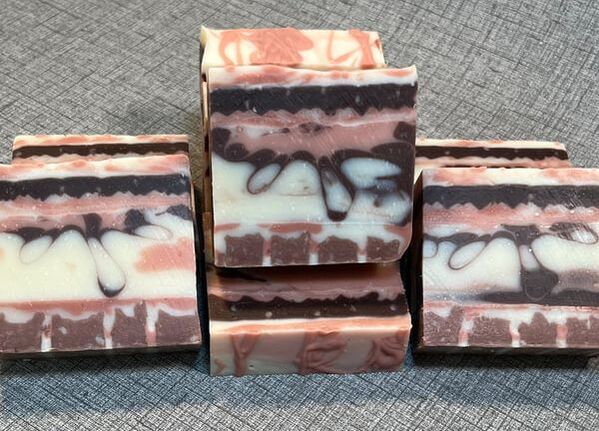
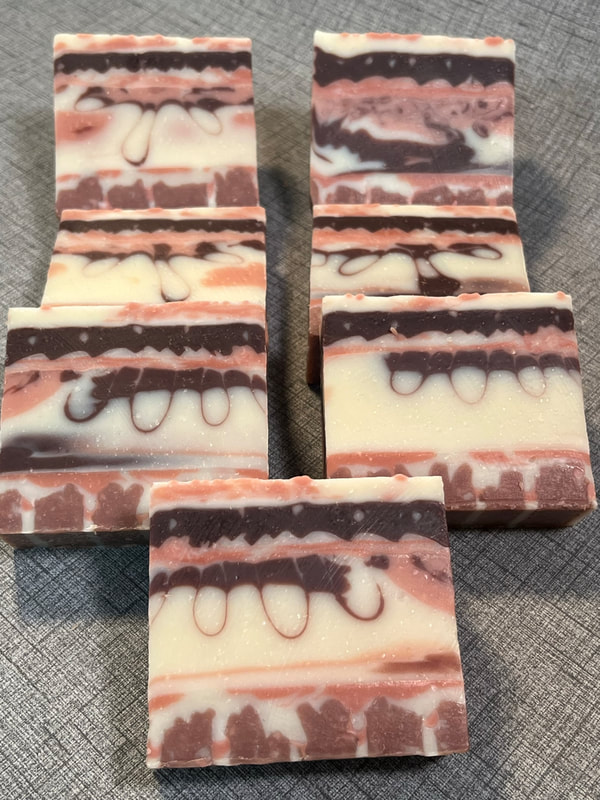
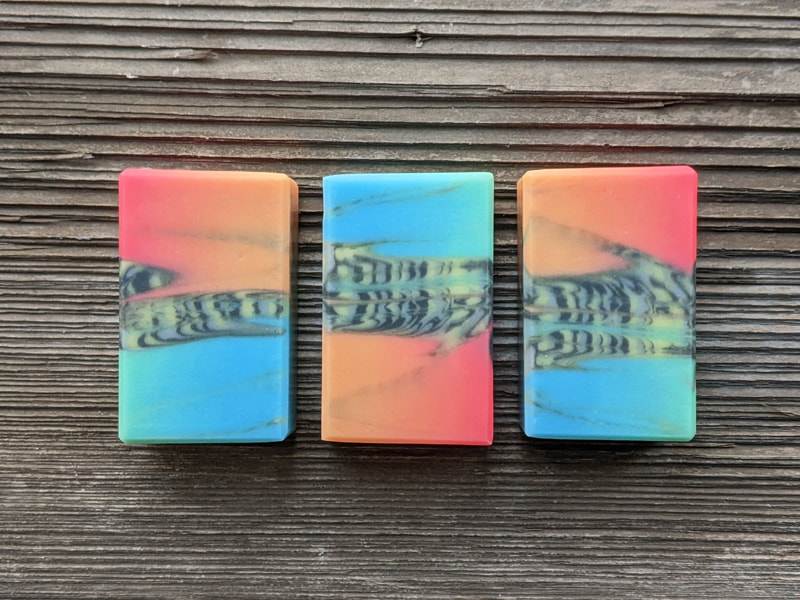
Haven't posted in a while, but I decided to pick up the soap challenge again this month, as production has slowed down a bit - shelves are full for the holiday season! This month, Amy Warden's soap challenge is a "Crazy Layers" technique in which we can really do anything we want. All layers need to be more than one color, extend the whole width of the soap and each layer needs to be a different pouring or swirling technique. Fun times, yes?! Here is Amy's example from the tutorial, which is absolutely gorgeous! My idea for this soap was to make a new "peppermint bark" soap, which I have made in the past and is a customer favorite. The ingredients include cocoa powder for the brown coloring, rose clay for the red and pink, and peppermint essential oil for the scent. These will be a little late for Christmas this year, but people tend to like chocolate and mint throughout the year :) I have never tried the actual Ciaglia method, so I tried that this month and played a bit with sculpting layers and new ways of doing and/or using mini drops and pull through techniques. Lots of messiness with this soaping adventure! And, as it turned out, very difficult to get all layers to look decent in one bar of soap! So...here we go! I started with a layer of brown, adding some chopped up candy cane soap ends for the ciaglia technique. This method uses bits of leftover soap, which you blend into the oils prior to adding the lye. I then scraped this layer to give even lines for the next layer, the vision being red and white stripes to look like candy canes. There are a few different reasons this didn't really work as planned. One, being the texture of the ciaglia layer, I was hoping the bits would be finer? I had a few different ideas for scraping, not having made an official scraper for the job, and the best tool ended up just being a bamboo skewer. It didn't scrape as smoothly as my mind thought it would (and took forever!) which then made the first brown layer very uneven as the soap got pushed up randomly and I didn't take the time to level it all out. I actually like it this way in the final bar, but not what I had originally envisioned. The second layer was designed to have red and white stripes to give the look of a candy cane, spilling over the top to give a thin full layer across the entire bar. This took a bit of time, and as the batter thickened it became more and more difficult to fill in those small spaces. Once I got to the top of the brown, I tried to continue with the layers but because it was fairly thick it did not cover easily for the thinness it needed to be. So, it ended up looking like this. The third layer is the one I was most excited about. I wanted to see if I could perform the pull through technique horizontally, instead of vertically in a tube. So, I 3D printed a rectangular snowflake shape to pull through. To get the color variety for this layer, I slowly built up layers in a striped pattern of red, white and brown using squeeze bottles. The idea then was to slide the 3D printed panel on the far end of the mold and pull it through across all the rows of color. This was a complete fail, as I did not design the tool with enough negative space. Because I was doing a full batch of 40 bars, I had four "lanes" to attempt this, and I switched gears and utilized a wire I've used in the past for this technique instead. This actually worked quite well, and I was pleased with the outcome. I now need to create a wire one, or a much thinner 3D printed design, to use in the future. I'm certainly not done playing with this technique!!! After this pull through layer, I did a simple in the pot swirl of red and white with a sculpted top - the idea being to give it a scalloped looking edge. Again, I did not create anything to do this with, and was relying on the fact that I had a scraper kicking around from cake decorating days...somewhere. I finally found it, but none of the sides had a simple scallop, which was a bit disappointing. However, I played with two of the three sides and liked the result of both - you will see that some bars have a bit of both shapes in them. This was not so easily achieved, as I did not have the sides of a narrower mold to help guide me - part of the reason I wanted to try this, to see if I could have an even hand and attain the desired result. It mostly worked, which made me happy :) Following the in the pot swirl, I made a layer of just chocolate, with the idea of doing some mini drops. The layer was pretty small being only about a cm deep and I wanted my drops to be proportionately tiny. So, I decided to use a syringe for the drops, which mostly worked. I do feel the syringe got a bit clogged up though and I was worried about the consistency of the drop lines. They turned out pretty well though, giving small dots of white and pink in the brown. The final layer was a sad attempt of a one pot wonder, as the batter was not the same consistency for the two colors and one was just covering the other up and not pouring well. But, I completed it, finishing it off with a drizzle of red. Long soap making day...but how I do love waking to the prospect of cutting a surprise batch. Who knows what this one will look like lol! Here's a gallery of unmolding and cutting photos. Such a fun idea for making a bar with a lot of interest! Thank you Amy for the inspiration!!!
These are lovely and I'm glad I had the time to participate this month.
4 Comments
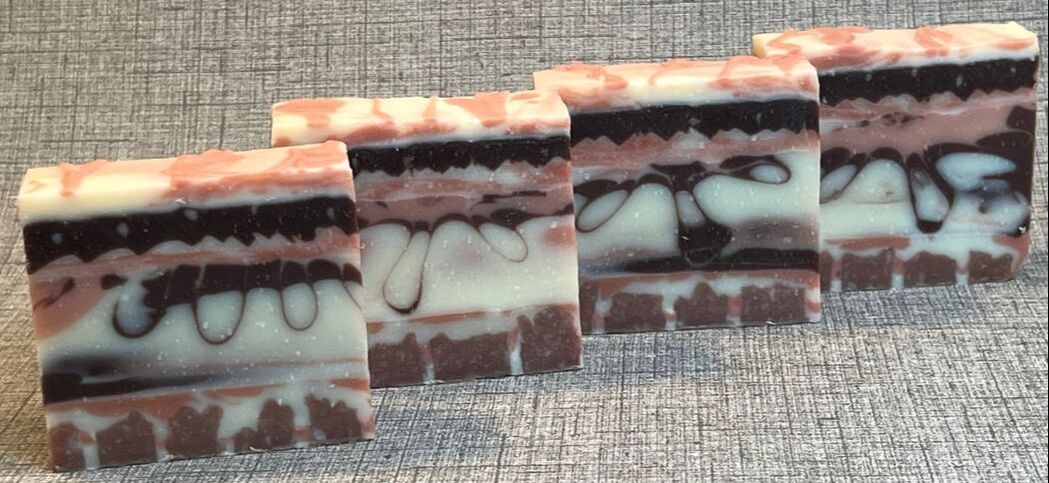
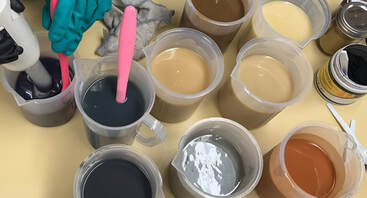
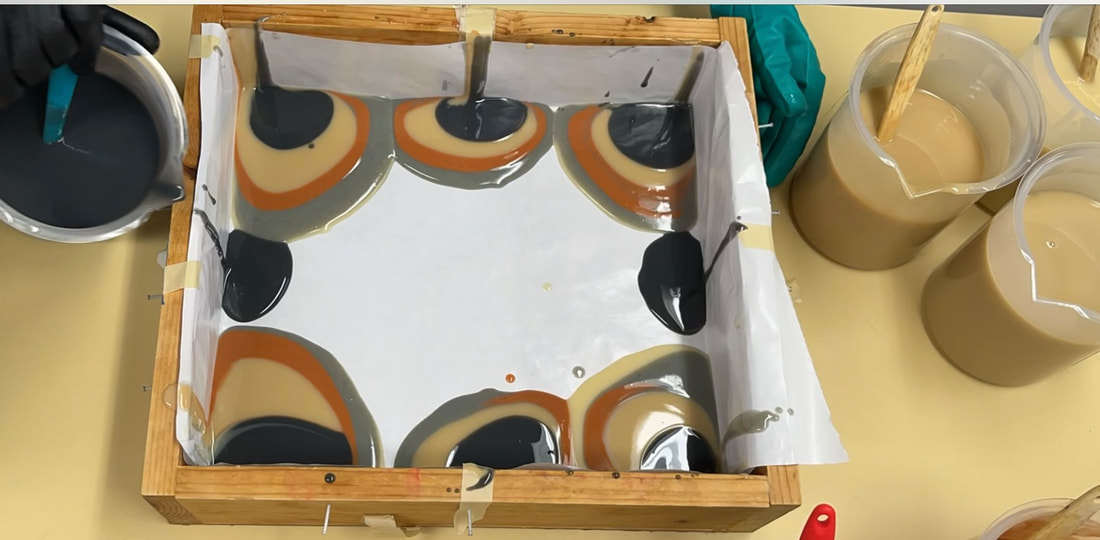
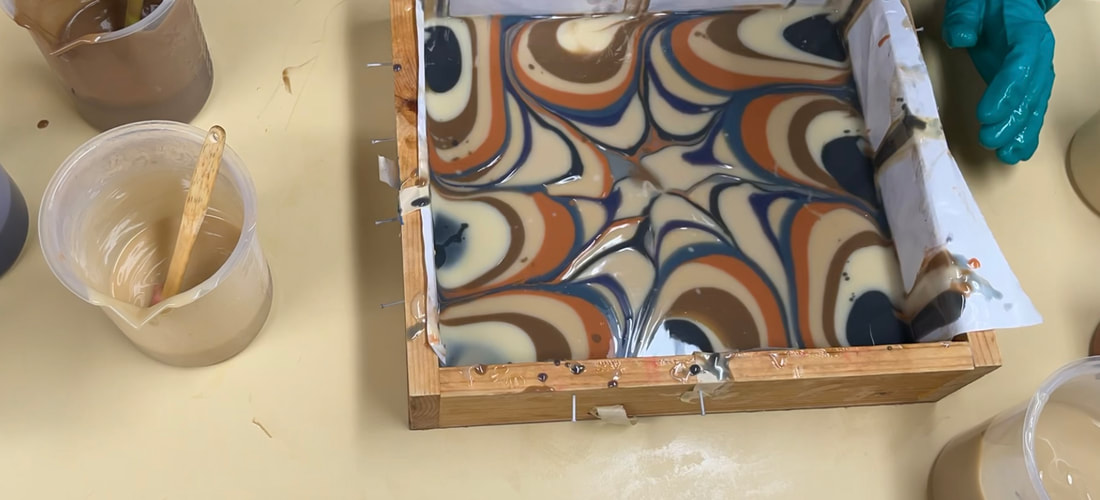
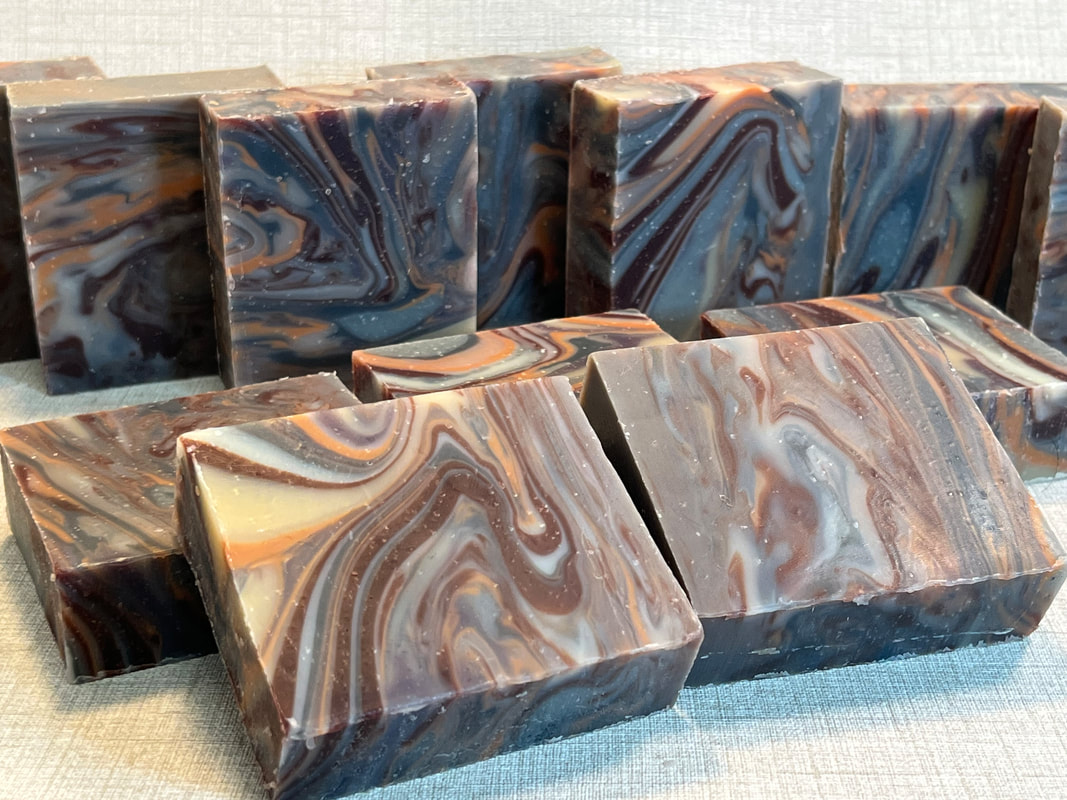
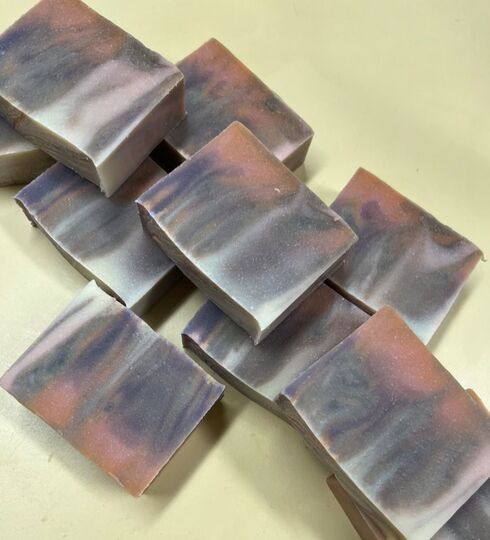
This month Amy Warden is hosting a woodgrain soap tutorial, which made me happy because I am just about out of the last batch woodgrain soaps. She showed us new techniques for creating this type of design. I choose to stick with what I normally do, with a twist of pouring the soap two layers high and cutting horizontally through. I also decided to add some color that I typically do not - as I am enamored with pictures of blue and purple woodgrain soaps that I see on pinterest and other platforms. I thought I had overdone the blue and purple, but the resulting soap is absolutely beautiful! I was going to show an example of Amy's soap here, but I could not access her website? So, I will try again - but I'm leaving for vacation in the morning, so it may be a while... These bars are colored with charcoal, cocoa powder, indigo, alkanet root, moroccan red clay and kaolin clay. One of the charcoals (the gray...) was actually made by an artist friend of mine out of willow I believe. Here are some process pics... And, the final bars - so hard to choose which ones to put into the picture, as they are all gorgeous! I wasn't sure how the horizontal cuts would work, but some of these bars are absolutely stunning. I'm leaving for Scotland in the morning, so, I will need to clean these up a bit more when I get back. Crazy week trying to get ready, so I wasn't able to get these to shine yet, but I do love them!!! Thanks for reading to the end!
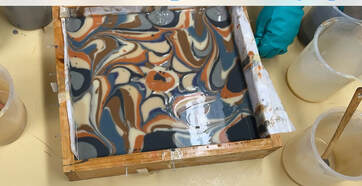
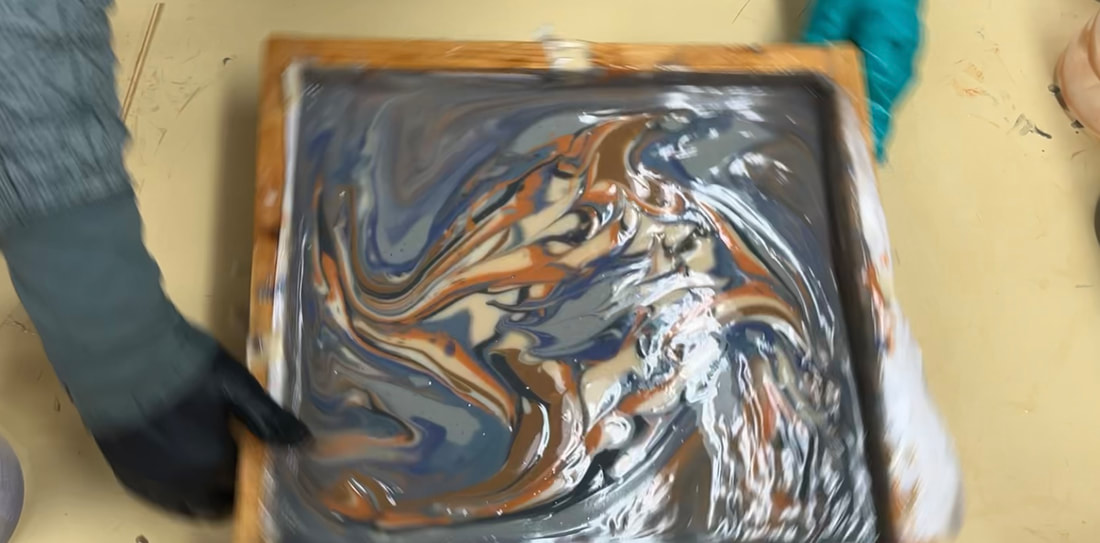
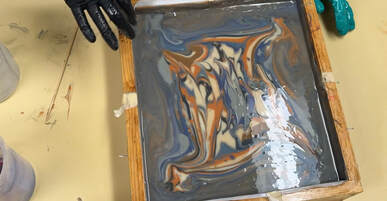
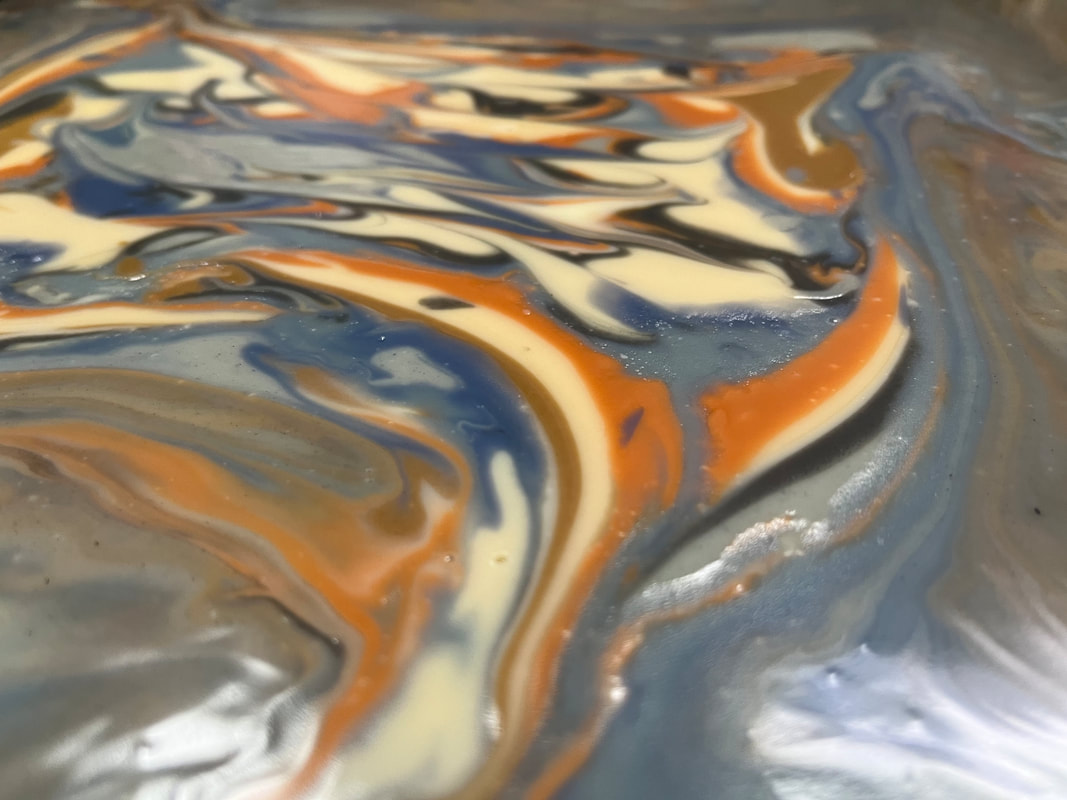
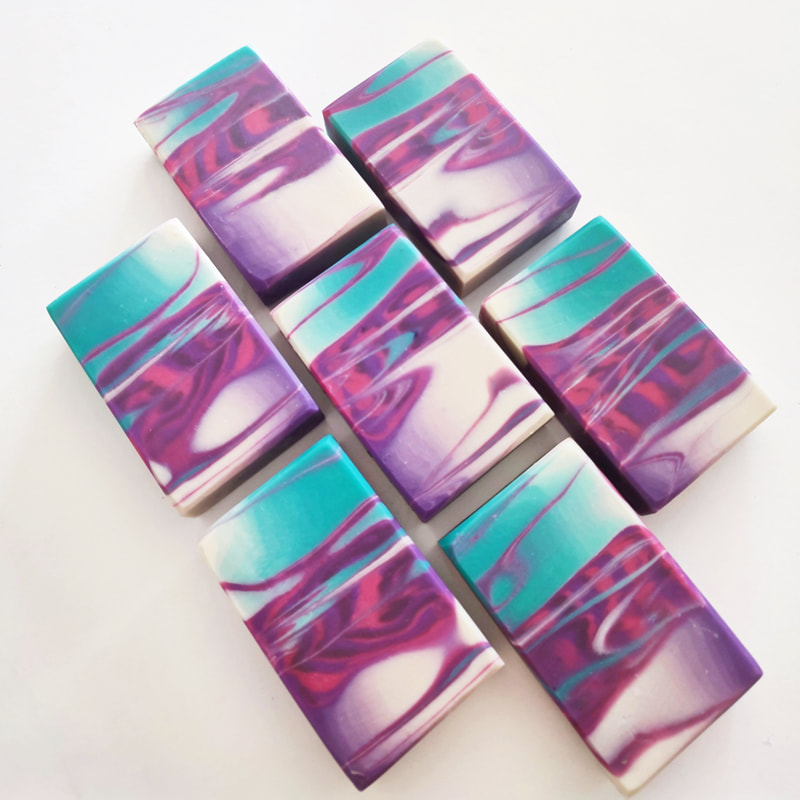
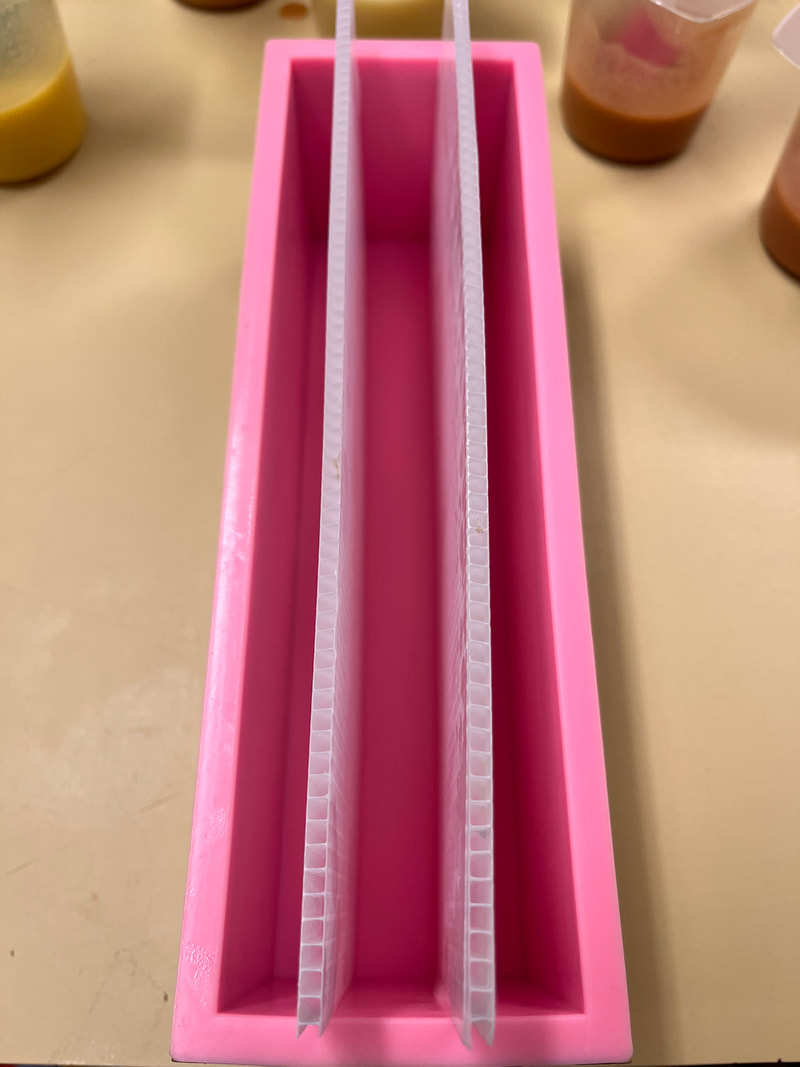
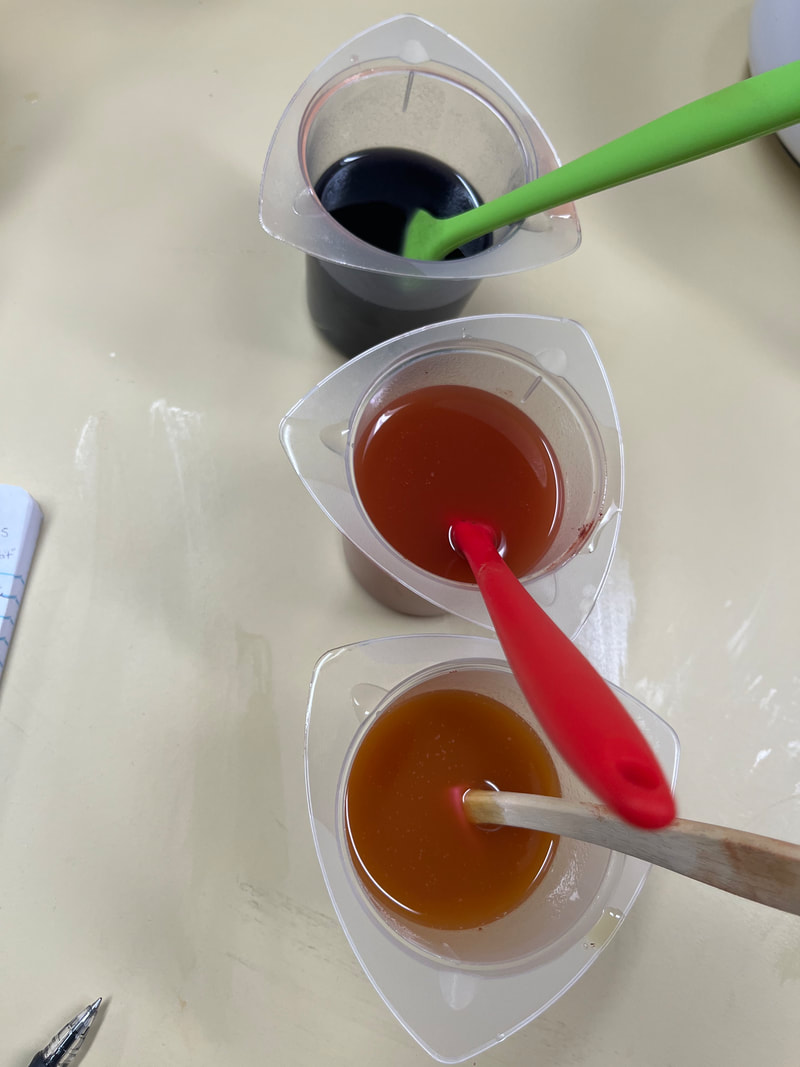
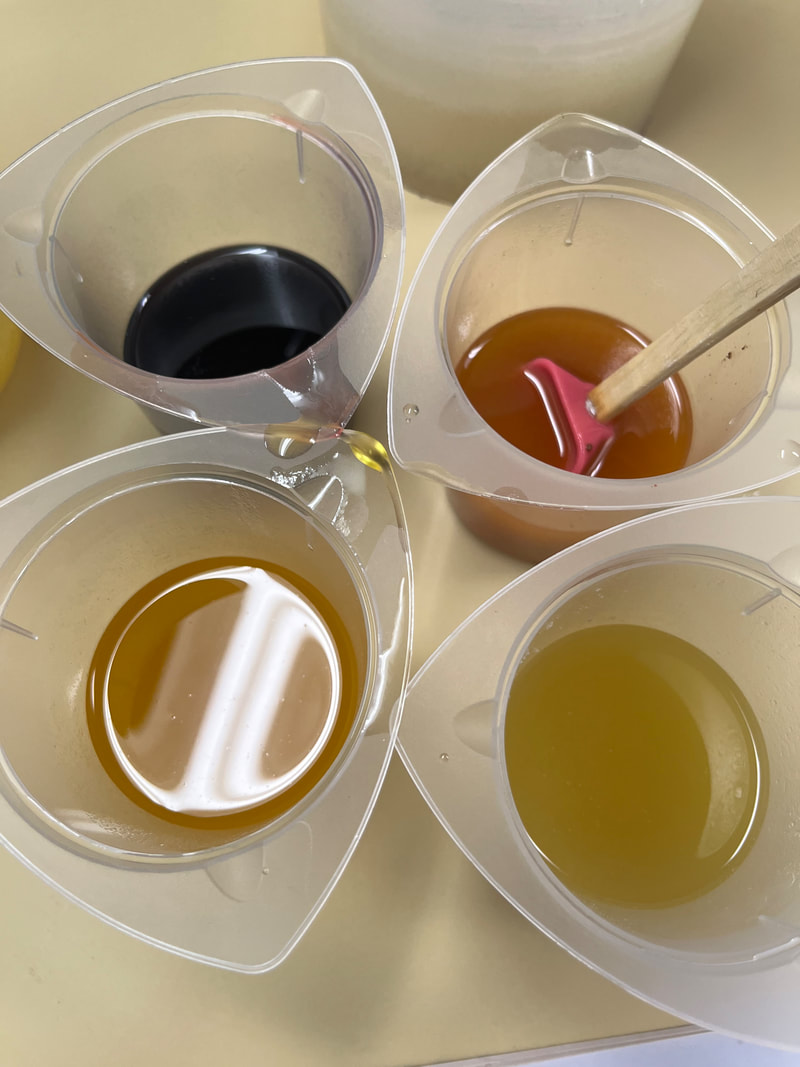
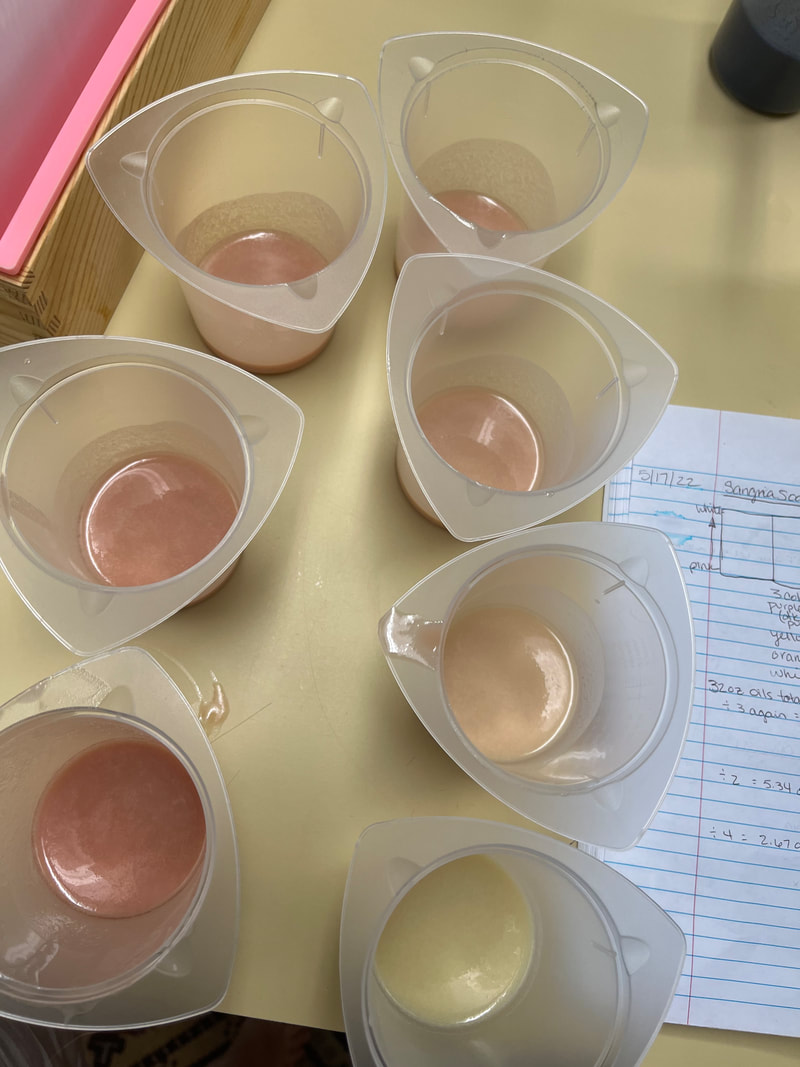
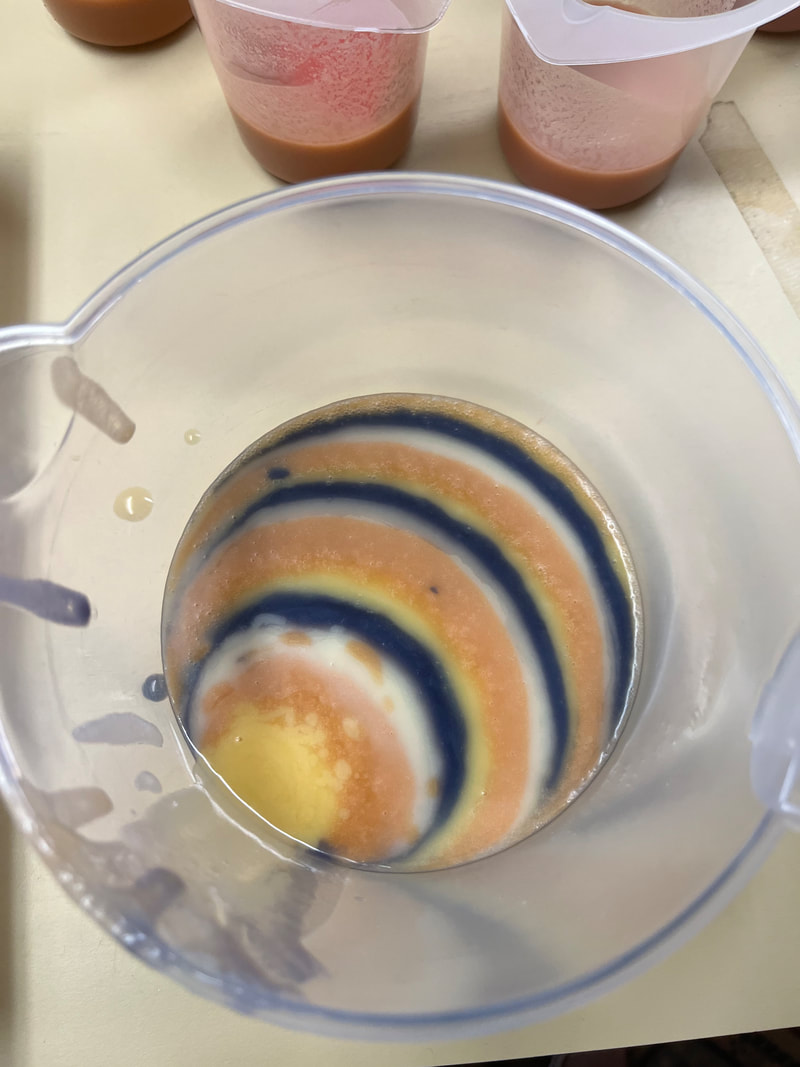
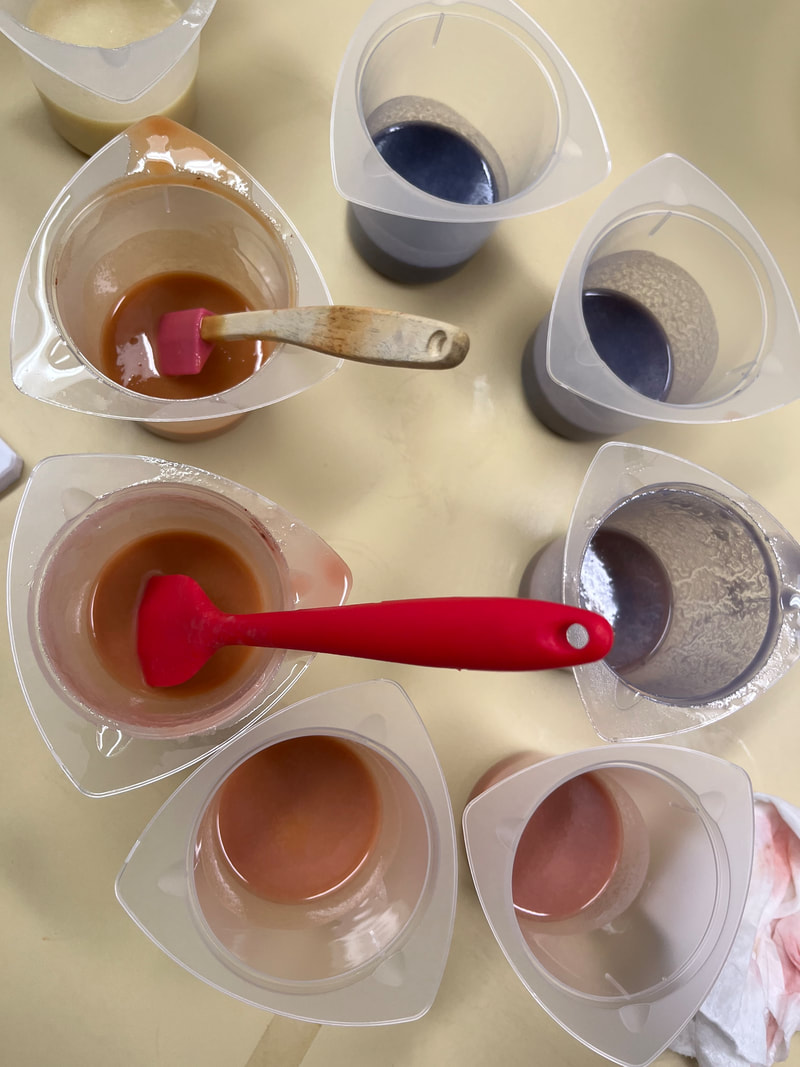
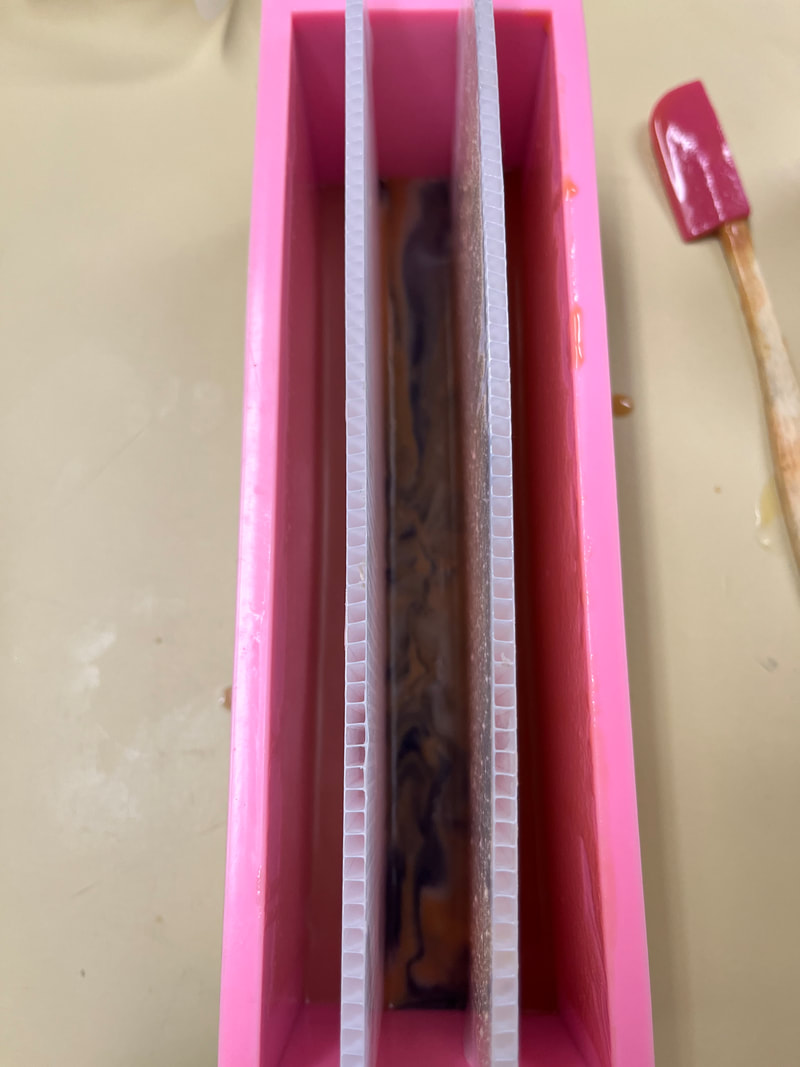
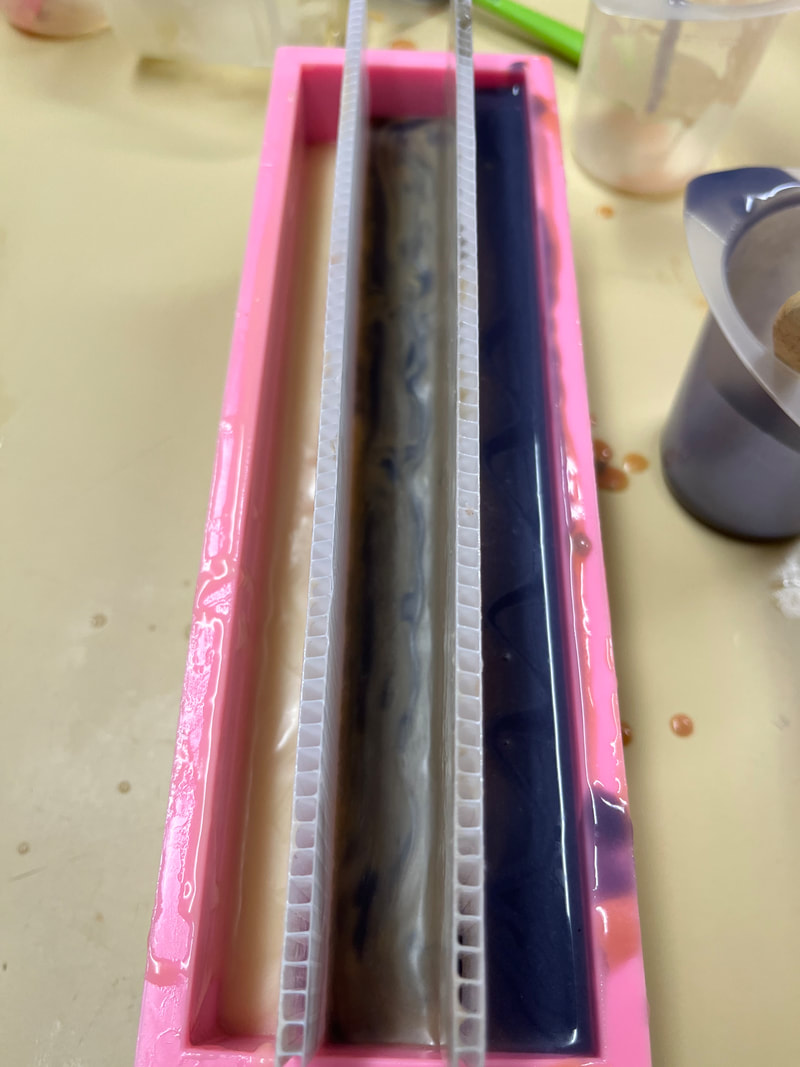
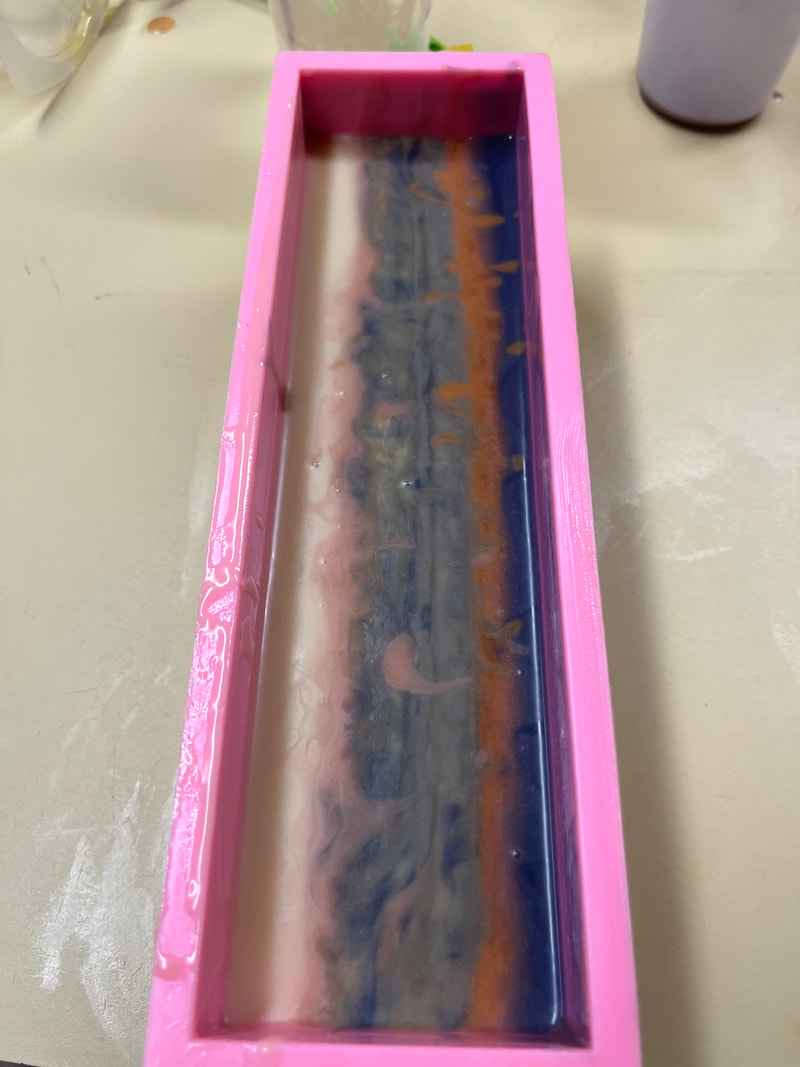
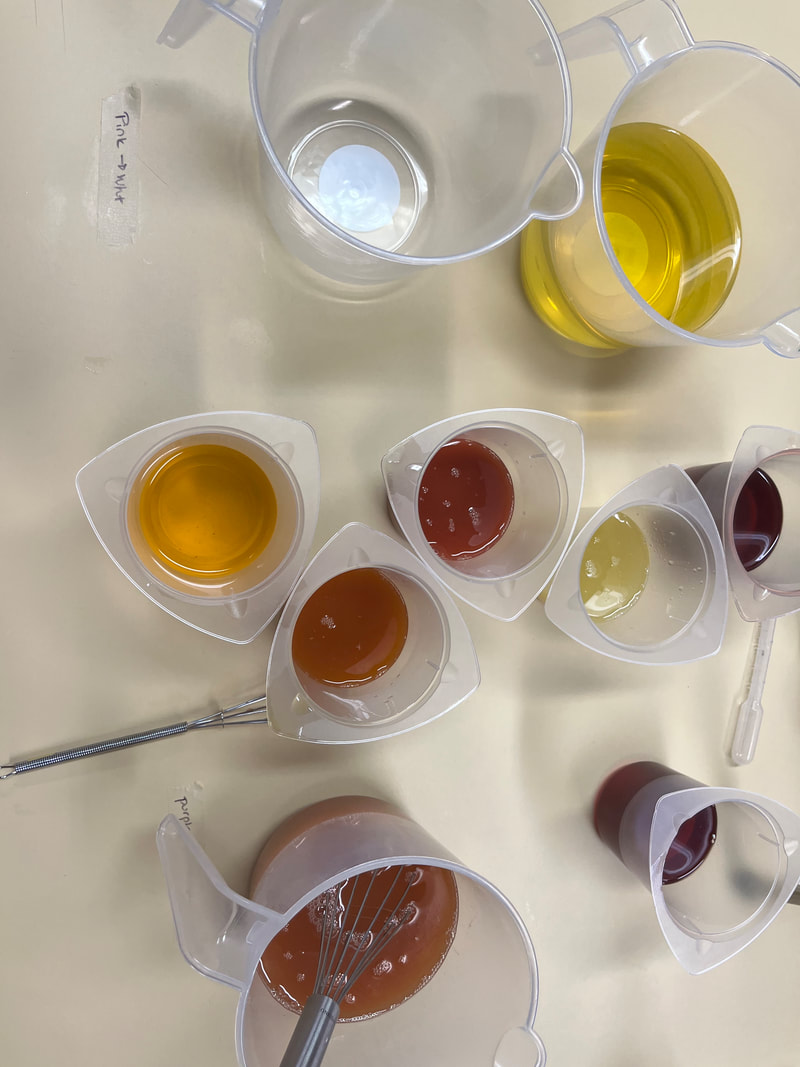
Taralyn This month Amy Warden's Soap Challenge introduced me to the Oasis Swirl, a technique originally created and guest taught by Edgar Kameraki - inspired by the image of a desert oasis. The general idea for this technique is having the mold divided into three vertical sections - two separate ombres on the sides and a mixture of various colors poured in the center, all swirled together to bring the colors from the middle toward the sides. Here are some images of soaps created by Edgar and Amy. I decided to make a Sangria soap with this technique, using a purple (alkanet infused) to orange (annatto infused) ombre on one side and pink (rose clay) to white (kaolin clay) on the other. The center had purple/blue (alkanet/indigo), red (rose clay), orange (annatto/moroccan clay), yellow (annatto infused) and natural. I gave this technique two tries, neither of which came out well enough to enter. But, I still wanted to share my experience here. The first attempt, the purple to orange ombre was a three color ombre, moving through red before getting to the orange. Scented with lime, orange, lemon and just a bit of cherry - very fruit punchy! Batch #1 No sideways movement for the oasis swirl, although definitely a Sangria feel. These ended up being a little shorter than I wanted, so for the next batch I'll start with more. I also felt that the mixtures may have gotten a little cool before getting them all into the mold. So, I placed them in water baths to help keep the temperature up where it should be on the second try. Batch #2 Still a beautiful bar of soap...I should have entered it...I rarely win anything anyway :)
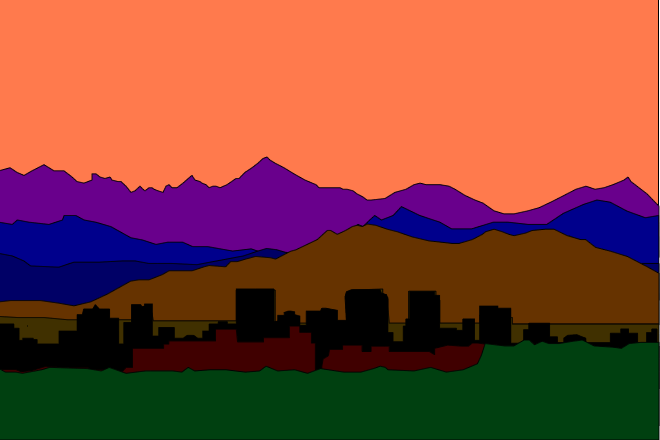
Thanks for taking an interest and reading to the end! Taralyn Soap Challenge Time! This month's technique is Sculptured Layers, with a theme inspired by a landscape, such as a park, monument or other well known famous or historical place. I've been wanting to attempt a silhouette of Denver for a long time, and thought this would be a good opportunity to give it a shot. First off, a big THANK YOU to Amy Warden for providing this challenge (see more about this HERE), and to Roxanne Moore of Caprica Soapery as this month's guest teacher! Below is a picture of the soap made by Roxanne during the tutorial, inspired by the Egyptian Pyramids. A beautiful, soapy creation indeed! Now, I have attempted sculpted layers in the past, without a whole lot of success. The biggest hurdle, I felt, was the lack of good scraping tools. I've tried cardboard, foam board and plastic mats, with varying degrees of success. Very simple designs tend to work fairly well, but I always tend to try something overly complicated, which is the second reason for my failed attempts. Keep it simple! Did I follow this rule this month....uh, that would be a no...so we will see if this will turn out or not. Wonderful tools are available these days, and I may actually buy them and try them out someday. Love your suds, those acrylic shapers look amazing! Here is my inspiration photo for Denver. I have a true love of the mountains here, and spend quite a bit of time traipsing through them on foot, so of course they needed to be in the backdrop, and I wanted a true representation of them, not just an artistic rendition. In my opinion, there are three important elements to the Denver Skyline - the buildings, the mountains and the sky. I added more sky to my soaps, as that is often my favorite portion of the view. Here is my simplified rendition of this picture. For the making of the scrapers, it was off to the 3D printer, and the myriad set of dilemmas to tackle there. I found a basic scraper on thingiverse, and attempted to modify that build to my shapes. When printing, I was having a difficult time with the flat shape adhering to the build platform - an issue I have had in the past. Thanks to google and the wonderful people in the Soap Challenge Facebook Group - especially Robin R Grieco - who shared some valuable articles on this topic, I was able to get it mostly figured out. Printing a pattern on the bottom was time intensive, but key! You can see from this picture that I still had a bit of that warping going on in that last print, but it worked well enough for the task. Now onto the soap making! I needed to have some purple, and some orangey sky, so the first thing I did was infuse some oils with annatto and alkanet. The remainder of the colors could be obtained using my regular, non infused recipe. The blues are indigo, browns cocoa powder, reds moroccan red clay, green a combination of sea clay and chlorophyll, black charcoal. I made each layer separately, poured into mold and scraped the shape when the batter was properly thickened. Not too many pictures of this, as I was really concentrating on what I was doing. So easy to forget you are, especially since some of my colors were fairly similar. There are a few process pictures though... I was planning on doing an in the pot swirl for the sky, which in my experience would have given a better sky like swirl, but I forgot about that idea until I had already poured the blue in...ugh. Well, just a poured swirly, swirl then... I do need to say, that the scraper design does need some work. The stabilizer bar broke on me, twice! Easy to reprint, but still frustrating. Not sure if this was because of the caustic nature of the soap batter, or just poor design. And I also had one moment early on where the stabilizer bar came out of the holes and the scraper slipped into the layers below. Didn't show in the cut bars, but its in there somewhere :) So, I do feel there is room for improvement, which I will work on. I wrapped it up and put it to bed for the night. So unsure of what this would look like, and if this was even going to work. Morning unmolding time! Not too bad on the outside... And, the revealing moment... The sky is certainly not what I had originally envisioned, but the Denver Sky is oftentimes very interesting, especially with ongoing fires.
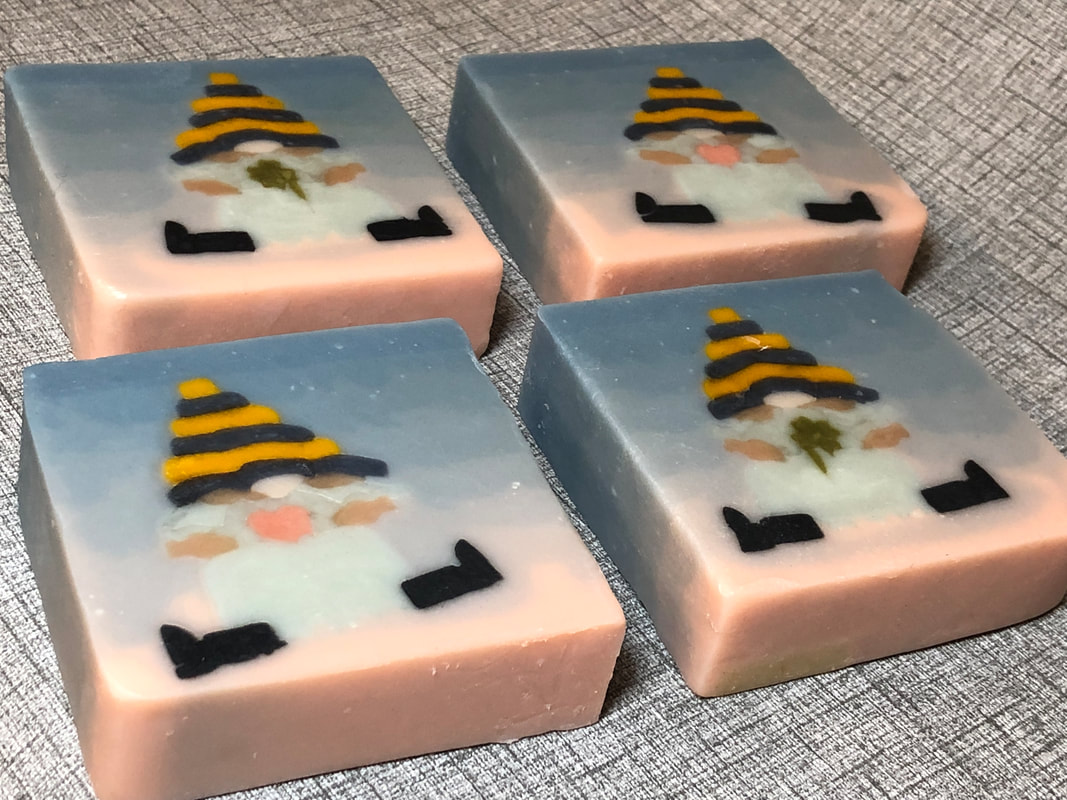
Pretty amazing for soap anyway!!! I'm very happy with these bars!!! This month I've been playing with a few different "soap dough" designs, as this is the technique for the February Soap Challenge Club, hosted by Amy Warden. Lisa Cunningham of I Dream In Soap is the guest instructor this month. Soap Dough is something I've been attempting to master for years, being inspired by many polymer clay artists along the way. I've had many failed attempts, and a few that were more successful in the past couple of years. Soap does not behave like clay! This technique is very time consuming, so I've only attempted a time or two a year. I am getting better, and soon, I may be able to complete a project in less time - if I can keep my designs simple enough lol! These are some bars from last year that were fairly successful. For this challenge, we are required to make our own soap dough from scratch, and create an embed that goes the length of the mold, cut so the image is on the face of the bar. Beginners can do a simple one color, one shape embed. Experienced soapers need to make a complex shape, consisting of at least two colors and two separate shapes. Here are the example soaps that Lisa made for our tutorial. There are so many ideas that can be explored using this technique! Clay artists are great inspiration, and as far as soap goes, I personally just love the creations found at Sorcery Soap, by Bee Iyata. I've been following her for years, and she sells premade soap dough if you are interested in going that route, as well as books with various recipes for making your own. Lisa at I Dream In Soap sells soap dough tools including extruders and discs. I also have found another wonderful resource at Jennifer's Soaps, also selling discs and extruders. Both Lisa (idreaminsoap) and Jennifer (thesoapartist) have terrific videos on youtube to guide you along your soapmaking journey - I'm sure there are many others out there too! For my soaps this month, I used my Signature Olive Oil recipe. Some of the colors I had already made, and several were made specifically for this challenge. Here's my color palette, colored with rose clay, indigo, charcoal, cocoa powder and annatto seed - and a green I decided to use that was leftover from a Christmas project. The soap dough was left unscented. I've been wanting to make gnome soaps for quite some time, and this challenge has propelled me to do it! I found this cute illustration on pinterest that is serving as my inspiration. To create this image, I mostly utilized my extruder with various shaped discs. I did not need to make any of my own or buy anything I didn't already have. The beard I had to "freehand" shape. I decided to do one gnome holding a heart, and another a shamrock. Here are some process pictures. After the gnomes were constructed, I needed to embed them into a loaf of soap. I decided to try using Jennifer Soap's method of a 7 layer gradient - gotta check out her koala bear soap video, so cute!!! And, I scented with our classic Woodland Path, a combination of mint, eucalyptus and fir. My gradient attempt went from pink to blue. I've never mixed the rose clay with the indigo before, so I wasn't sure how it would turn out. As I was mixing the soap batter, the colors did seem a bit muddied and gray, but the indigo takes some time to "bloom" so to speak. The gradient from pink to blue should have purple in the middle, which I normally obtain with alkanet root, so....we will see tomorrow when I cut. It was also very difficult to do layers with the embed taking up so much space in the mold, hard to get a spatula near the previous layer for even, non penetrating layers. So, again, I'm not sure how the gradient will turn out. I got so caught up in the gradient step that I did not take proper pictures. Here are the last two blue layers. Morning cut time! All night, I was really concerned about the gradient and whether or not I'd have air pockets in my gnomes. This is the time to pull back the curtain! And...the moment of truth... Oh! They are so cute!!! And, out of the 20+ bars, I only had to fill two little air pockets!
There are a few flaws (two piece shamrocks don't line up perfectly for example), that I will accept, but overall I really love these guys! The gradient turned out lovely, and yes, there is a bit of purple in there! Could be a better contrast between background and gnome? I'll have to perfect this with more gnome soaps, don't you think? A challenge for me this year, will be to actually submit an entry for each of the Amy Warden's Soap Challenges. I kind of drifted a bit last year, made some of them but never entered them in time, etc. I left this one til the last minute, deciding at 10:00 last night to use up that oil blend that I had re-heated several times now. No time for improvement, but I got it done! This month's challenge was Hanger Swirls. I've done these before, some with amazing results! It's one of my favorite techniques, that's been around for a long time. This below is Amy's hanger swirl that she did for the tutorial. So Beautiful!!! I've been thinking about the swirl all month, and was wondering if I could get my head properly wrapped around creating a heart shape in the center. So, the plan here was to pour some natural soap in the bottom, and starting with a thin layer of color (I went with red, pink and gray), gradually build up to a wider amount of color. Then the hanger would go down the center and out to the side, back down the center and out the other side. I've included a rough schematic of what I attempted below. I ended up doing the swirl 2-3 times - I lost count. Maybe getting a heart shape? If the heart doesn't show up, I'm fine with that too :) Here are a couple process pictures, showing the batter colors. The colors are achieved with rose clay and charcoal. I scented these bars with a combination of orange, sandalwood, jasmine and cinnamon - interesting in a good way! And, my hangar swirl device is...I don't even know... Not sure where I pulled it from? It's metal, and larger than a typical hanger size, not perfect, but it works :) I had intentions of swirling the top before putting it to bed, but totally forgot! So disappointed in myself when morning came and I realized...Lol! Not too promising for a heart shape from the end view. Here they are cut... A lovely swirl, but no heart...looks more like a flame to me?
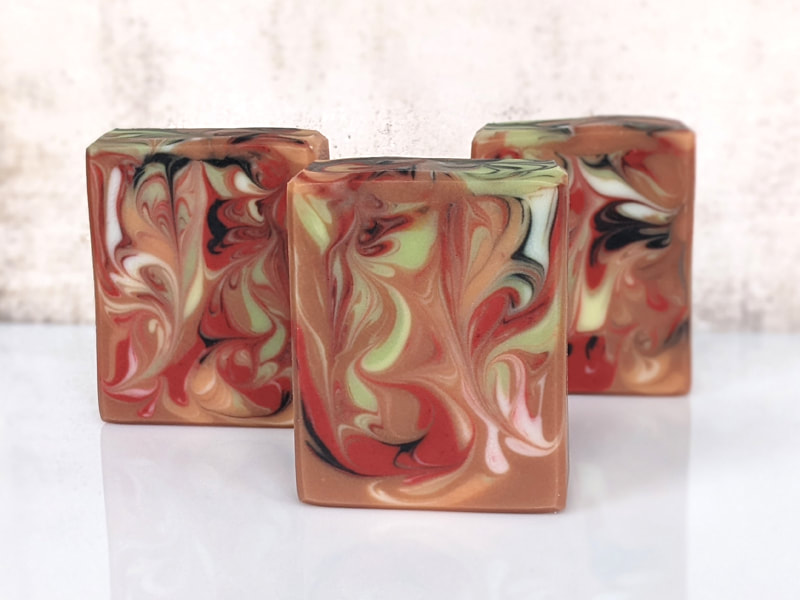
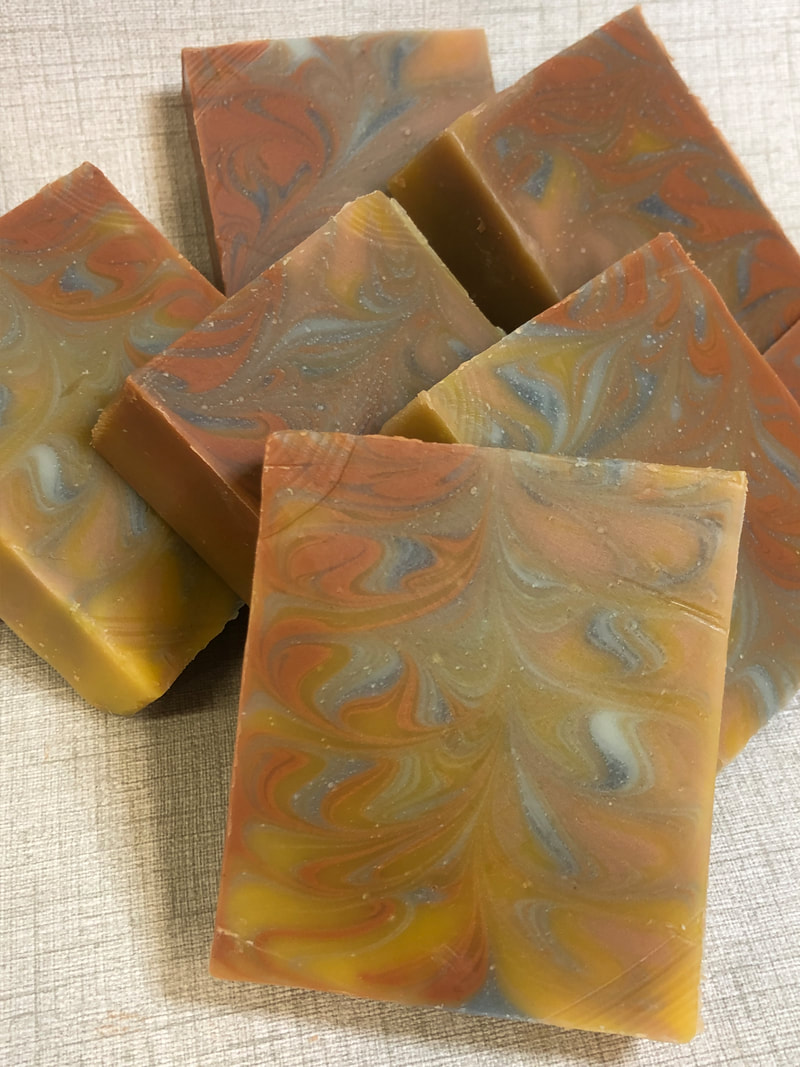
I may attempt this again after doing some actual research on swirls. Might be able to figure out a heart, as there are heart like elements in these bars? Either way, this is a beautiful batch of soap! I took a bit of a break from Amy Warden's Soap Challenge Club the last few months, but here we are again! This month's technique is the Mantra Swirl, or Marbled Mantra Swirl, and both of these have been taught in the past. I made a version a long time ago, so thought it would be fun to give it another go. Here are pictures of Amy's tutorial soaps... This technique can certainly create some beautiful soaps! I decided to make one batch autumn-y and for the other I was thinking winter - it snowed here yesterday!!! For the autumn soap, I colored soap batter using clays, indigo and annatto. I tried to have one side moroccan red clay and yellow, the other side french pink clay and yellow, with the middle a combination of indigo and white. I scented these with orange & ginger...very lovely! I didn't get any pictures of the batter or the pour, but here it is in the mold. Here they are out of the mold... For this technique, the original mantra swirl, the design is brought out when you cut the bars horizontally. So the loaf was cut into bar sized chunks, then cut horizontally. Not too bad, and very fall-esque! The next batch was more of a winter soap, with white on the sides and indigo in the center. I tried to swirl a light and a dark indigo, which kind of came through. This one is scented with eucalyptus, fir and clove. Got a picture of the swirling this time! I should have known better than to add that clove, as it started getting thick pretty quick. But, I got it in, swirled and a picture - woohoo! And, here's the final photo for this batch... Loving this technique, as it resulted in some gorgeous bars!
This month,Amy Warden's Soap Challenge has thrown me into the "unknown to me" world of melt and pour soaps.
This has really not been my wheelhouse, in fact, I have never before used melt and pour soap bases. There are a couple of reasons for this. For one, the whole reason I delved into soap making was for the health benefits I saw after my family started using our very first bars of cold processed soap - eczema went away and our skin was visibly happier after that first bar! The second, is my obsession with controlling the ingredients. Melt and Pour bases have not always been clear on what is actually in the soap base, and oftentimes, if I did see the ingredients listed out, I didn't like what I saw. My journey has led me to wanting to know what I put into and onto my body, and this just wasn't an avenue I was interested in going down, especially since my cold process soap is so wonderful! That being said, making my own melt and pour has been on my todo list for a while, as it did carry an air of intrigue for me. Could I do it? What would the resultant soap be like as a soap, in comparison to my beautiful cold processed soaps? Would I like it at all? So, here we go! This month is my opportunity to explore!
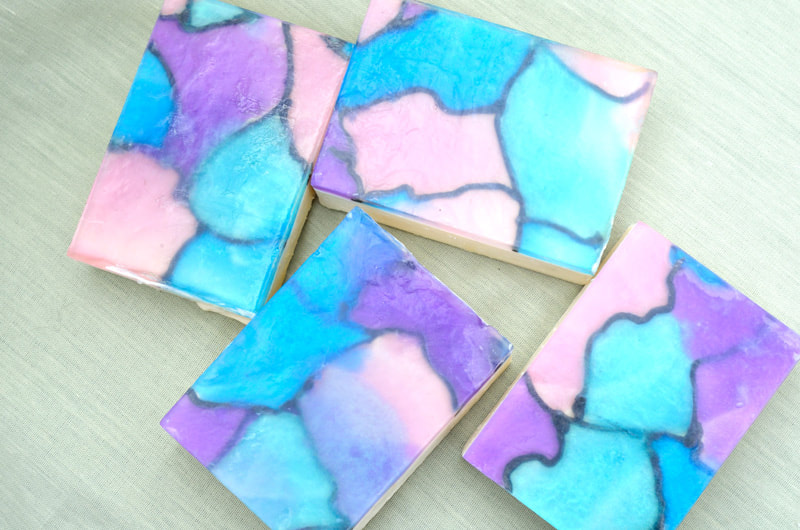
The tutorial on Hybrid Stained Glass Designs is guest taught by Sharon Czekala of Great Lakes Natural Soap Co. in Canton Michigan. Example soaps made by Sharon are below.
The challenge this month is not divided between experienced and beginners, but instead by whether you pipe the pattern by free hand or using a template. The soap on the left is a free hand style, while the butterflies and bird were created by first printing a pattern on paper that dissolves. You create the design with piped cold processed soap, fill that design in with colored melt and pours, then finish it off with a top layer of clear melt and pour. The results are stunning!
I decided to pipe without a pattern. First step was to pour a layer of naturally colored base, made from cold processed soap. Second step was the piping.
Here is a process video...
And, this is a better picture of what it looked like after this step was completed. I did various designs, including sunsets, flowers, turtles and a hummingbird (not a very good one...lol! Can you find the hummingbird in this picture???)
Next comes the colored melt and pour, which was really the challenge for me this month. Making my own was my only option, and I thought that making the melt and pour would be extremely difficult. However, I tried several different recipes, with good success from each of them - not at all the beast I thought it would be. The clearest recipe was obtained using the recipe in Edgar Kameraki's video, which can be found by clicking here. But, I think my favorite recipe, as far as a hand soap goes, is a variation made after reading the Lovin Soap Blog, which you can read here. I suppose it depends on what you are looking for, soap wise.
After tackling MAKING the melt and pour, I had to figure out how to COLOR the melt and pour. Since I only use natural colorants in my soaps, this proved to be a higher challenge yet! My initial coloring experiment showed that some of what I typically use transfers nicely to the melt and pour. I also tried to use some of the experimental colorants for cold process that did not work out, thinking that they may work well with the melt and pour. However, I did not find any that worked better with the melt and pour - it may have been that I did not give the soap base a chance to cure? pH may play a part in this??? I'll have to revisit that in a few weeks. I also tried some plain old food coloring...but I later read that this will bleed and is not suitable, so I abandoned that idea. It also faded more than the other colors over time, which I found interesting.
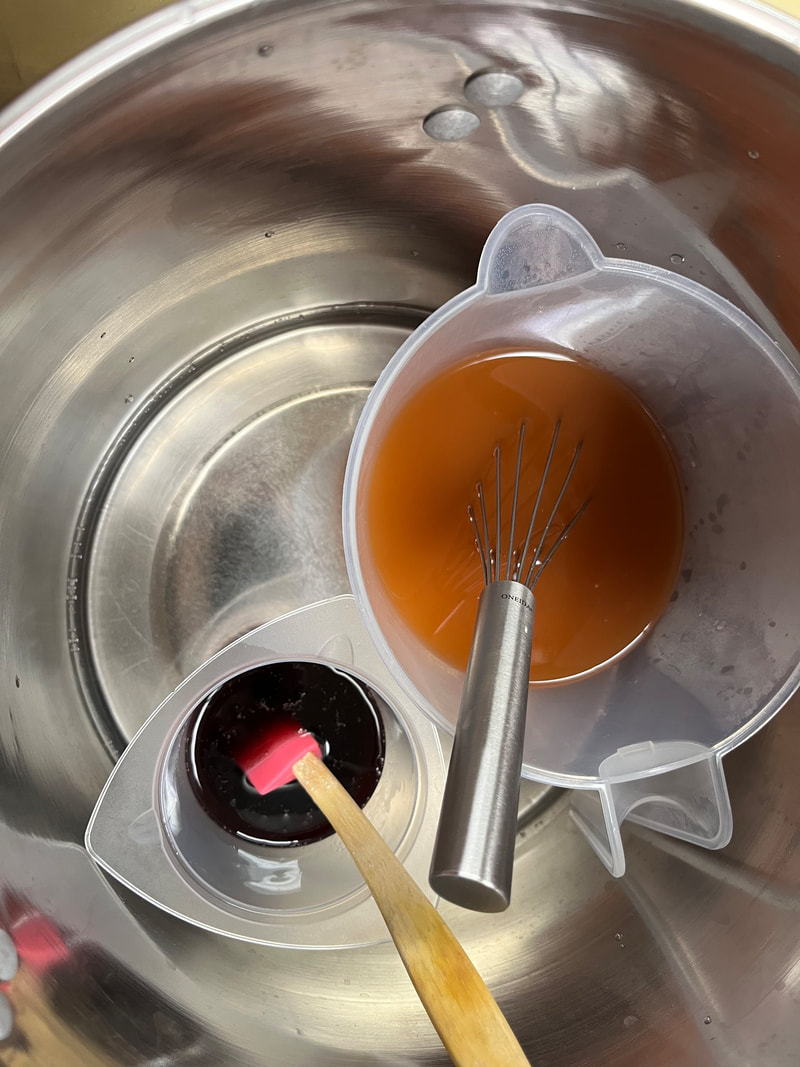
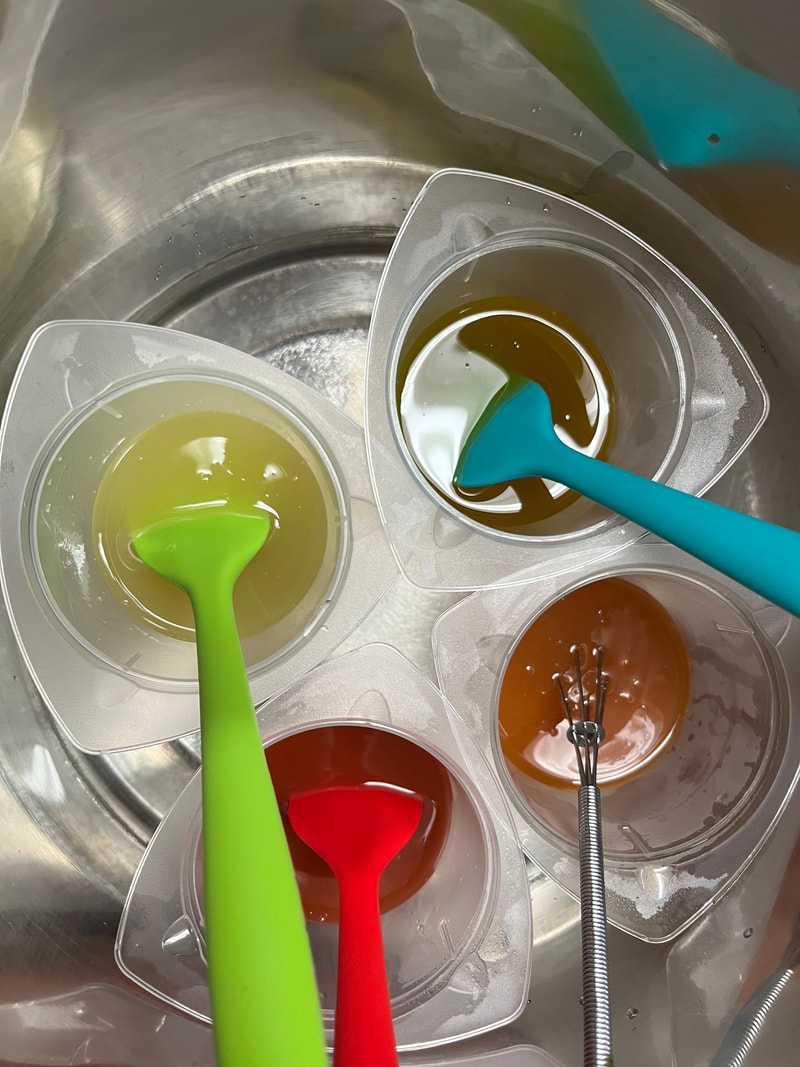
In the above picture, you will see, from left to right, top row to bottom row, green food coloring, annatto seed infused oil, alkanet infused oil, rose clay, charcoal, butterfly pea powder (can't tell from the picture, but it really did not dissolve well), beet root powder and nettle infused oil (which did not show any color) combined with chlorophyll (which worked) to make it green. It's not a huge color palette, but it would have to suffice. Color variations are made by changing up the amount of melt and pour base/colorant added to the mix.
I also made a batch of the melt and pour base using indigo in my lye, but the indigo pretty much just laid on top and did not play well with the recipe. In my final soaps, there are some very light blue sections, and this was made using this batch. Not at all what I had intended, as I really wanted to make a sea scene, with various shades of blue. Oh well...plans change :)
Here is the process video of adding the colored melt and pour. Most of the sections were filled in with solid colors, but for the suns I played with mixing the colors and they turned out very nice! The result is a perfect ombre effect.
Here is what it looked like just after pouring the final layer of melt and pour over the top.
This is the slab the following morning, taken out of the mold, before cutting.
As other soap makers have mentioned, the black turned a bit gray, and for me, the clear top coat was a little "foggy". Not really a surprise to me, as I knew my homemade melt and pour was not crystal clear, which you would expect from the store bought variety. I also think there is a fine line between having enough of this top layer to cover the black piping (need to ensure the black does not stick up too much...) and having the layer be more clear. I see more experiments in my future :)
After cleaning them all up though, I think they are beautiful! I do love to learn new techniques!!!
For a little color fun this month, I decided to make some poppy soaps. I have a few poppy inspired soap on my pinterest boards, and I've been meaning to attempt one for a few years now. With encouragement from Amy Warden and her Soap Challenge Club, these soaps utilize a column pour technique in which you pour various colors of soap batter over a column of some sort to create waves of color. Many artisans then swirl to make beautiful patterns in the soap. TheVolcanic Rush soaps (click here) were also made using this technique.
Here are some example soaps - winners of another one of Amy's soap challenges highlighting this technique from December 2013.
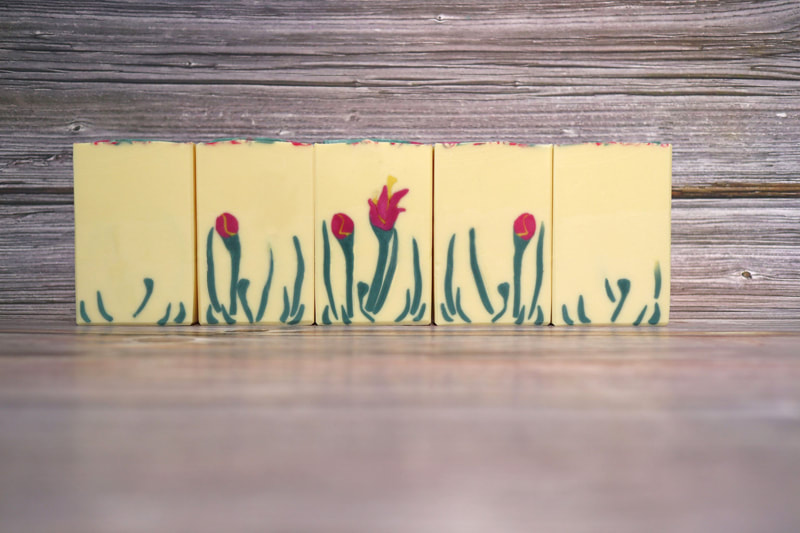
As spring is unfolding here in Colorado, I'm looking forward to all of my flowers appearing in the garden, even though it just started snowing LOL! I thought this technique would be perfect to make a few flowers in soap. Poppies are one of my favorites, and the colors are those that I can make well using natural colorants. Since I've done this technique before, I am taking this opportunity to experiment with a few of the parameters that were talked about in the Soap Challenge group.
I wanted to play with the type of column used. Looking at videos of this technique, it appears as though the number of "petals" created is directly related to the number of sides of the column. A round column would give a single circle going outwards, a square column would have four, etc. So, I found a jar that has eight sides that I thought would be fun to try. Also, there are some videos of people using plastic drink bottoms to help facilitate even pouring. Amy also used this technique in her tutorial. So, I wanted to experiment with that as well. I had several different bottom types, and figured I would try them each out. I was making a 20 bar batch, so I had room to play a bit. The difference between the bottoms was the depth and number of channels they had. Since I have been playing around with soap dough the last month or so, with better success than in the past, I decided to use some soap dough as a few of the columns, five actually. Then I used two of the eight sided jars, and four small, thin bottles I had kicking around. I attached them to the base of the mold using a tad of my new homemade melt and pour, which performed much better than the cocoa butter I've used in the past. Way more exciting for me than it should be, really!
Now to add the plastic drink bottle bottoms to the mix, I also used the melt and pour to attach those to the top of the existing columns. This gave a kind of umbrella look to the columns, but worked pretty well. I forgot to take a picture of the finished "set up", but you can see it in the video I made - yes! My first video of pouring soap, with a big THANKS to my daughter El for that inspiration and a bit of tech support!
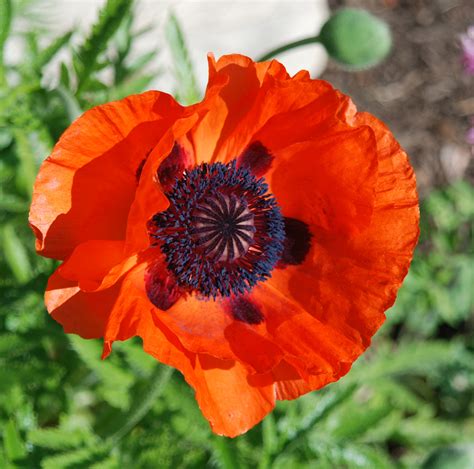
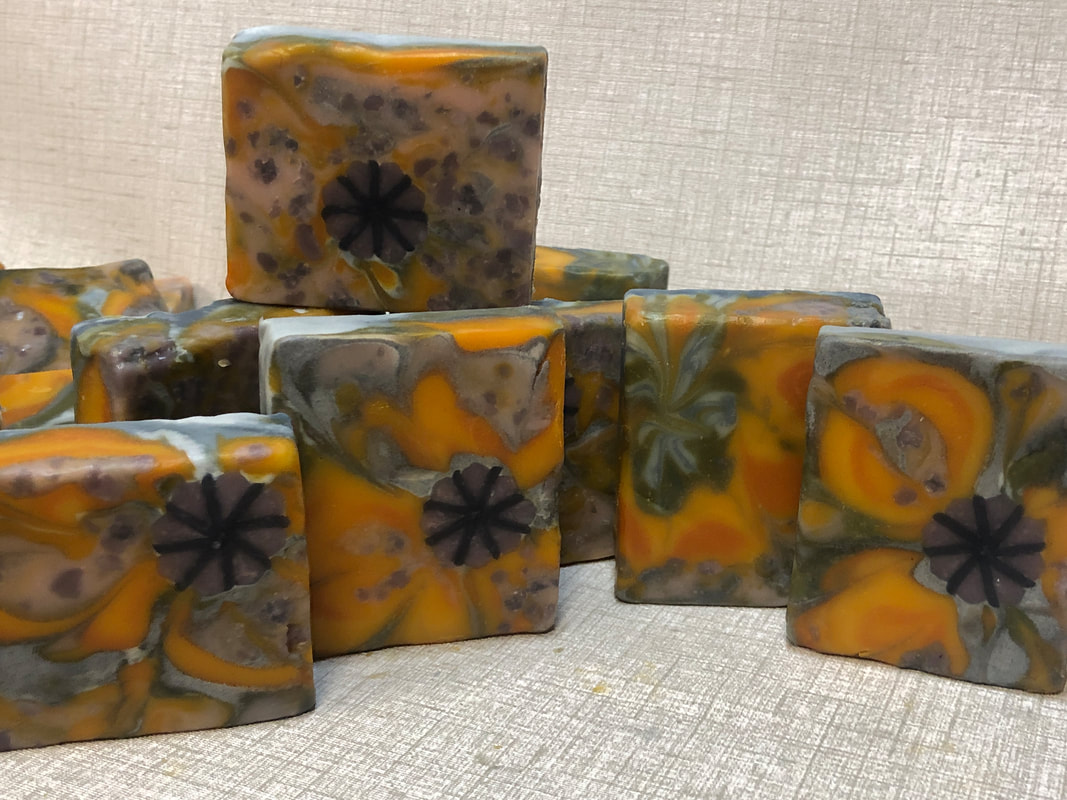
So, my idea for this soap was to have a blue (indigo) and white (kaolin clay) background with just a touch of green (annatto & indigo). Then, I would pour the three different colors of orange (annatto seed) for the main portion of the flower and just a bit of black (charcoal). The center would consist of a pink (rose clay) with purple confetti (alkanet root) for a bit of texture. This is the picture I used for my inspiration. I tried to make the purple wheel in the center out of the soap dough, using alkanet root and indigo for the coloring. Not the best rendition, but it works for me :). This soap was scented with Lilac & Sage, a lovely combination...thanks for the suggestion Janet!
Since I did a video for the pour, I didn't get any any still pics of this part of the process.
But here it is...time lapsed, it goes quick.
If I were to make these again, I would not add the black or the pink, even though I do like the confetti portions that showed up really well in a few of the soaps. I liked the blue and orange combination in the middle of the pour and that was what I had envisioned. I did end up planing a lot of that off, as there was quite a bit of ash on top.
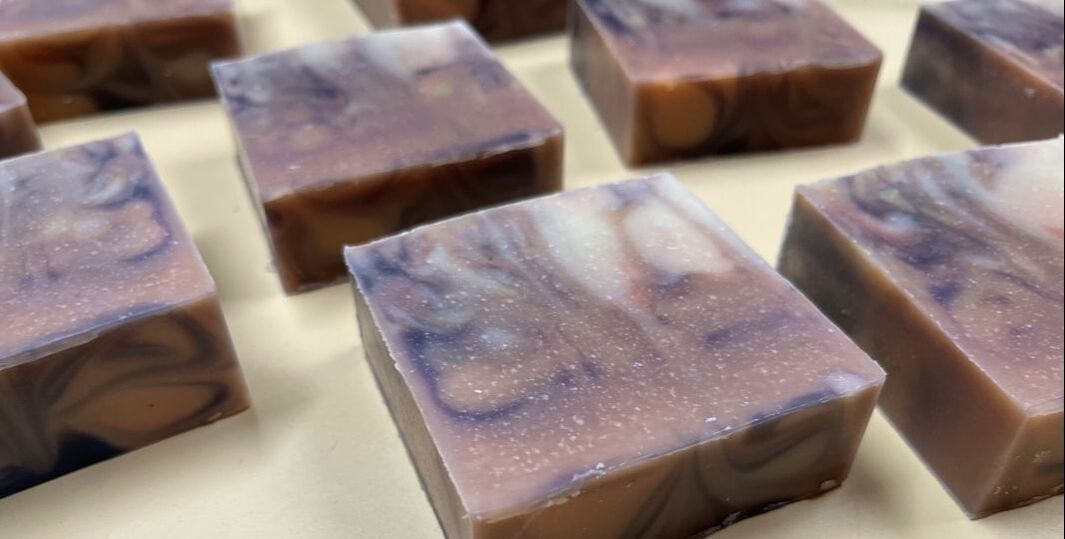
And, here they are all cut and planed. They really turned out gorgeous. I'm loving these beauties!!!
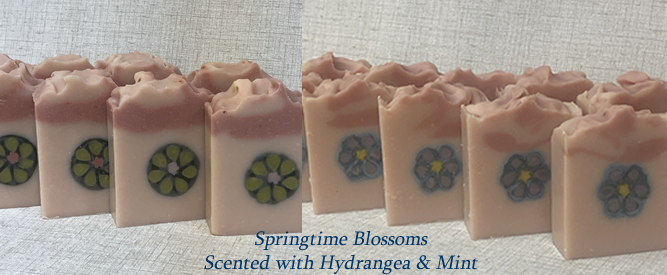
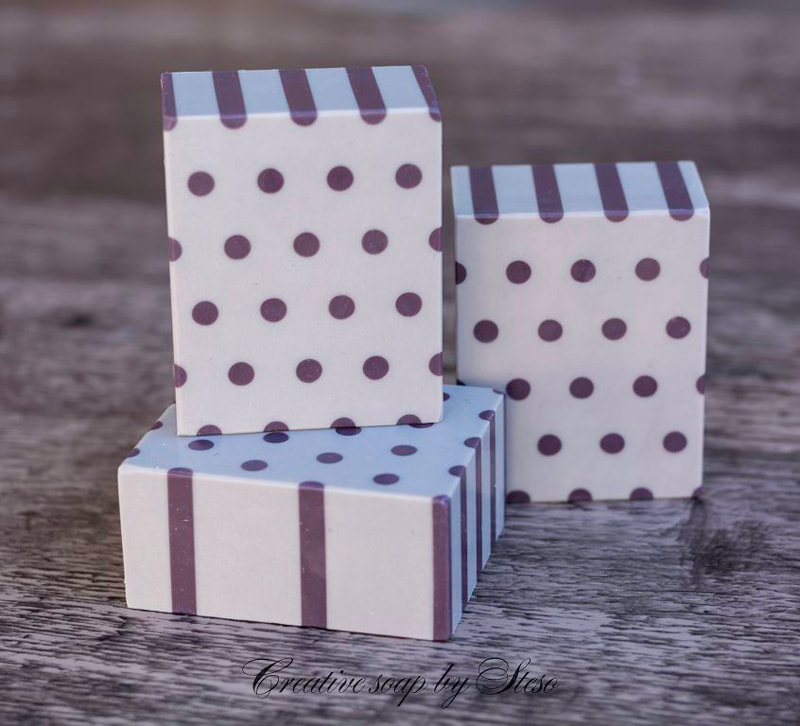
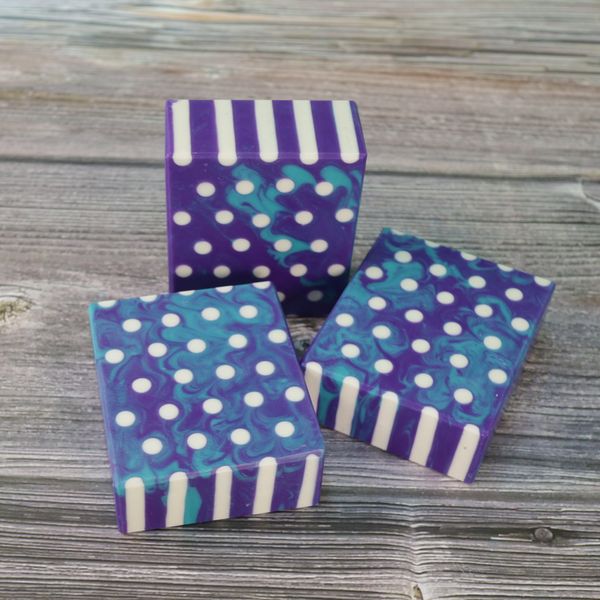
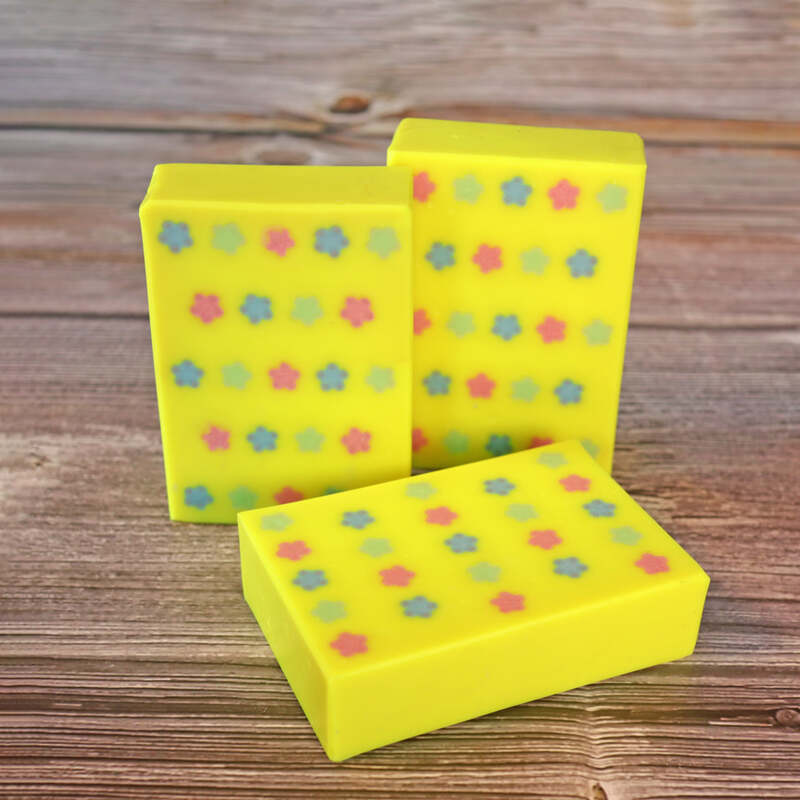
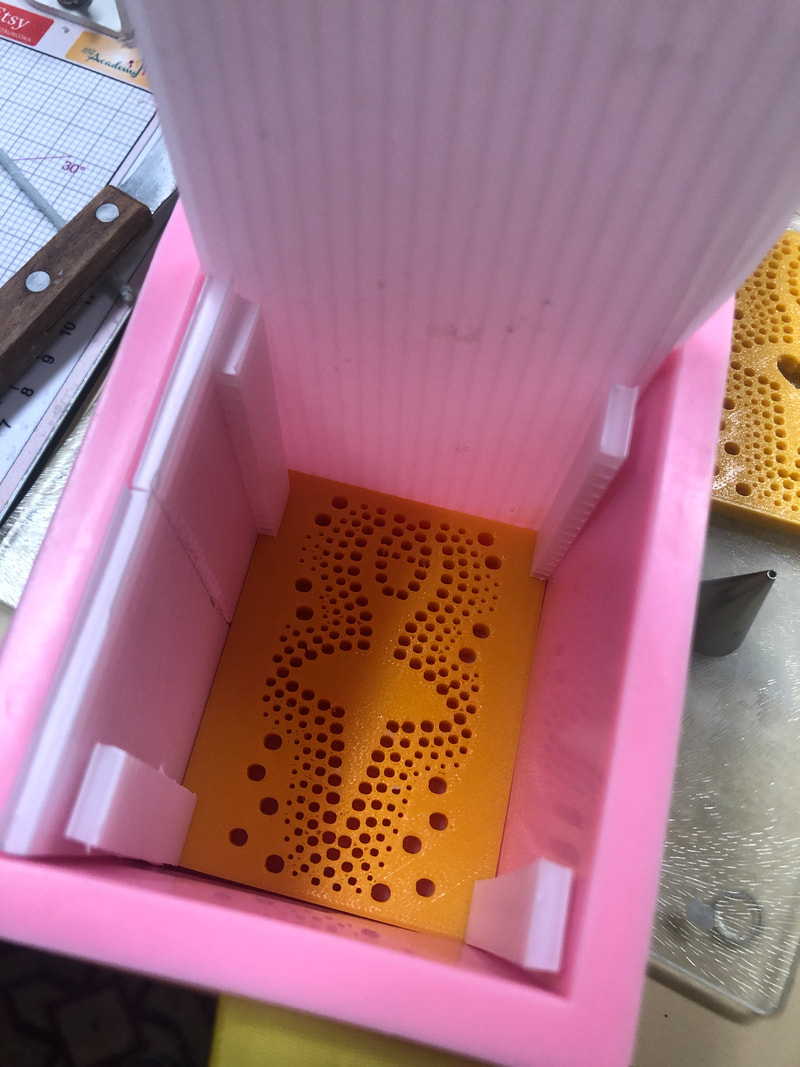
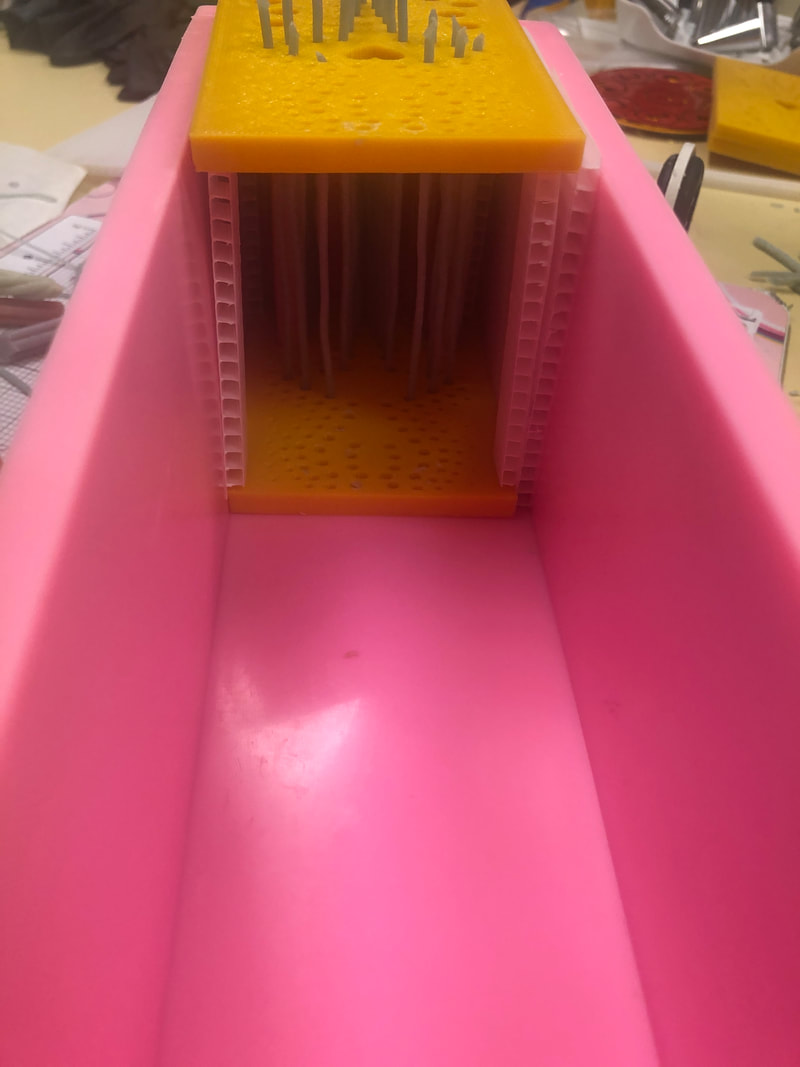
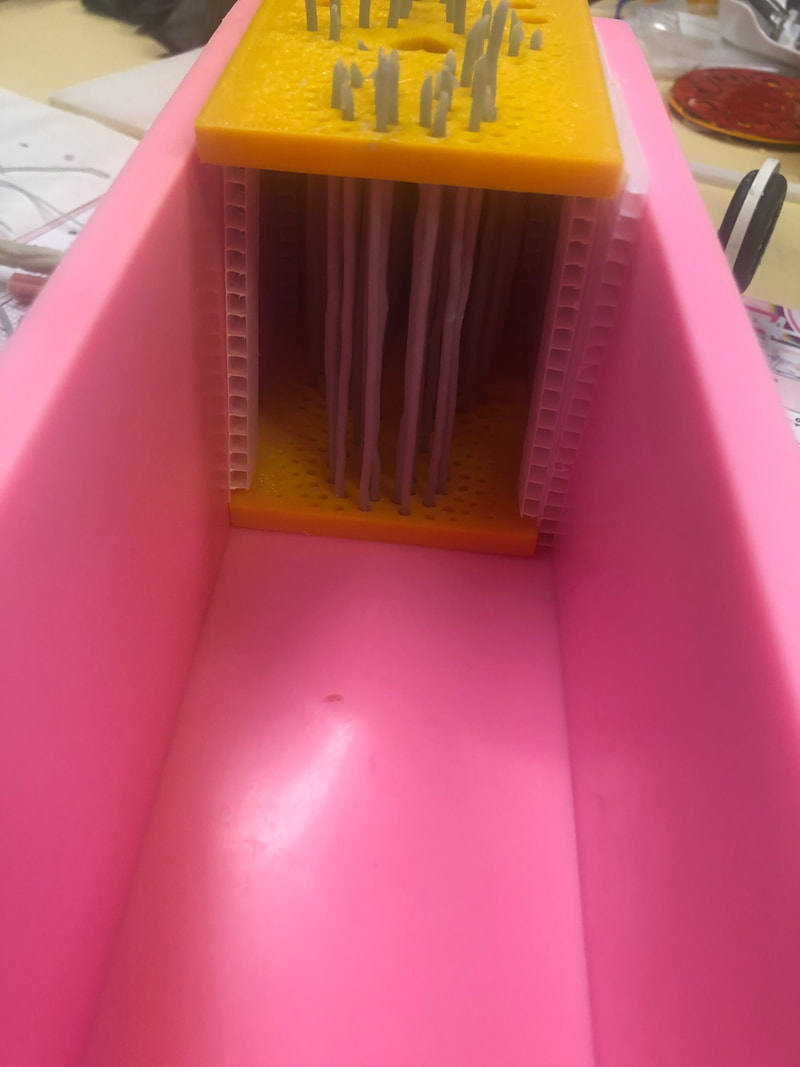
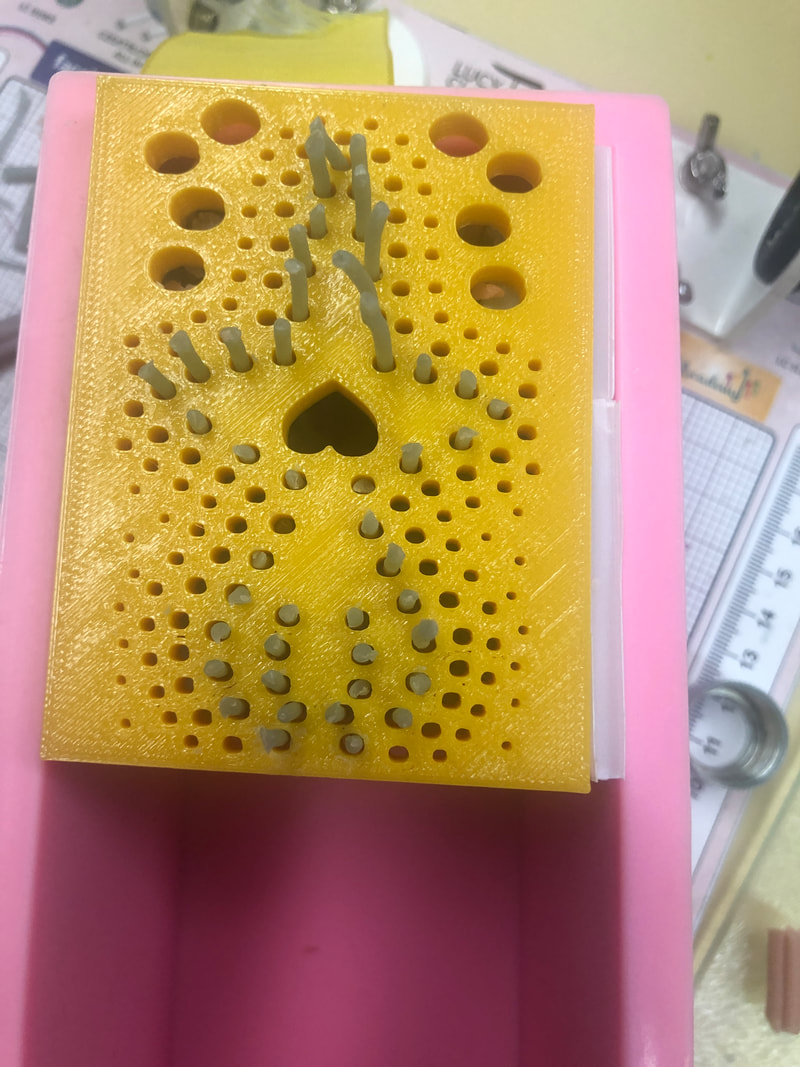
This month's Soap Challenge theme is Polka Dots! Such a fun design element...and great for spring! Thank you Amy Warden! The soaps made in the tutorial for this challenge are pictured below. Tatiana Serko from Creative Soap by Steso was our guest teacher this month. She is an amazing soap artist who always has something inspiring to look at! She designed these soaps by creating a top and a bottom template out of clay and guiding straws through. Then she poured soap batter around the straws. Once the soap had set, those straws were pulled out and the batter for the dots were poured in. Aren't these absolutely gorgeous?! So stunning! One of the Soap Challenge Support Team members, Lisa Cunningham from I Dream In Soap, used extruding as her method of obtaining the polka dots. Her examples are here below. These are also some beautiful soaps! So, now for my attempt to create something just as beautiful! Google polka dot art, and WOW! there are some really creative ways to express yourself in dots!!! For this challenge, the design was to be symmetrical and use at least seven dots. You need to have at least three bars of soap, weighing at least 3 oz. each. I really liked all of the art that had dots around a silhouette shape. So, this is the idea I went with. I, of course, made it way to complicated to begin with, and it took me a long time to come up with the design. I decided to try the extruded method. This was for three reasons. 1) Since last month's challenge - which I still have not posted about because it was a totally blind challenge - I have really wanted to revisit the soap dough idea. This is something that has intrigued me for years, and I have not taken the time to really master it. Lisa Cunningham posted a youtube video last May on how she makes hers, and that was brought to the surface again last month. It has inspired me to really want to figure this technique out. 2) I've been reading posts where people have really struggled getting those straws out. 3) I wanted to play with shapes, which would be harder to remove, as you couldn't twist them properly. So...extruded it is! For my template, I decided to use my 3D printer. Not sure that was my best decision ever...as I had a hard time transferring the size dots to the size of my extruded pieces. This was mostly because I started with the wrong program initially for my design. There are so many steps with creating the design and the subsequent transfer of file types, that I had difficulty controlling the exact size of the holes. But, it is something I will play with more in the future to see if I can get the technique down. The mold I used was a loaf mold, and I was able to get it three bars high. This was my initial template. Like I said, way to complicated! I remade the templates, simplifying the design a bit, and that was still way too much. So I improvised and only used some of the guides instead of attempting the whole design. And, the heart in the center is just where I poured the soap batter :) Below is the actual template I used...and I'm showing how I placed the extruded pieces into and through the templates. Easier said than done, I'd have to say! The flower extrusions were a bit larger than the holes in my template, so I had to kind of squeeze them to fit well enough to stay put. I then sealed up the end and poured the contrasting soap batter through the hole I had made in the top. It got a bit messy :) Here are pictures of the unmolding... Cut and cleaned them up a bit, and wallah! Beautiful little ballerina soaps! I really enjoyed everything I learned this month! THANK YOU! to Amy Warden, Tatiana Serko and especially to Lisa Cunningham! I would not have had any success without Lisa's video on the soap dough :)
I will definitely be doing more of this technique, as polka dots are so tempting for the endless design opportunities! |
Details
TaralynColorado Artisan, making beautiful hand-crafted soaps with all natural ingredients. Archives
August 2025
CategoriesCategories
Comment Policy
We follow Grandma's rule here: If you don't have something nice to say, don't say anything at all. While constructive criticism is always welcome, keep it polite, considerate and friendly. These are simple rules that, if not followed, will result in the deletion of the comment. Thank you. |
|
|
Our soaps and body care products are handcrafted the old-fashioned way, in Boulder County, Colorado by your local Soap Making Artist, Taralyn. Small artisan batches allow for considerable attention to detail during all stages - soap making, hand cutting, six week cure time and hand wrapping - an extensive journey that nurtures the formation of the perfect bar of luxury soap. And to make it even better, we will deliver to your door! Shop by Signature or Artisan, by scent families, ingredients or by name. So much to explore! Check out our collections today!
|
Contact
|
About
Get to Know Your Soap Maker!
|
Customer Service
ASC Creative Credits
|
Other Goodies
Community Connection Blog
Wild Rovings Blog
Why Palm Oil?
Organic Label
|
Copyright © 2009-2025 ASC Soapworks, llc, All rights reserved.























 RSS Feed

