|
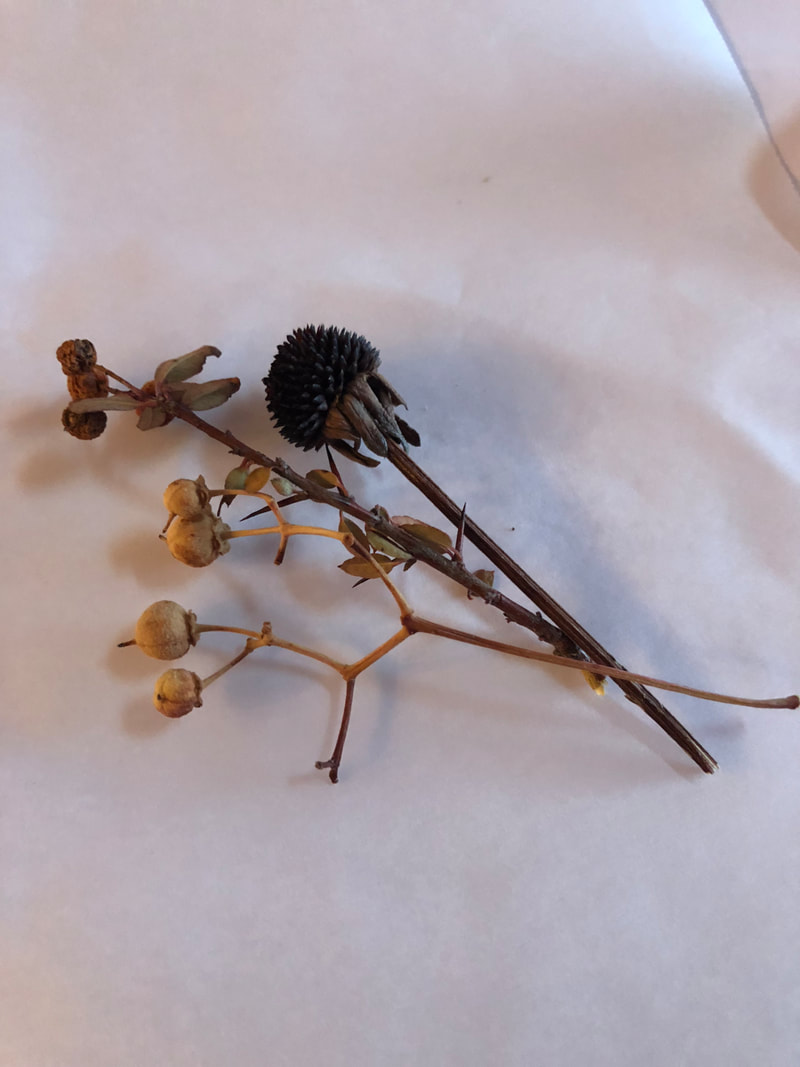
Another Great Cakes Soap Challenge is underway! This month we learned how to create a bas-relief from plants to create beautiful soaps from guest instructor, Elena Nedachina. This was a multi step process and definitely put emphasis on the word "challenge" for me this month. The first challenge was to find plant material. Here in Colorado, it is winter, with a blanket of snow everywhere, so the pickings were a bit slim. On the other side was the fact that plants that were available tended to have quite a bit of texture, which is what I was going for. I did want to experiment a bit so I did so by also using a favorite houseplant, and some fresh rosemary and mint found at the grocery store.
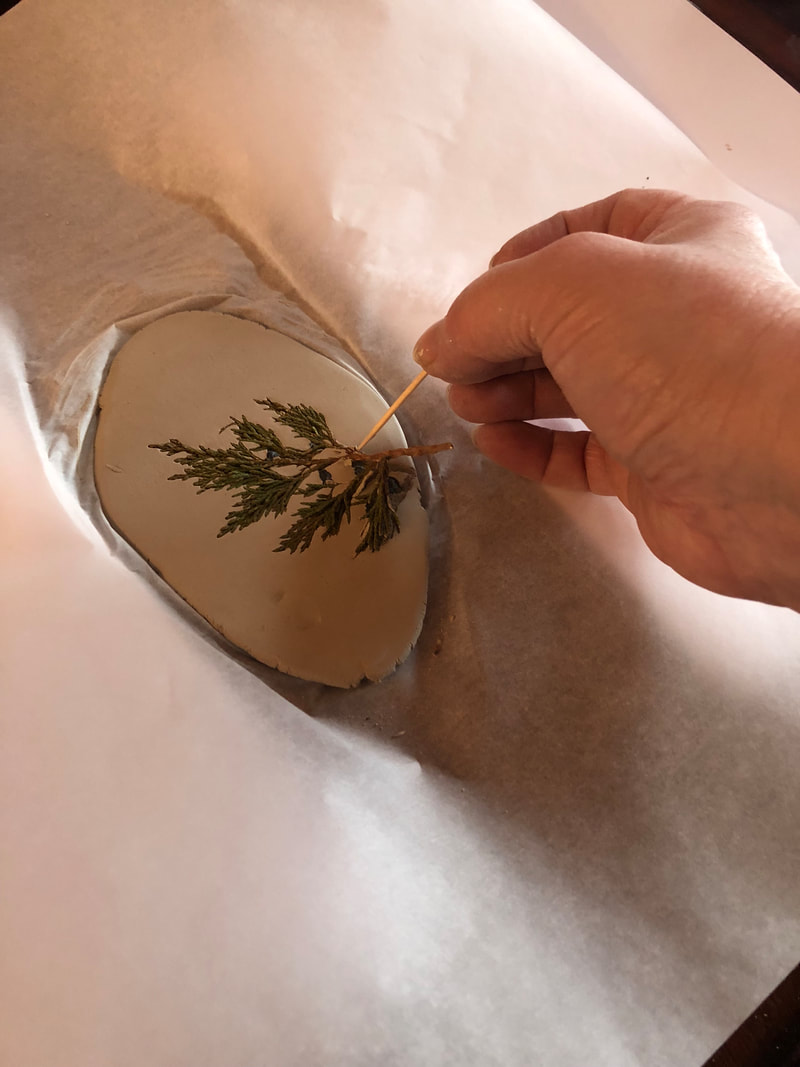
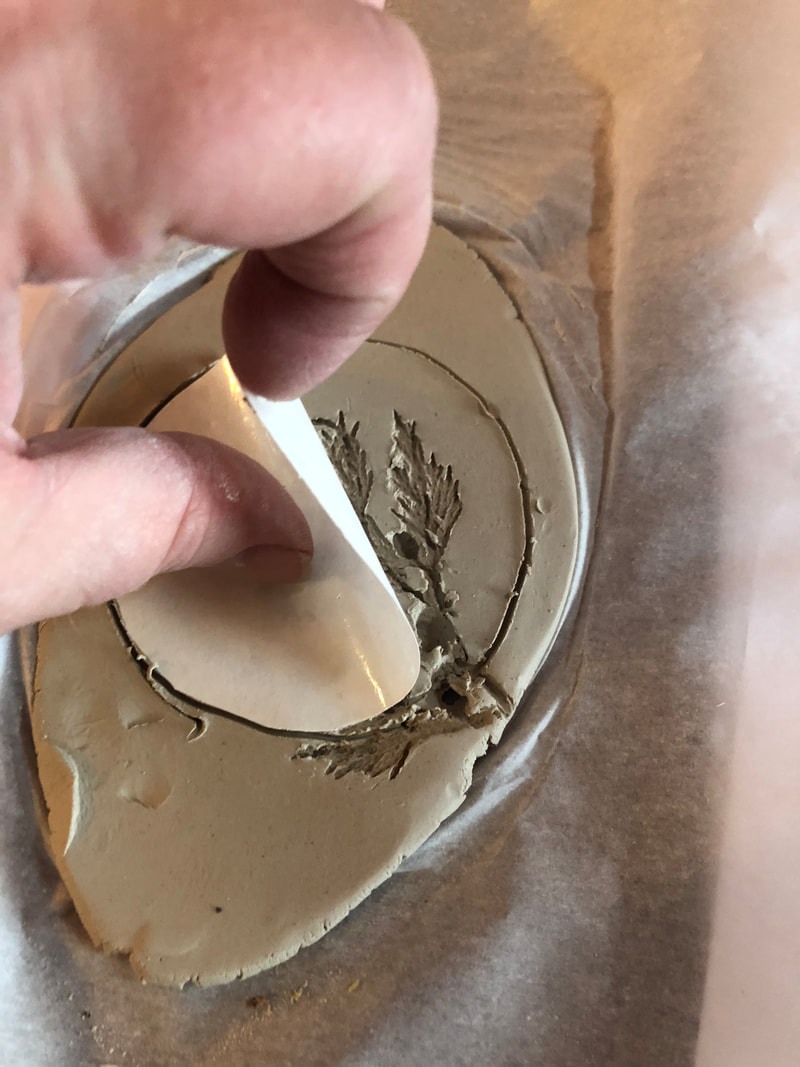
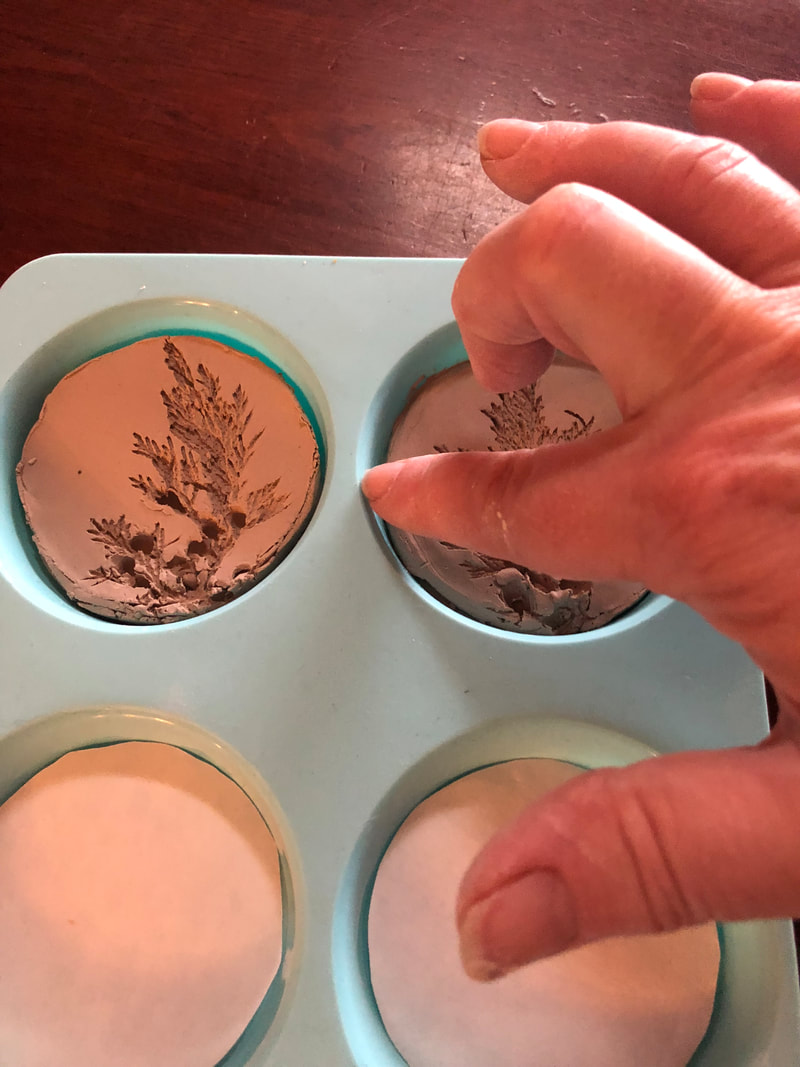
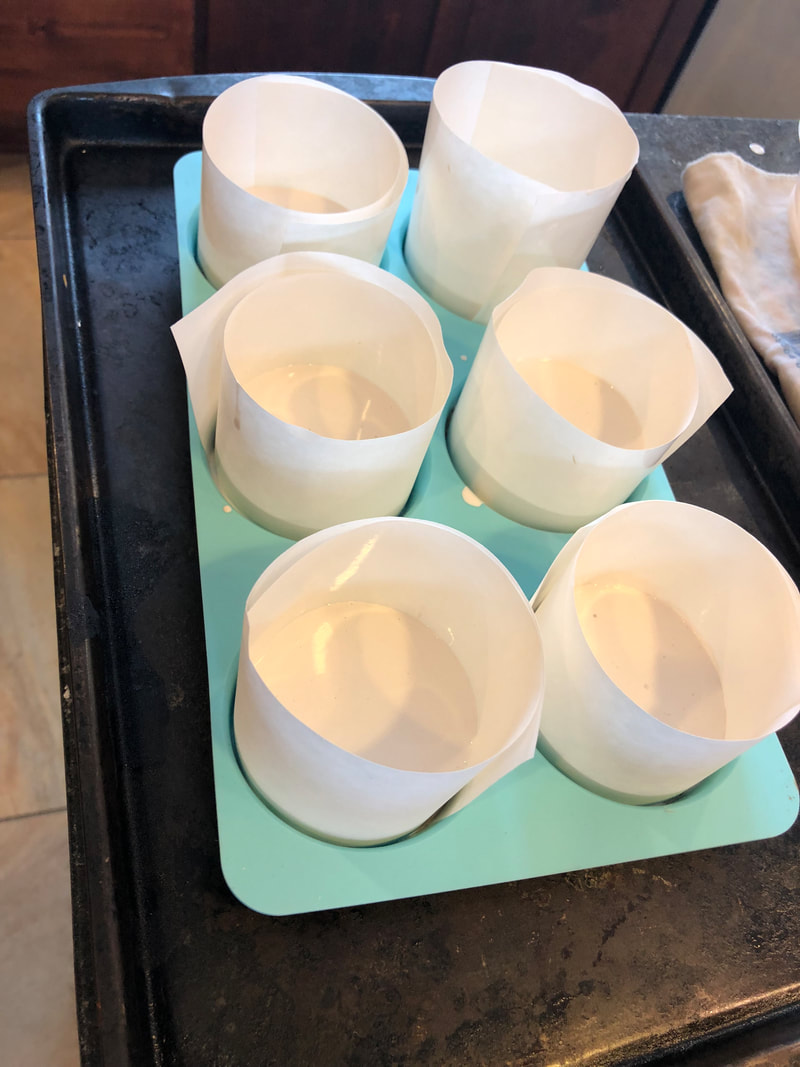
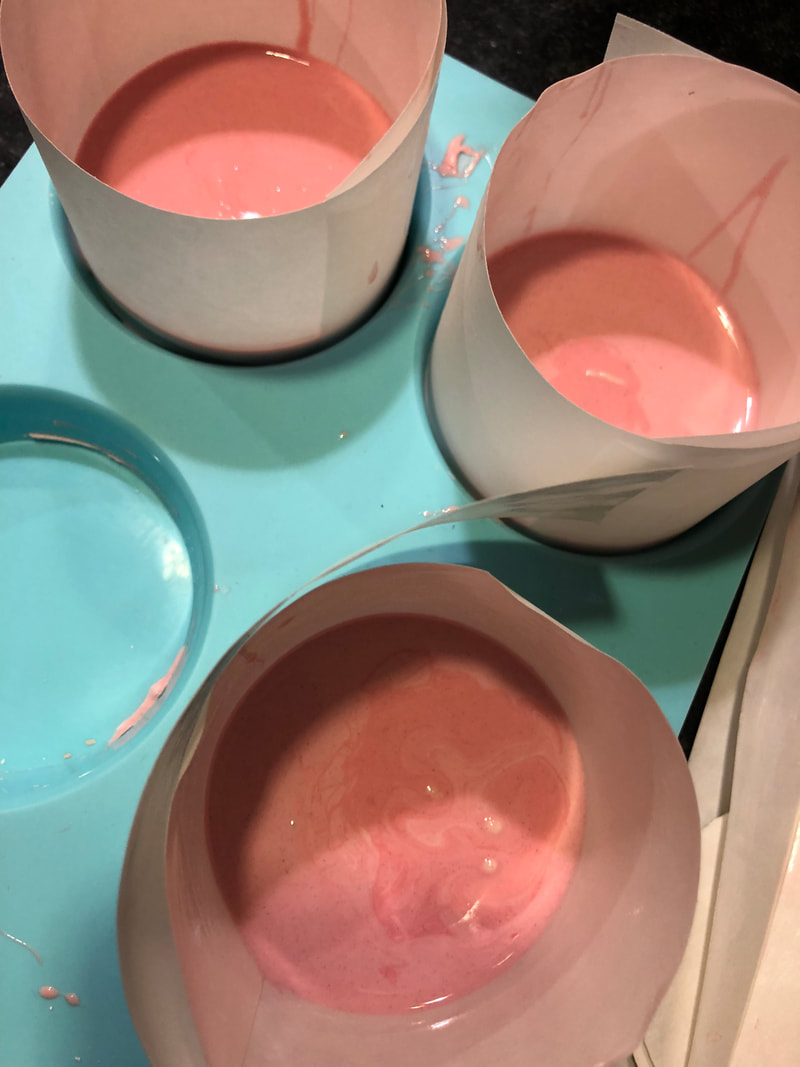
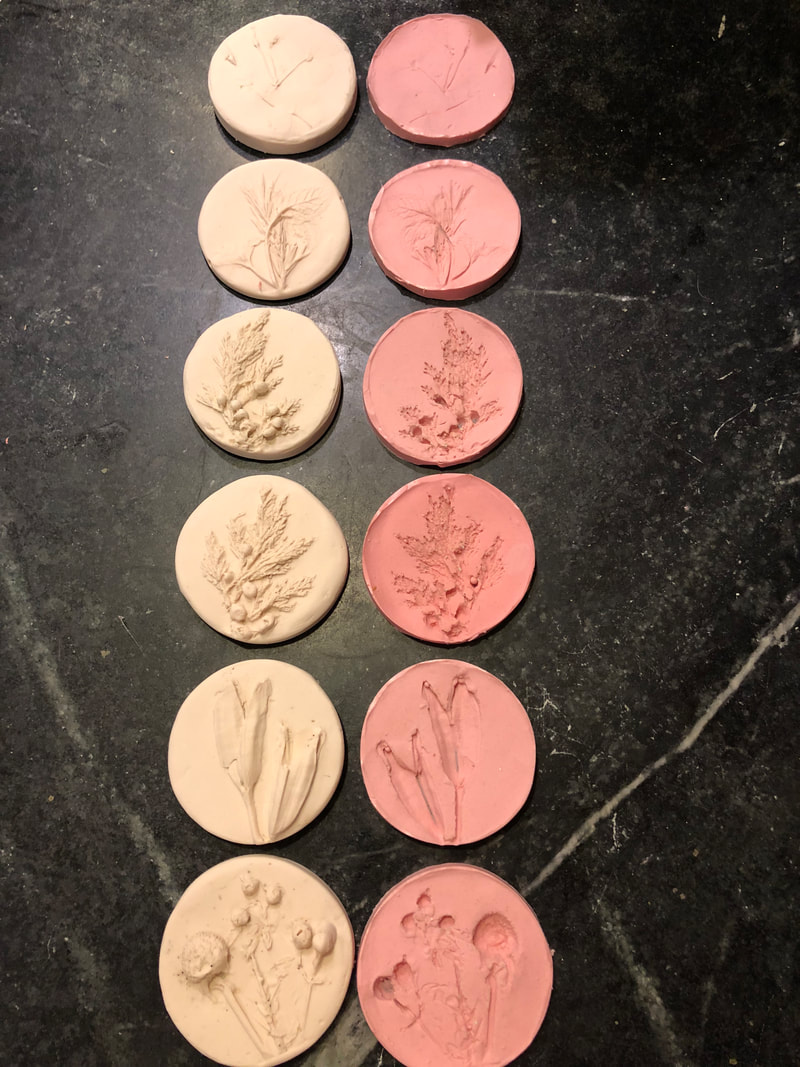
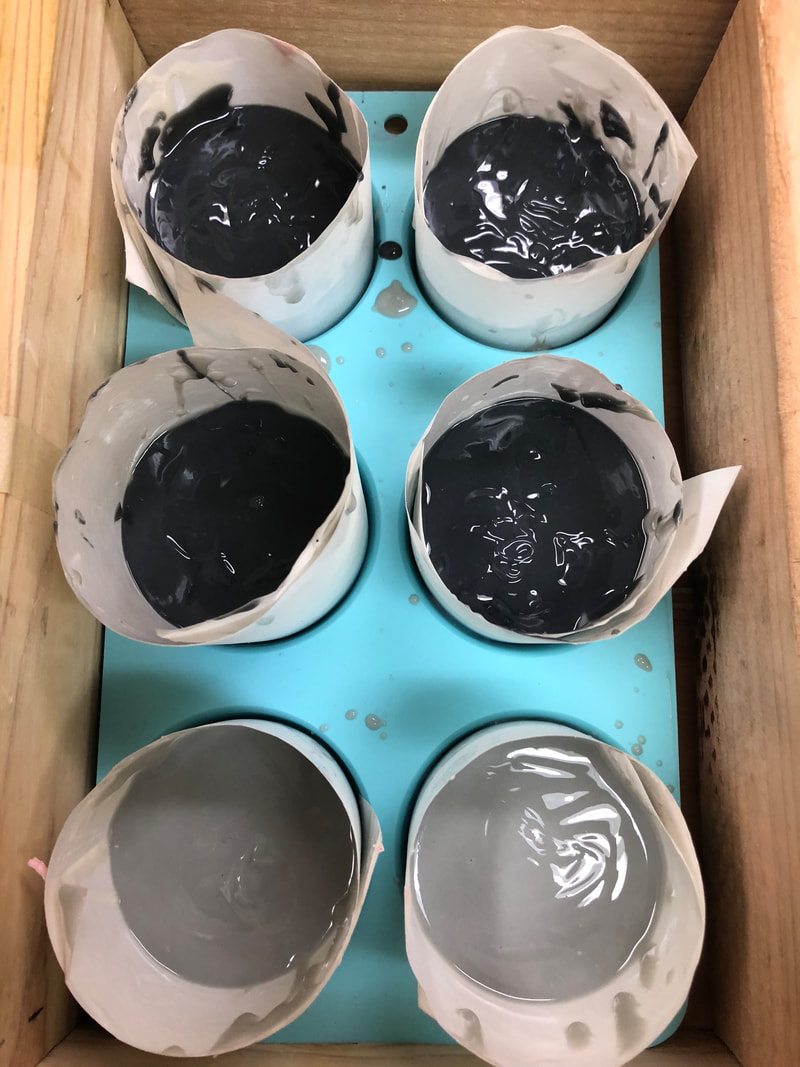
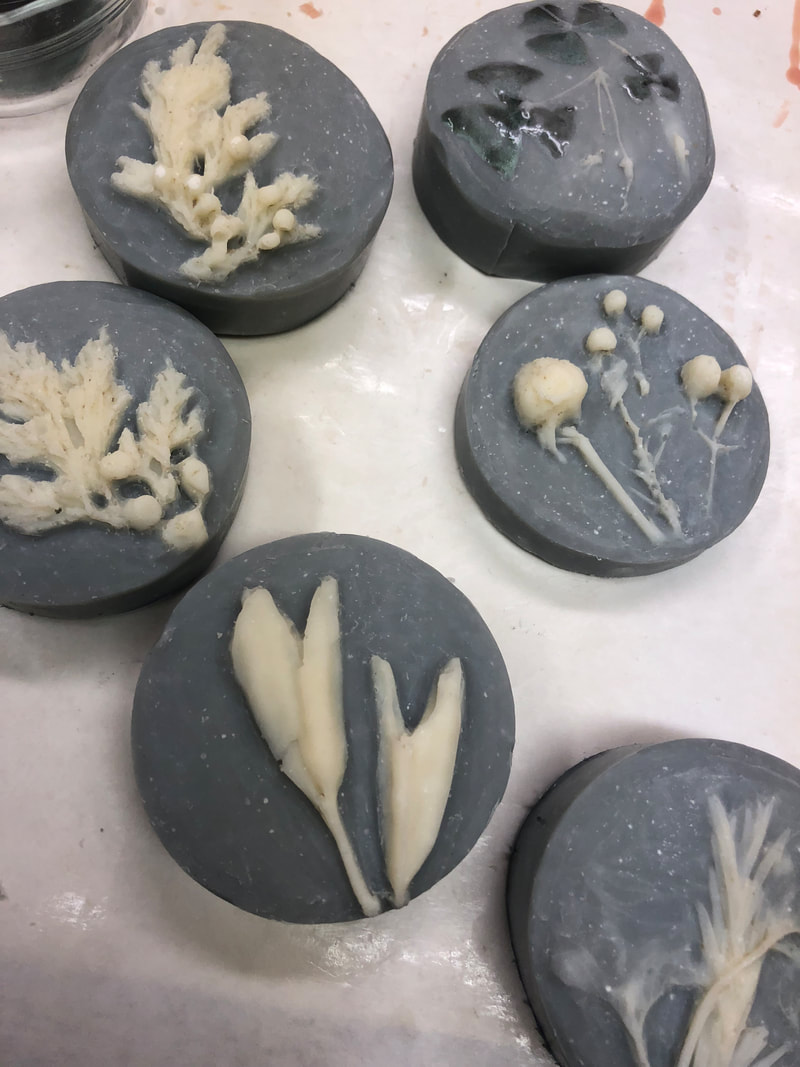
The next step was to press the plant material into some clay to make an impression. From this impression, I made a plaster cast, followed up by making a silicone mold from the casting. The silicone mold was then used to make a soap bar. Here is a timeline in pictures.
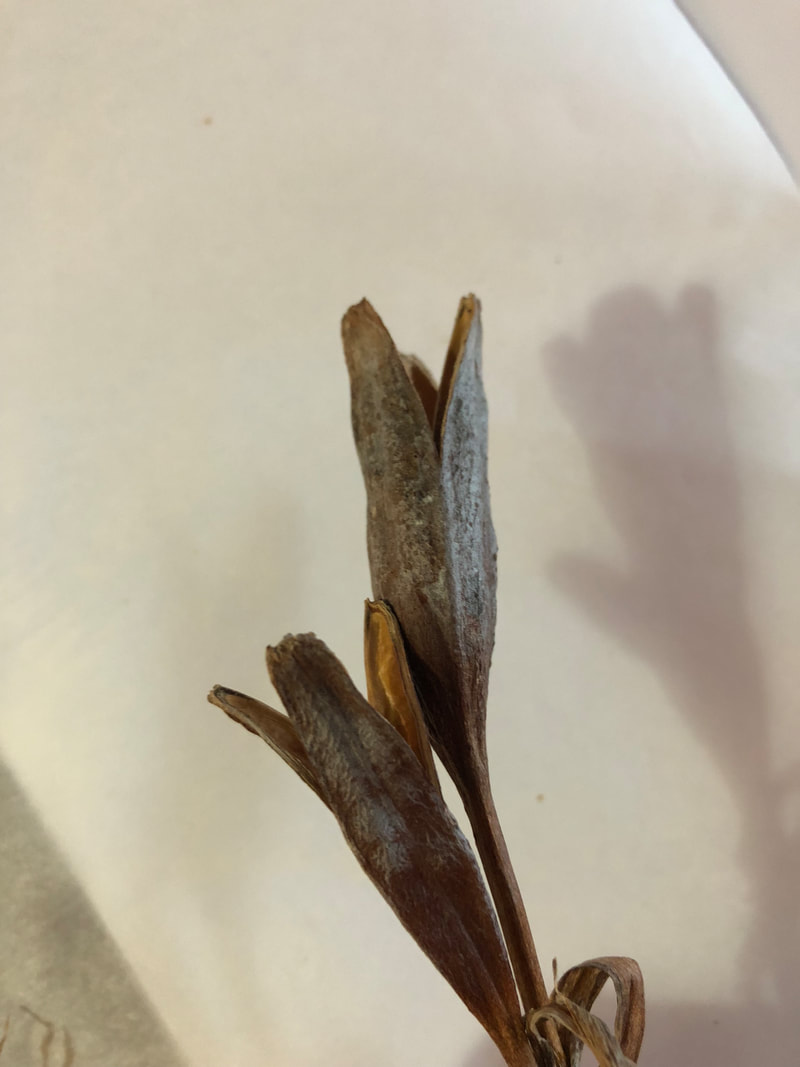
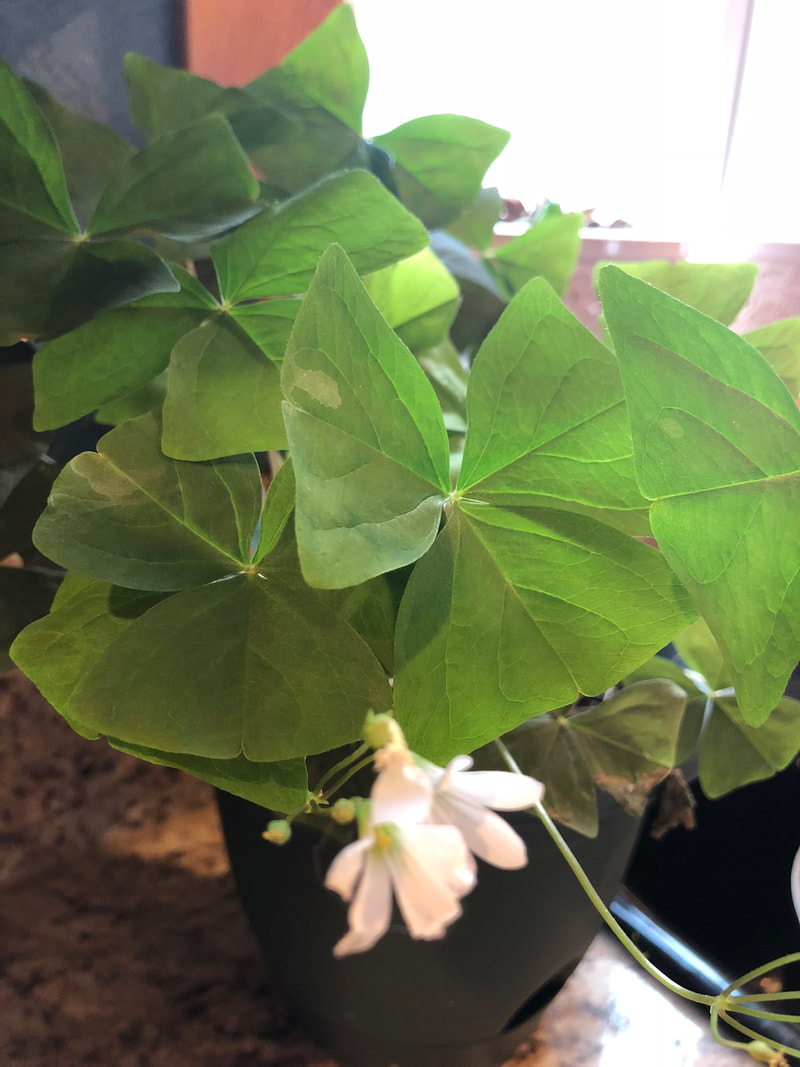
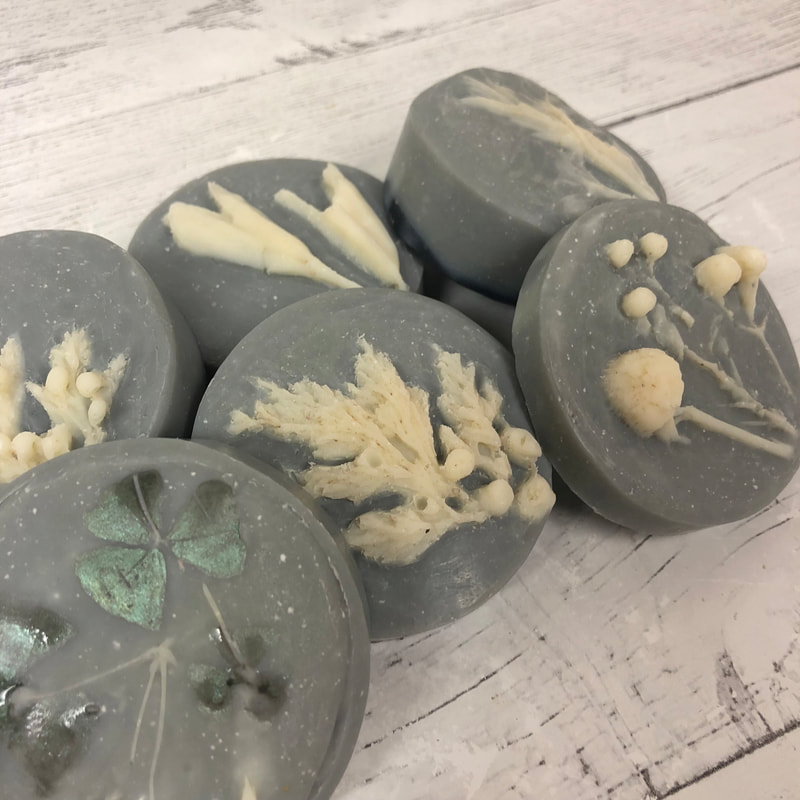
Several things were learned throughout this journey that I'd like to share. The dried up plant material that was available outside worked, but tended to crumble when applying the pressure needed to get the impression - so it took more time to clean up the dried bits out of the clay. This process compromised the final impression, in my opinion, as I had to work with a toothpick to get the pieces out and left unintended marks upon the clay. The fresh items from the grocery store worked beautifully, as they lifted up easily from the clay. Leaves were a challenge, as you really needed to get them pressed in well to obtain the delicate features. Some of mine were awesome, some not so great. My shamrock was an example of this. The image barely came up on both the clay and the silicone mat, but I decided to complete the process through to the end. I could just see the shamrock leaf on the soap, but when I added a bit of mica "paint" to the image, it popped! I was really happy with the outcome, it was perfect. So, just because the impression isn't the best, it doesn't mean it won't turn out well if you use your imagination. I absolutely love the plaster casts I made, aside from the shamrocks which were lackluster. I haven't tried them yet, but would like to see how they would work as a stamp on softer soap. The resulting silicone mats, although made from the mold I was ultimately using, seemed to be too big. Some of this may be that silicone on silicone just doesn't slide easily. The problem that I had was that I could not get the mat to lay flat on the bottom of the mold before pouring the soap batter into them, they kind of poofed up. This followed through to the final product, in which the soaps ended up being a little domed. I suppose it worked out ok, as while cleaning up the image, I scraped a lot of that dome out. In the future, I will trim them down or make them just a tad smaller somehow. I'll have to ponder on how to avoid this.
All in all, these soaps turned out stunning, and even though this project was a lot of work, and involved quite a bit of time, I really enjoyed the process. I will definitely repeat it - especially after spring and summer flowers arrive with all of the variety that can be added. The ideas are limitless for making your own molds and creating a truly unique bar of soap - new ideas are forming in my mind for my garden this year!!!
12 Comments
1/27/2019 12:41:10 pm
Thank you for your detailed photos and explanation of your process! The soaps look really great and the technique definitely lends itself to creating very unique designs! I'm glad you mentioned the doming issue, because I also experienced this. I realized it was because the sides of my mold weren't entirely straight, so by the time you put the plaster mold in the bottom and pour the silicone over the top, it is that much larger in circumference. I would like to try this using the PVC pipe molds and see how it turns out! Glad you enjoyed the challenge!
Taralyn
1/27/2019 06:59:59 pm
Thank YOU Amy! That makes sense with the doming issue. This was the only round mold I could find. I've seen them whenever I'm not looking for them, but never bought one because I figured I would use PVC for any round soaps, right? Anyway, live and learn. I will try them in the PVC next time as well, or maybe use a pringle can :) I do enjoy these challenges! 1/27/2019 04:00:51 pm
These are gorgeous, Taralyn! I agree, Colorado definitely did not have an advantage in this challenge. That's why I gave up and just used sticks! I adore your colors and the beautiful contrast of everything! Very well done
Taralyn
1/27/2019 07:18:34 pm
Debi - 4/21/2020 07:31:47 am
I have been intrigued by this for a while. What an AMAZING tutorial! Thank you so much for sharing your wisdom and technique in such detail.
Taralyn
4/21/2020 11:24:06 am
Susan -
Nancy
10/5/2020 08:35:43 am
Please tell what kind of clay you used (brand name and type) and what kind of silicone mold material. Many thanks for this info as I'm just starting out with this craft.
Taralyn
10/20/2020 12:49:45 pm
Nancy -
Nancy
10/20/2020 10:15:44 pm
Taralyn, Sorry to hear about your surgery. I hope all is well!
Taralyn
10/21/2020 10:17:53 pm
Nancy, I'm glad you like my blog. Come back anytime to read again :) And do let me know if I can help you further with your endeavors! 12/19/2023 05:45:32 pm
Thank you so much for this tutorial and explanation! I purchased some molds from Elena and they are amazing so I wanted more but between the expense and 6 month wait to get them, I decided to try to make my own!! I have the plaster casts drying now and silicone on the way! So far so good! Excited to see the finished projects!
Taralyn
1/8/2024 09:36:28 pm
Kelly - I'm so happy this helped you out! I haven't done one of these in a while, might have to revisit it!!! Your comment will be posted after it is approved.
Leave a Reply. |
TaralynColorado Artisan, making beautiful hand-crafted soaps with all natural ingredients. Archives
August 2025
CategoriesCategories
Comment Policy
We follow Grandma's rule here: If you don't have something nice to say, don't say anything at all. While constructive criticism is always welcome, keep it polite, considerate and friendly. These are simple rules that, if not followed, will result in the deletion of the comment. Thank you. |


 RSS Feed