|
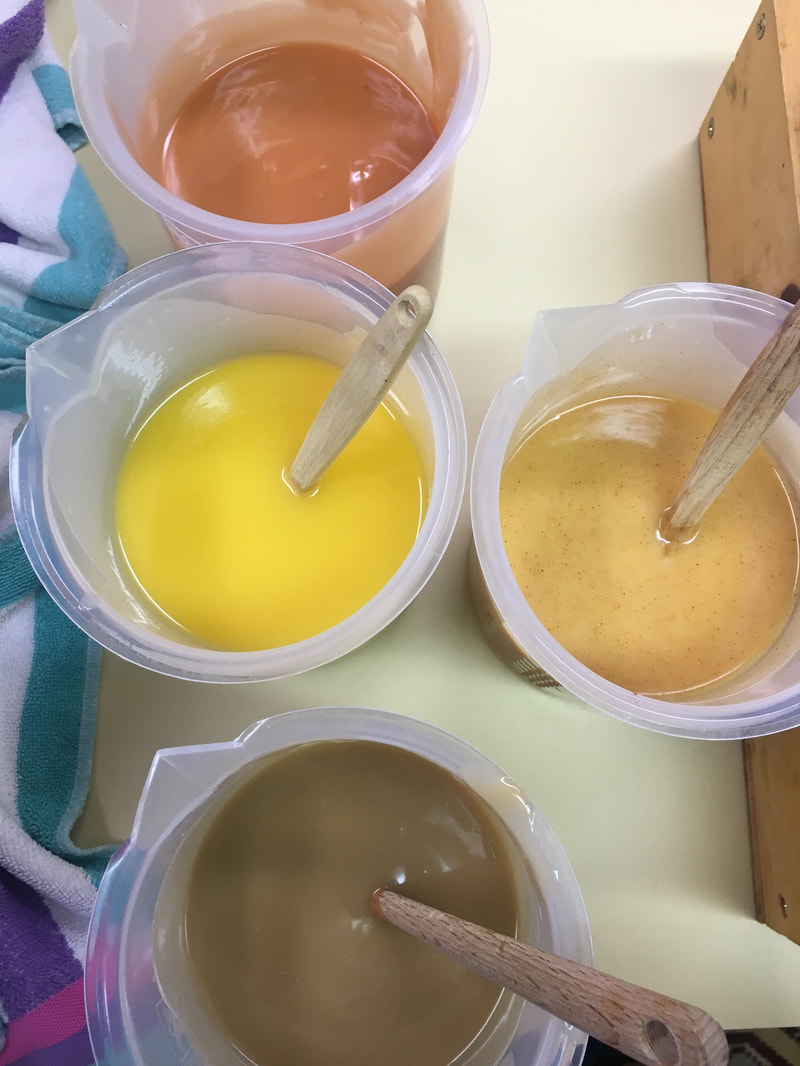
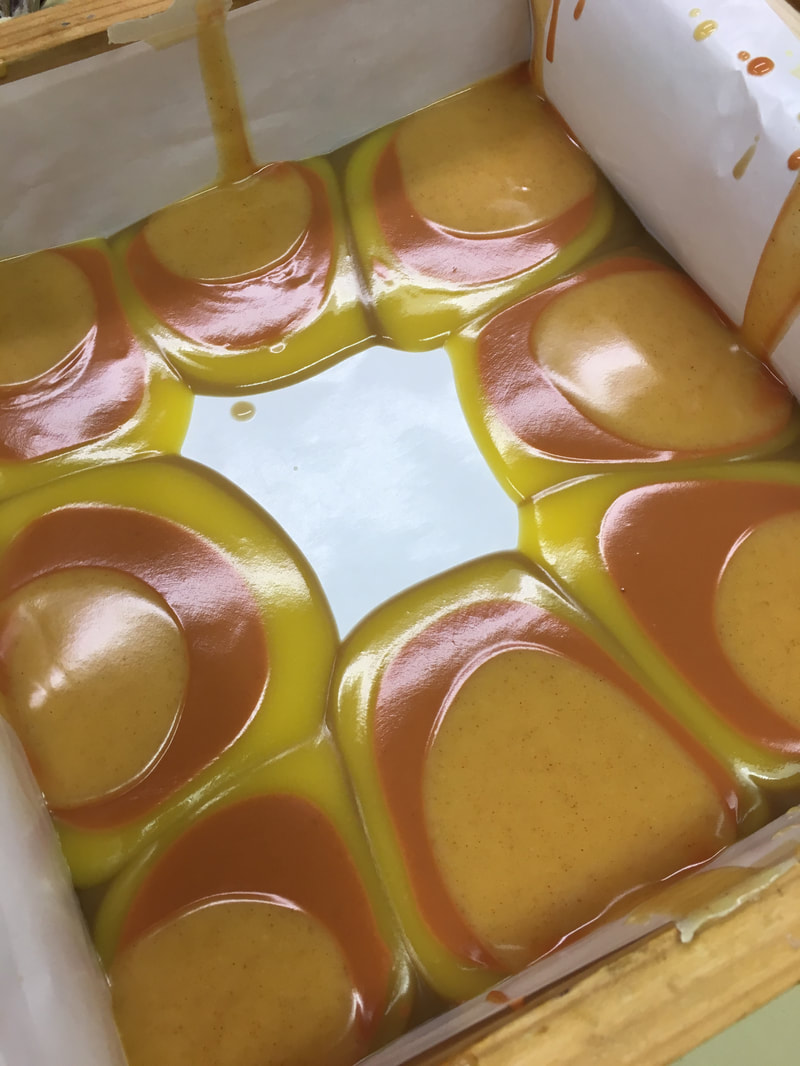
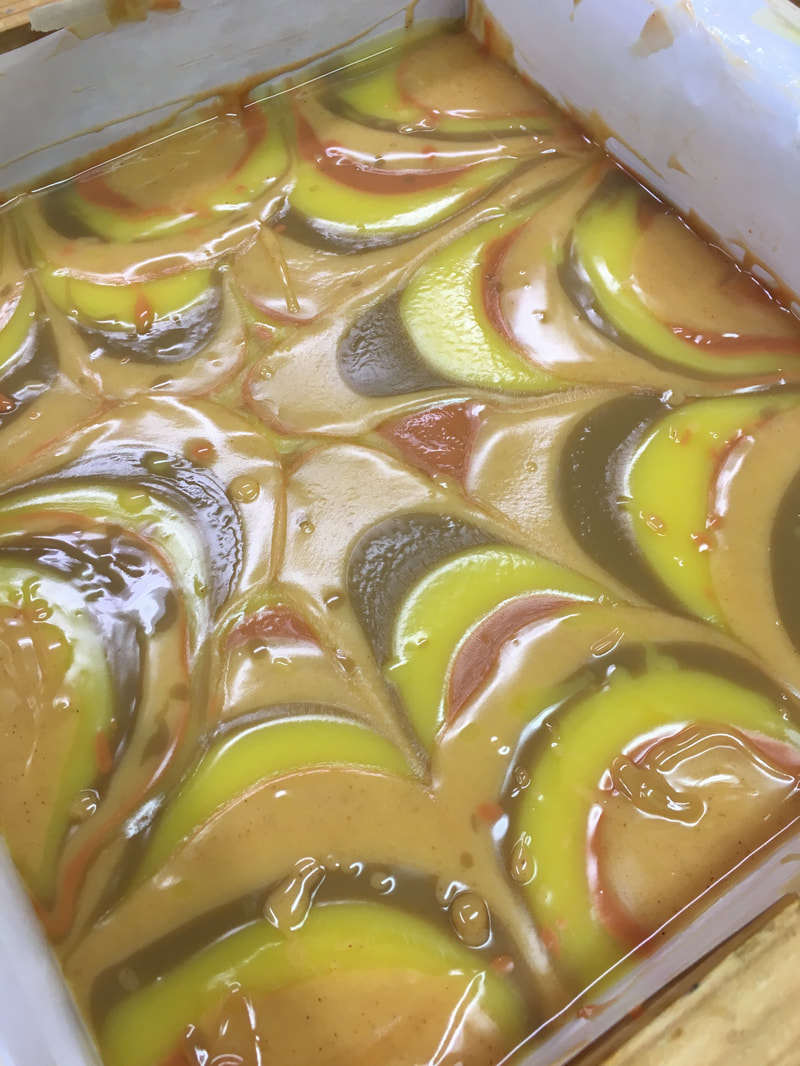
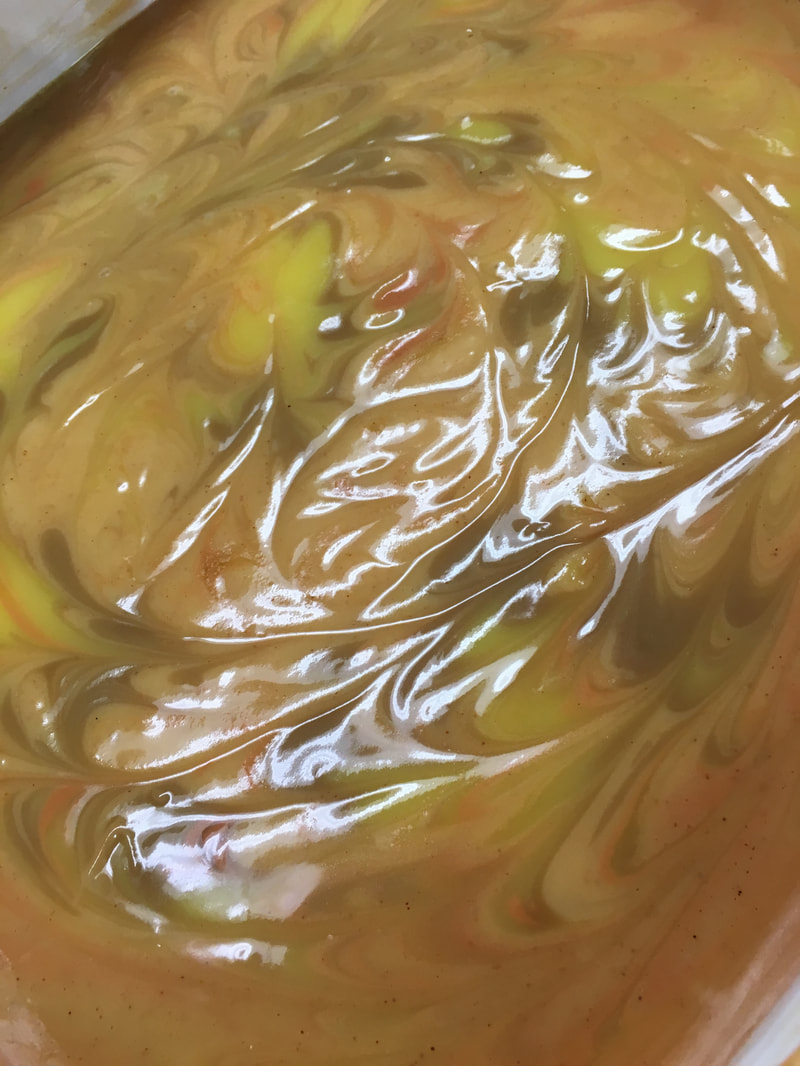
This month the Great Cakes Soap Challenge by Amy Warden has a theme of Rainbows and Unicorns. This is my entry. It was made by piping the design in layers and pouring soap batter in and around.
The soap is unscented, and uses all natural colorants - annatto seed, paprika, rose clay, alkanet root and sea clay. Lots of fun to make this one!
8 Comments
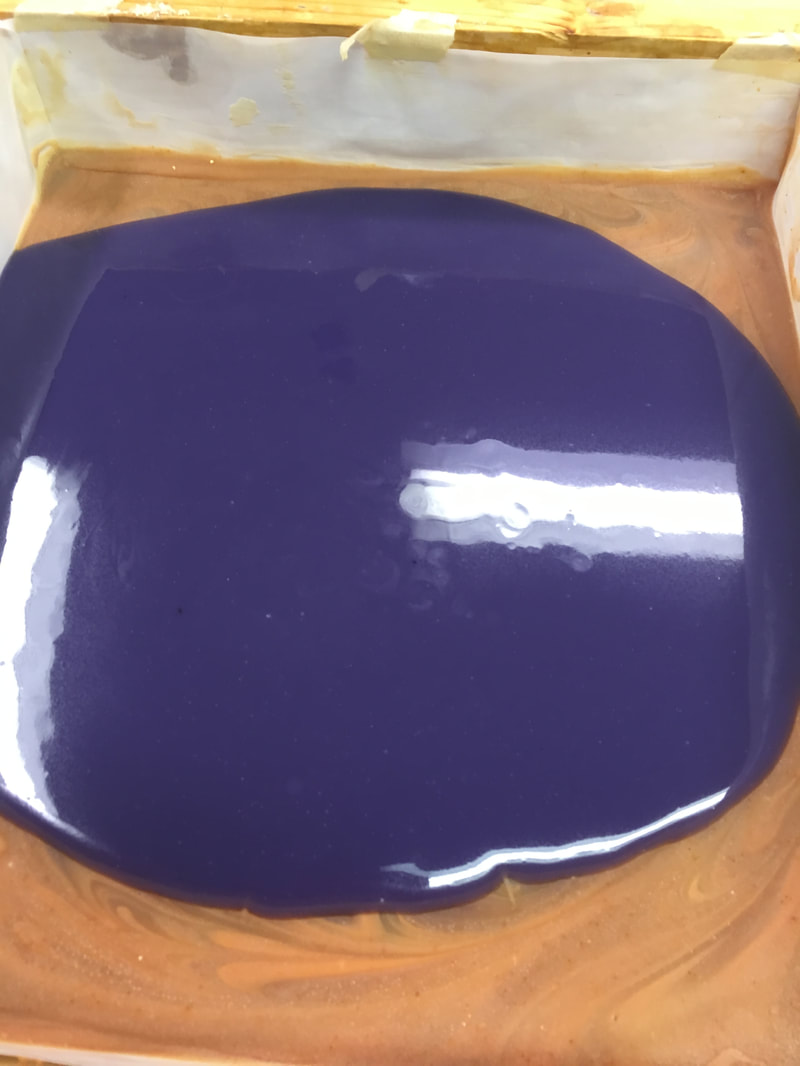
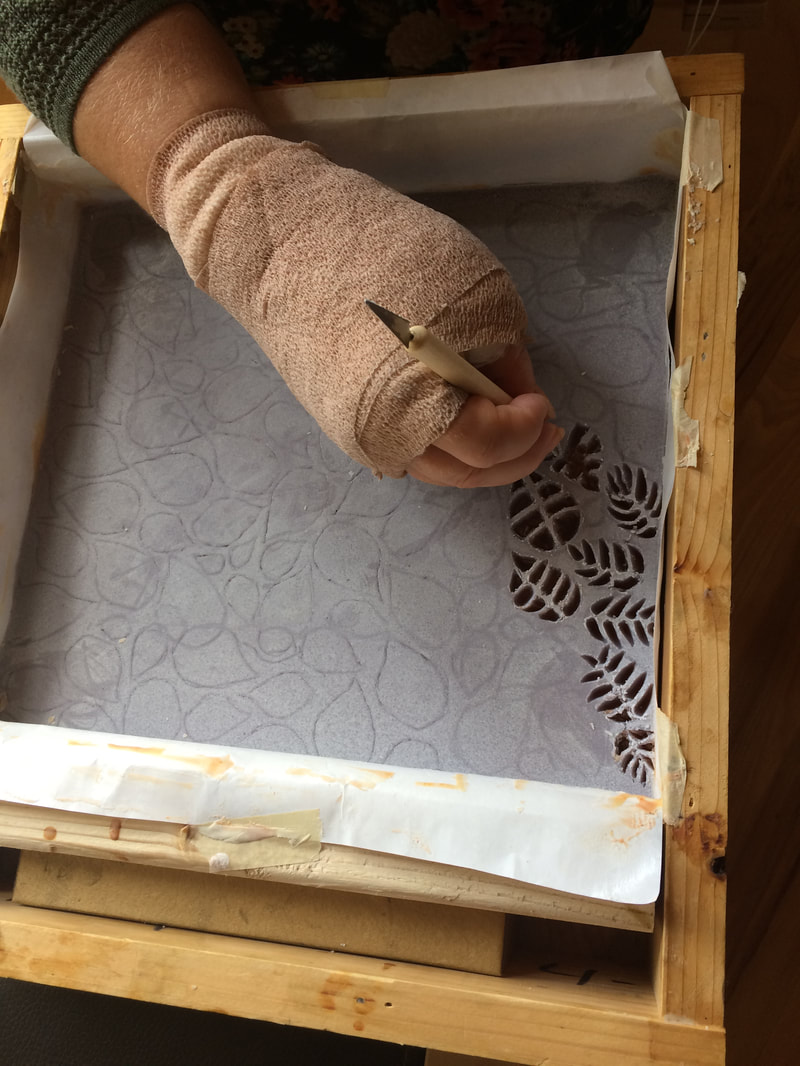
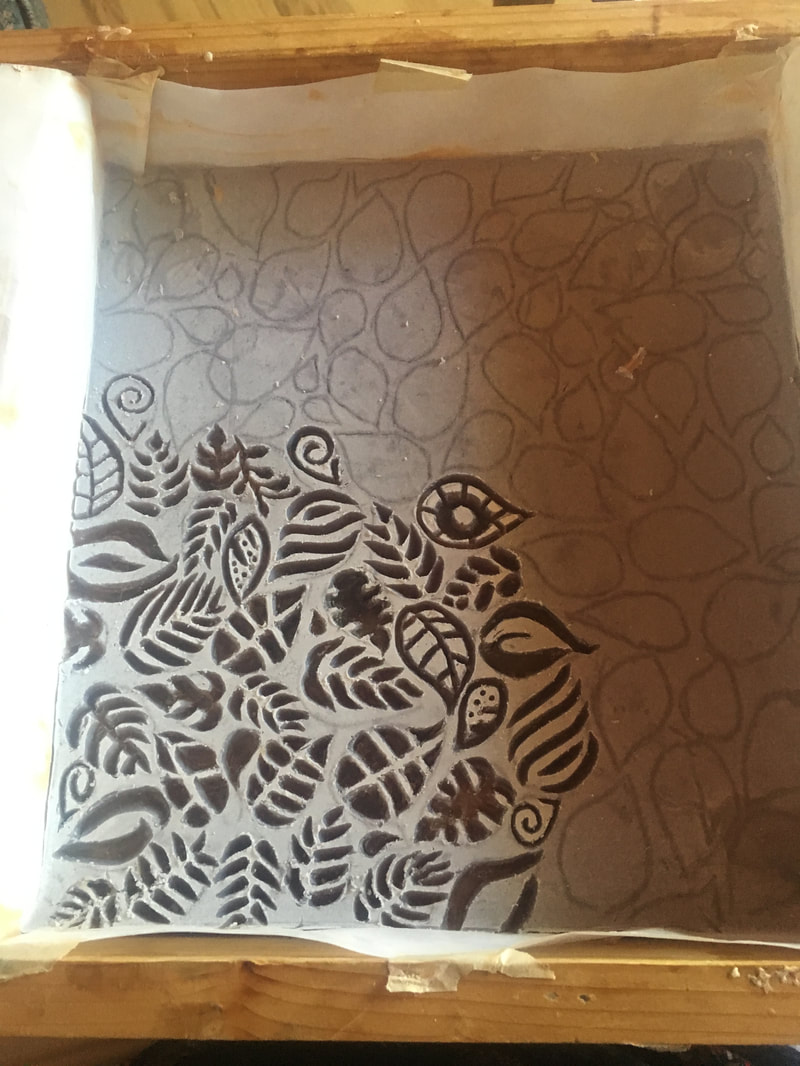
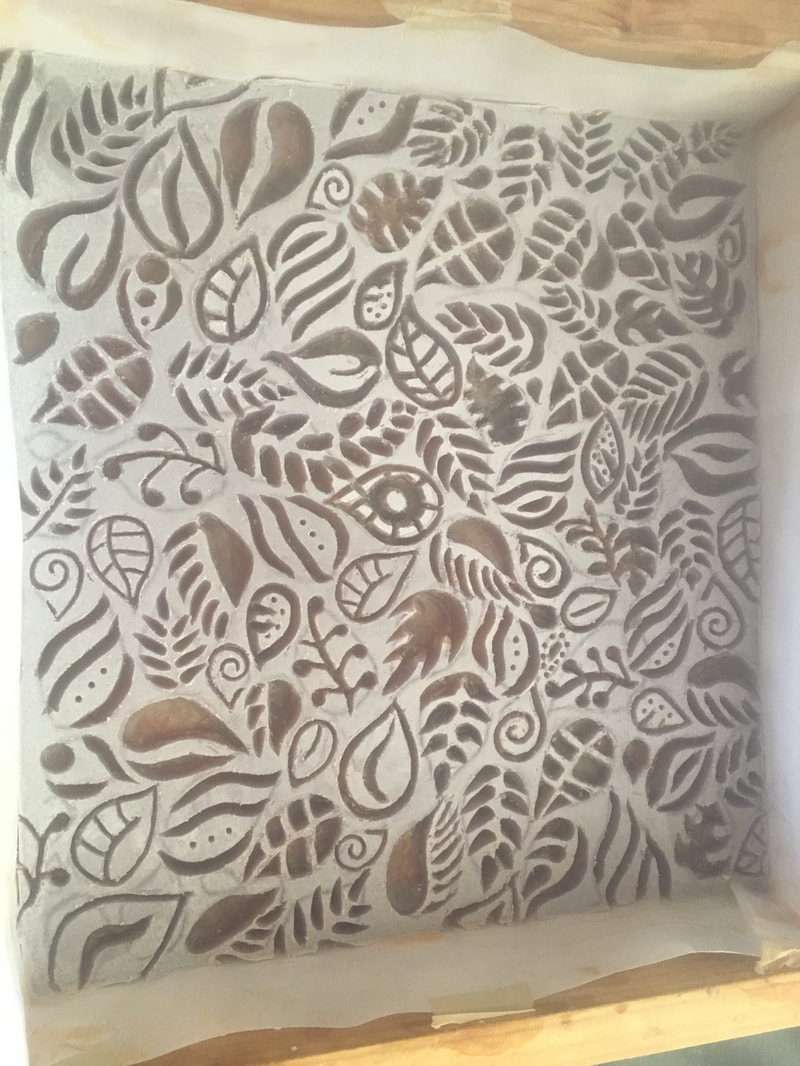
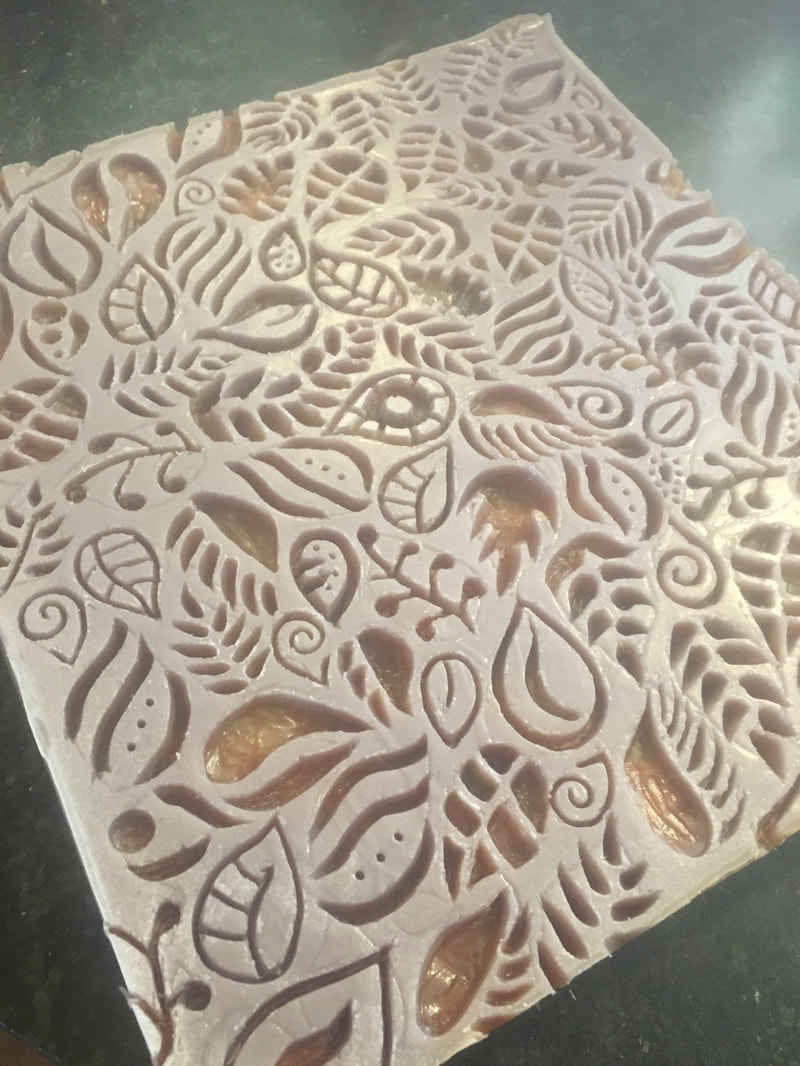
I wasn't sure if I would get this in on time this month. I had carpal tunnel surgery a week ago, and although I got the soap made before surgery, I was resigned to the fact that the carving would not get done. However, with a week of inactivity, I found that fine motor movements did not hurt my hands. So, with no restrictions from the doctor, I began on the journey of creating my intaglio soap and participate in this month's Soap Challenge Club by Great Cakes Soapworks. I am planning for fall, needing to get everything made before the surgery, so of course the theme ended up being fall leaves. This soap is scented with a combination of fig and cedar. I poured the bottom of the soap in fall colors, tried to create a bright backdrop for the purple top, but it didn't really pan out exactly as planned. As I carved it, I wished it had greater contrast. The purple top layer was about 1/8-1/4". Could have been a little shallower, but it worked. I found an image of all over leaves the right size for the project, placed it over the soap and traced the image hard enough so that there was an imprint on the top of the soap. I then proceeded to carve, creating new kinds of leaves as I went. It was fun to play with the various carving tools and discovering new shapes and designs. I was afraid that the design would be harmed by the cutting, but the soap was still soft enough that it cut beautifully. Otherwise, I'm sure I would not have made the deadline, as I was cutting these bars half an hour before it was due :)
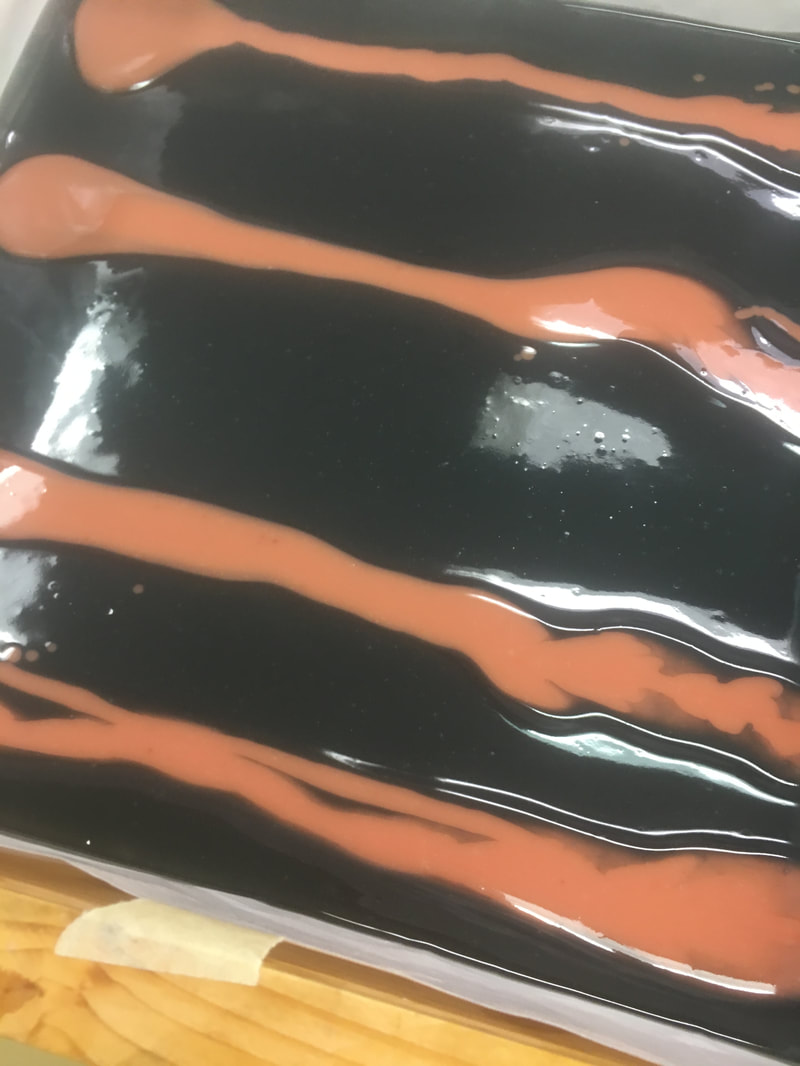
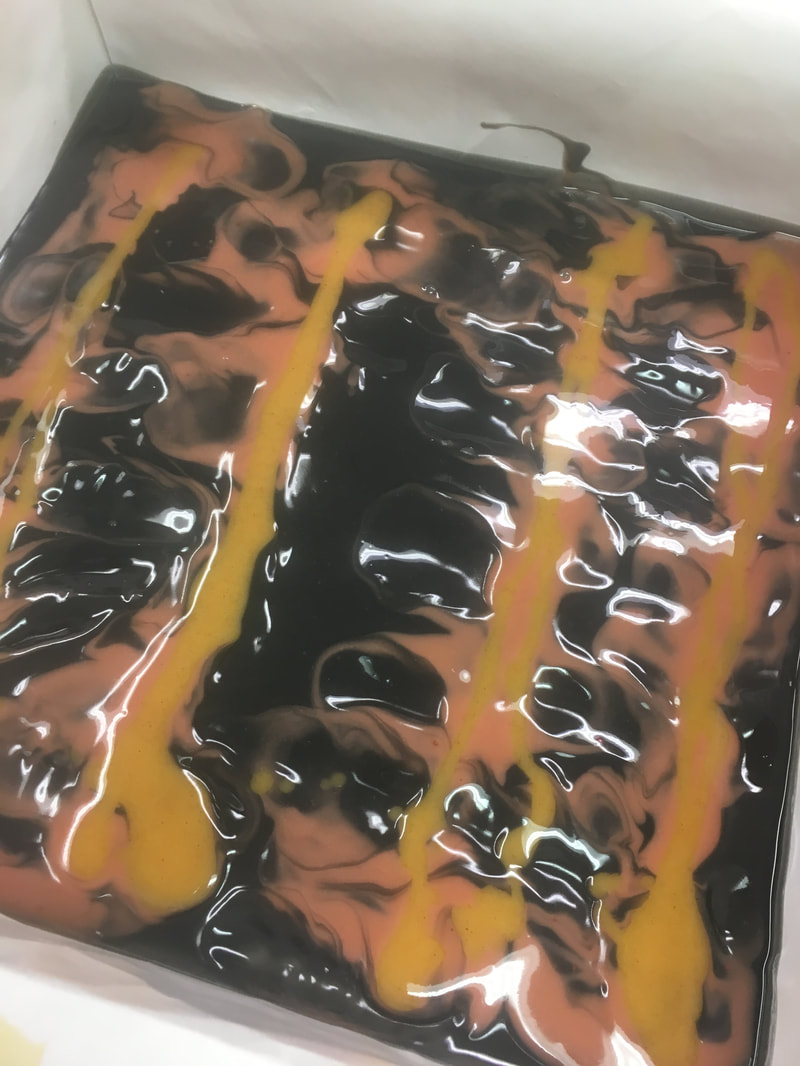
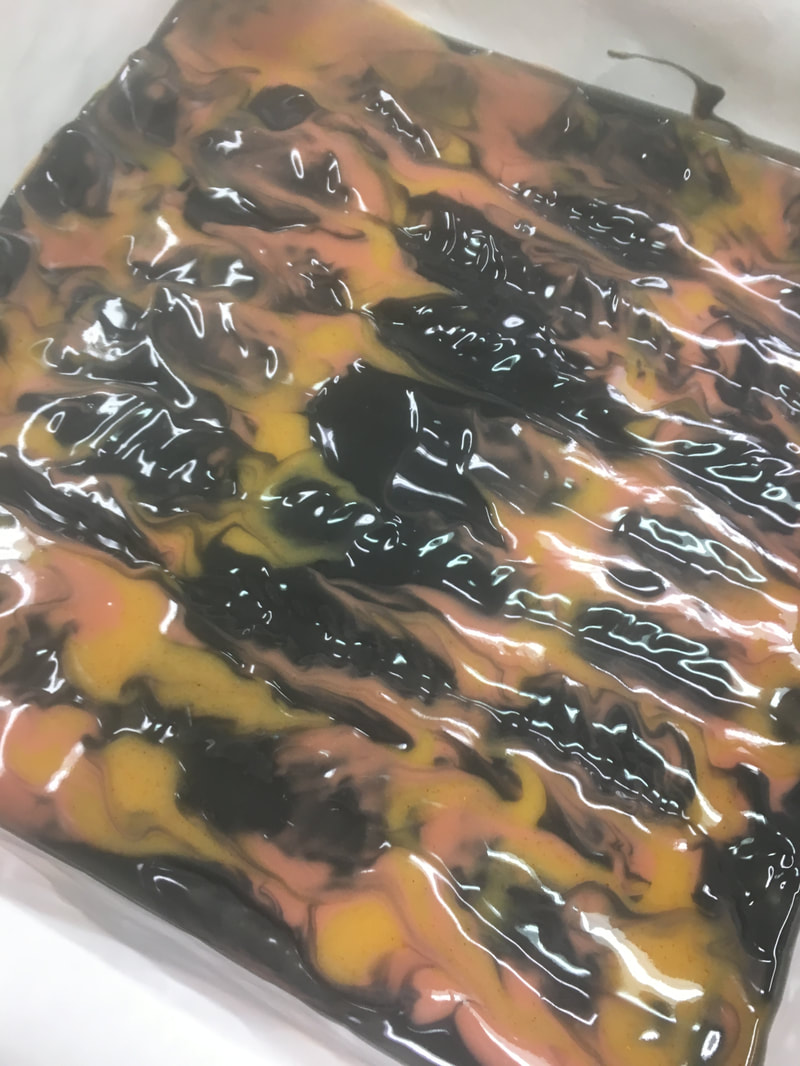
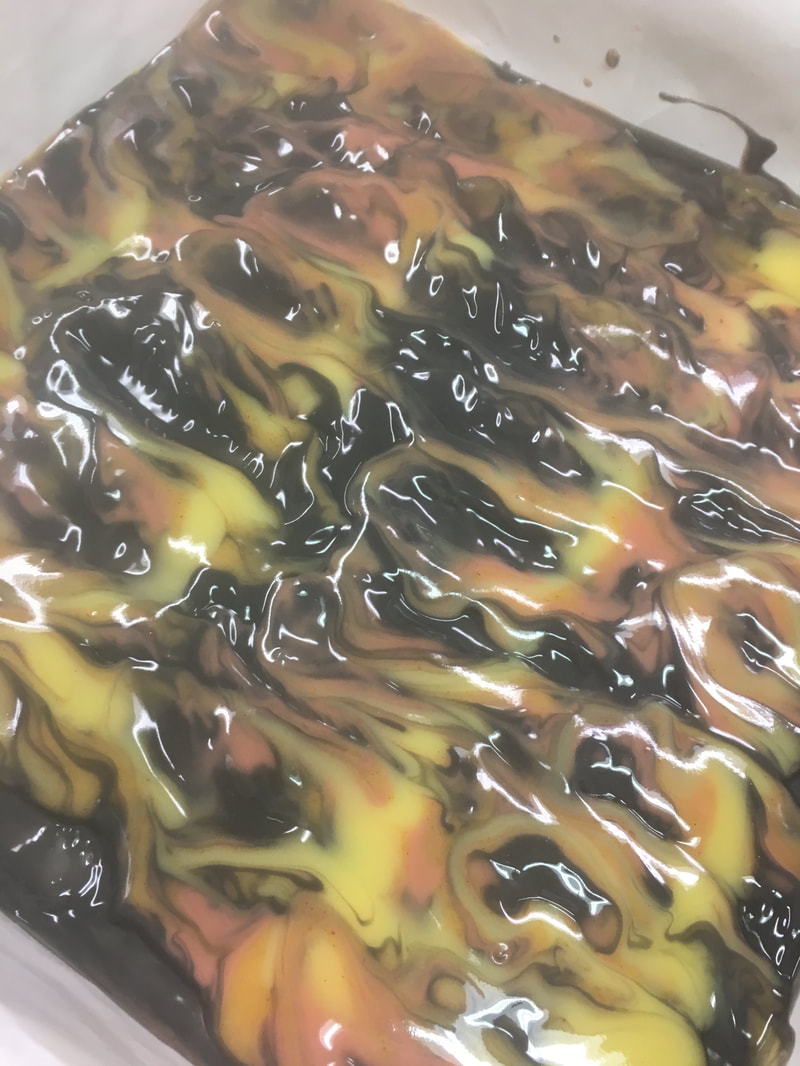
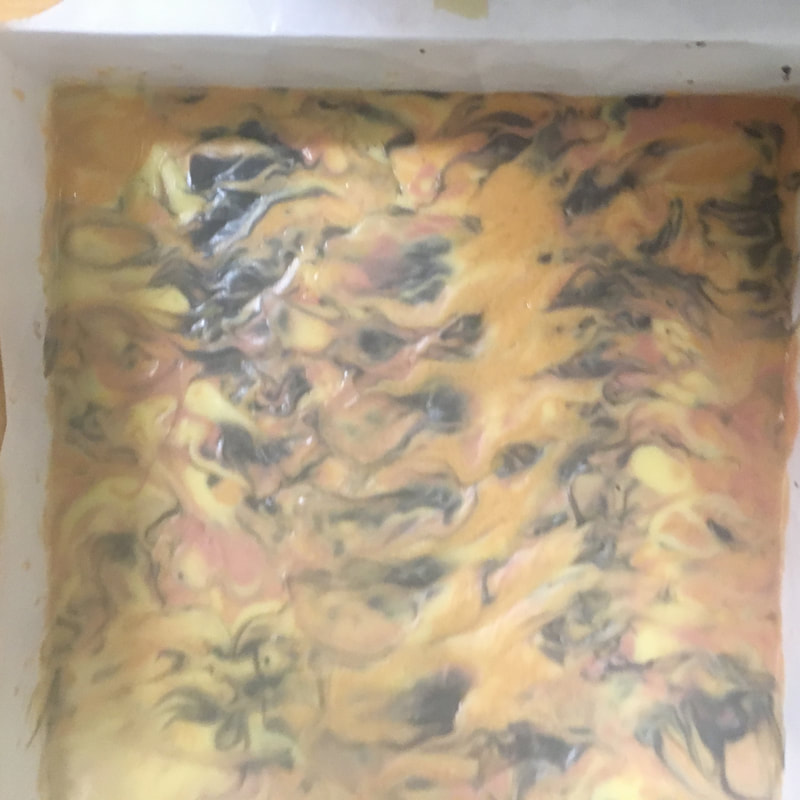
I'm really pleased with the way these soaps turned out. In reality, after they were cut, the contrast was a lot better than I originally thought. A lot of work for twenty bars of soap, but I really couldn't do any other soap related duties this week, so YAY! for trying something new! When this month's soap making challenge of acrylic pour technique with straws came out, I was excited to try it - until other soapers started complaining of burning lips. As much as I like to play with my soap, I have never been harmed by it, as I know the dangers and take the necessary precautions - lessons taught by many years of working in a biochemistry laboratory, as well as the experience of meeting older scientists with limited or no sense of smell or taste. However, I decided to give it a go this month anyway, being extremely cautious and using my experiences to guide me. I'm glad I tried it, as I really like how the soap turned out, however, I will have to think about whether or not to repeat the procedure, as the fumes still got to my lips a little bit. There are so many other ways of making beautiful soaps, I prefer not to disregard all those years of safety training, that's just me. In case you are wondering, I also have never zap tested a soap - pH paper is definitely my friend! For the Great Cakes Soapworks July 2017 Challenge, Acrylic Fluid Pour Technique taught by Joanne Watkins of Nature's Potion Handmade Soaps, we were to make a soap design with only the use of gravity and the blowing of air through a straw. What fun! I saw an interesting video demonstrating the technique with paint where the artist made a fire painting on a black background. This inspired the soap I am entering for this month's challenge. This soap is scented with cinnamon and other essential oils to give a spicy, hot fragrance. I started with a very thin layer (less than 1/8") of black soap batter (colored with charcoal). Using gravity, I tilted the mold to cover the entire bottom. Next, I added stripes of red, orange and yellow (colored with clay, paprika and annatto seed infused oils, respectively) and used the straw to blow the colors around to look like fire. I did not notice any lye fumes at this point, and was wondering what all the complaining was about. However, as time went by, the fumes got worse and worse and I couldn't figure out anyway to lessen them. Maybe it would be best to just do one layer of design? Or invest in a low pressure air brush, if there is such a thing! This first layer is what I had really envisioned the soap to be. However, I had a lot of soap batter to use up, and the bars would be too thin at this point, so onward I went! I repeated this process three or four times, and each layer muddled up the black background contrast a little more, until you really couldn't see it much anymore. I actually can't wait to use this soap and see how it changes as you move through the bar. I love that about the bars that have color, they morph as you work your way through them. So much to distract and entertain while cleaning up! After a few days of cure, I cut the bars and noticed that the top layer did not really gel too well. This phenomenon creates a bar that had lost its shine and color intensity. So, I tried cutting the top off of one of the bars, but felt that what really gave it its fire feel was the dynamic texture, and the resulting bar (on the right, below), although still a cool looking bar of soap, was a bit lack luster - the movement of the fire is gone. So, I decided to keep the textured top on the soaps. I tried oven processing it for a bit to see if it would gel up a little, and although it's not quite as vibrant as it would have been if it had gelled with the original cure, I feel that the colors did brighten up a bit. The final product is very interesting, and definitely has a look and feel of "fire". The scent is absolutely wonderful! Totally different from any of the other scents in the rest of my collection of soaps. My customers will love this bar!
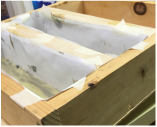
This time of year I am torn by many loves. I feel a huge pull to be outside, play in the mountains, ride my bicycle and get my hands in the dirt. Spending time in the garden brought me to trying this soap that was inspired by a post I found on pinterest from bbee's soapsite entitled "Feed the Bunny". Very cute soaps! I have asked, and am waiting for permission to add a picture of her soaps here, but you can visit her website. Her blog is in German - just a warning for fellow English speakers - which has also been part of the inspiration for me to start learning a new language, but that is another story! Anyway, I thought that the current Great Cakes Soapworks' soap challenge would be a perfect opportunity to give this a whirl, as the technique is Ombre soapmaking. Many root vegetables have a gradual change of color, so I set out making the vegetables first. I started with the easy ones, carrots and parsnips, since they are one color. Paprika was used to color the carrot, and I left the parsnip natural. I decided to try to add a little bit of lines with a sprinkle of chocolate a few times, which is another technique I've never done. The scent throughout the entire process was a convulted mixture of all things garden (basil, rosemary, anise, bay, lime, etc. Very similar to my Gardener's Companion, if you've ever used that one. Spicy and earthy!) Next in line was the turnip, which would be an ombre from pink (mixture of rose clay and alkanet infused oil) to white. I wanted a very gradual color change, so I divided my soap batter up into 12 equal cups. I made one cup a bit darker than the color I wanted at the top of the turnip, and then, not so scientifically, made an eleven color gradient by adding a bit of that color to each cup and eyeballing it until I was satisfied with the color changes. I apologize for the pictures, they are not a good representation of the colors, but I was scrambling to get them in the mold before they set up on me :) Then I started to "pour" my layers. In actuality, it was more like spreading out the layers, as they were a bit thick, on purpose. I've had issues with pouring layers and having them mix more than intended - I just can't seem to control the batter with a spatula the way I see others do it. And for those of you looking at my mold setup, yes, it was funky. Tried something new with foam board separaters taped to my freezer paper, but I didn't tape the sides, so they were falling over and needed support, hence the essential oil bottle and wood block :) Not sure I'd do this again, at least not without taking the time to tape the sides. They didn't leak like I thought they might, because the batter was so thick, but definitely had issues with holding the shape. I was debating on how I wanted to do the radish. Most pictures of radishes were all red on the outside of the root, a few were white on the bottom and red on top with a little mix in the middle, but I couldn't find any that were a real gradient. So, as my energy was fading at this point in the day, I decided to pour natural on the bottom and dark pink (rose clay) on the top. I then did a bit of a hanger swirl and hoped for the best. No picture of that pour, oops! Again, testifying to the fact that I was getting tired. The next day, I unmolded. Here are progress pictures. Now I needed to shape the logs into the proper shape, in my opinion the hardest part of this project, but I feel they came out all right. I was starting to get really excited at this point, because I could start to see the end product. The ombre turned out beautiful in the turnip. Next step was to embed these into a brown soap batter to give the look of soil. Since the challenge called for most of the soap to be ombre, I decided to make an ombre soil as well. I made up the soap batter essentially the same way as for the turnip, using cocoa powder for the colorant. The soil was not going all the way to white, so it was a lighter brown to dark brown on top. I had some little rock colored bits of soap from a previous project sitting around, so I added them to the bottom layer of the turnip - didn't have enough for all of them. Looking at bbee's "Feed the Bunny" soaps, I see that she took some green soap cuts and stuck them in the batter on the top. I decided to pipe some leaves on the top instead, especially since I had some left over batter that was starting to stiffen up. I have to say that throughout this whole pour, the batter cooperated beautifully and did not set up as quickly as the turnip did. This was great for the soil part, but after letting the remaining batter set up another hour or two, it still was not thick enough for what I really wanted to do for the leaves and they ended up a bit limp. I think that it sufficed however, and the soil was setting up nicely, so I wasn't concerned that it wouldn't firm up eventually. Cutting Time!!!! I was so excited, and still am, as they came out so beautifully! The soil ombre, although not quite as good as the turnip, turned out amazing! Cut into logs... Then into bars... I love, love, LOVE them!!! My favorite is probably the parsnip, mostly because of the contrast, and I also love the effect of the cocoa lines. My second would be the turnip, as it turned out just as I had hoped. The swirl in the radish is perfect, I just wish I had made the embed a little smaller - they are awfully large for radishes, meaning very hot on the tongue! The carrots, being the first ones I shaped, did not have the perfect carrot shape. To me they look more like sweet potato? Anyway, they look like food in the ground :)
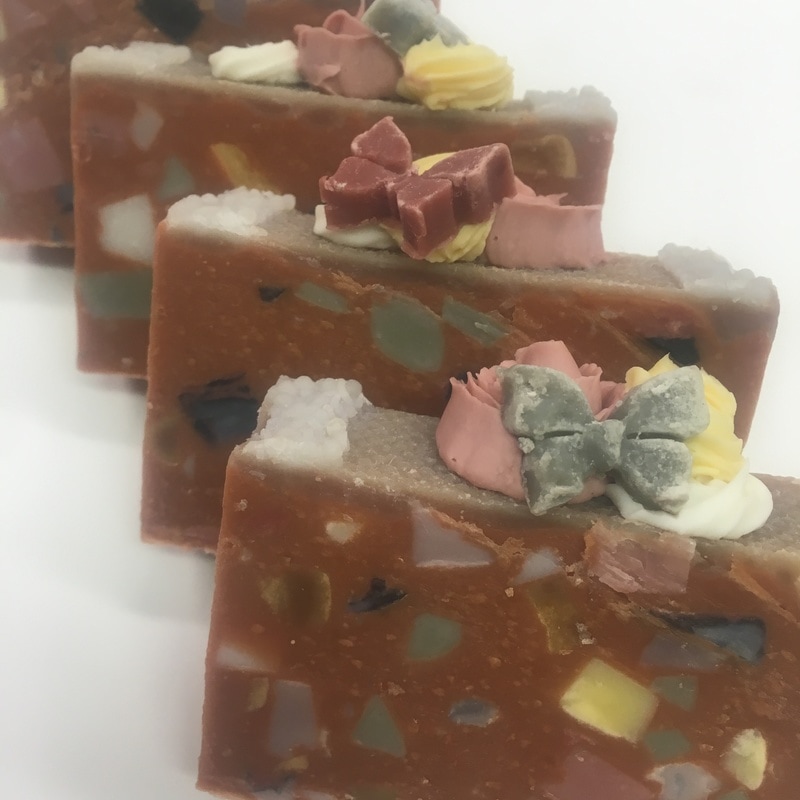
Overall, this was a great project! A big THANK YOU to Amy Warden at Great Cakes Soapworks for kicking me into gear :) I can't wait to share them with my customers!!! Today I am finishing up some soap that was inspired by the Great Cakes Soap Challenge Club. The theme this month was Rustic Soap, and I attempted three different batches with various techniques. The first batch I made was re-batching scraps using my crock pot. This was achieved by cutting up bits and pieces from previous soap batches that were not so successful, aesthetically speaking, and putting them into the crock pot along with some liquid. I started out adding some water, but when I realized that I would need more liquid, I decided to continue with coconut milk. Over the course of a couple of hours, it melted into a wonderful mess of soap that, although it was not fluid like the cold process soap that I am accustomed to, it was malleable enough to put into a mold. After letting it sit a day or two, I unmolded and cut, and this is the result. Rustic indeed! Initially, I really did not care for how this soap came out. It did satisfy the qualification of "rustic", but it was a bit crumbly, and I just didn't like the look of it. I suppose in part because my typical soaps are not at all like this, they are very creamy and smooth - this was a bit out of my comfort zone. However, I have since changed my mind. After bringing a bar into the shower and using it, I can see how the use of all that coconut milk contributes - WOW! is it creamy and smooth! The downfalls that I found were: 1) there really was no changing the color. It is possible that I overcooked it, but I really didn't think so. And the majority of the soap I used was a light green color. I was hoping for green... 2) Even though I added some scent to it, it really did not change the final scent of "hodgepodge" that was noticeable throughout the cook. I might have to play with this technique again to see if that holds true all the time. The next technique I used was again utilizing several leftover ends and pieces from previous batches. This time I made a batch of cold process soap and mixed them in, hoping for a stone effect. The color I chose for the background was red clay. This bar turned out beautiful with a simple swirl on the top. I found an image on the web of stone that looks very similar - yes the picture below is a stone called red clay breccia. I'm pretty pleased with this one :) The final batch I made for this challenge used the same soap as above for the main body of the soap. However, I attempted a fancier, more contemporary version of the rustic theme by making a mold looking like burlap and lace, with the idea of adding some piped flowers and butterflies on top. Although these are cute, I'm not entirely convinced that the design of the rock on the bottom goes well with the floral on top. It is growing on me though :)
Overall, I am pleased that I took the time to learn some new techniques and get creative for a few days. It's always entertaining to stretch my mind and add something fresh to the shelves for my customers! This month we have made some Teardrop Soaps, in participation of Amy Warden's Soap Challenge Club. A very exciting idea, a bit hard to put into action - making for very "one of a kind" soaps :) This soaping technique involves pouring the soap into a log mold. First you pour a portion of the soap into the bottom, and then you add thin layers of colors in the center for the teardrop. After all the colors have been added, you pour the remaining main colored soap equally and simultaneously (easier said than done!) to the two sides, which pushes the colors up into a teardrop shape - or, as many of us also experienced, an interesting geyser formation. So, my first attempt at this soaping technique gave a beautiful result, although it was more in the geyser category. I scented this one with Hydrangea, going for a springtime flair. The colors were created by using rose clay, cocoa powder and sea clay. I got a bit involved with the technique, being the first time, and did not get photos of the actual process. However, here are pics of my finished log and cuts. My second attempt was more like a drop than a land formation, which is what we were all trying to achieve. This one I scented with Tuberose, and I was trying to get the white, green and pink colors of a tuberose. Needed to go heavier on the white I think :) Anyway, here they are, with a few more process photos. This batch turned out beautiful, with the majority of the bars having the teardrop shaped clearly defined. And although the colors are a bit dark for the tuberose feel I was going for, I really like them - they smell wonderful and I love the feel of charcoal in my soaps!
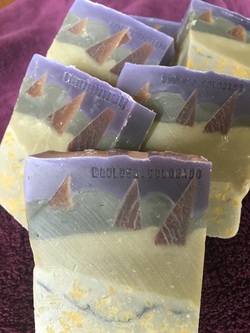
Now I need to get some plain jane bars stocked up before I get distracted by next month's challenge!!! After taking a few months off from the actual making of soap (holidays, taking a month to go to Costa Rica and other life events getting in the way) I'm finally getting back into the swing of things. Once again I'm getting caught up in the creative side of soap making, and decided to join the Great Cakes Soapworks soap making challenge. This month's theme is Location, Location, Location, where you need to make something reminiscent of where you live or have once lived. Since I am just outside of Boulder, Colorado, and one of my favorite places is Chautauqua Park, I decided on creating a Flatirons soap. Although we originally moved to Ft. Collins back in the eighties, this is one of the first places we explored - being avid rock climbers back in the day :). If you've never been there, you really should make the time to visit - the view of the flatirons just from the parking lot are awe inspiring AWESOME! And the trails have a good range of difficulty levels. Anyway, back to the soaping! So, I ended up making three different batches to create the look that I wanted. I started with this photograph I found on the web from Glenn Randall Writing and Photography. I thought for a while of the techniques I had under my belt and how I could make it look like the picture. This is what I came up with. All of my soaps are made with only natural colorants, so the color palette is a bit limited. First, I needed to make a small batch of brown (cocoa) and yellow (annatto seed infused oils) soaps. The brown I will cut up for the flatiron embeds, and the yellow will be shredded to make the flowers for the meadow. I also tried doing some pointillism for the meadow, but I liked the look of the confetti soap better. Poured it into the mold and tipped it a bit to get an angle... Then, I made a different shade of green for the next meadow, and finally a darker green for the tree line behind the Flatirons. After these two layers were poured into the mold, I took cut up pieces of the brown soap and placed them into the dark green. I left a little sticking up, as I wanted the sky to be highlighting the tips of the rock. This was a very messy, but fun, process :) All that was left was pouring the purple (alkanet root infused oils) over the top. This photo is after it sat for 24 hours. Then it was the telling hour to cut it and see how it came out. Here's a pic of taking it out of the lining. Like I said, I did three batches. I like all three, and all three depict Boulder, Colorado pretty well. Some of my friends interpreted them with Boulder Creek included, which wasn't my intent, but it works! Batch Number One Batch Number Two Batch Number Three
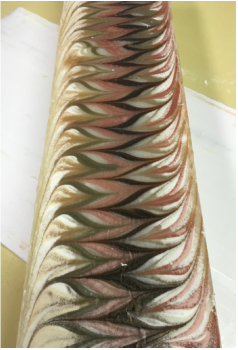
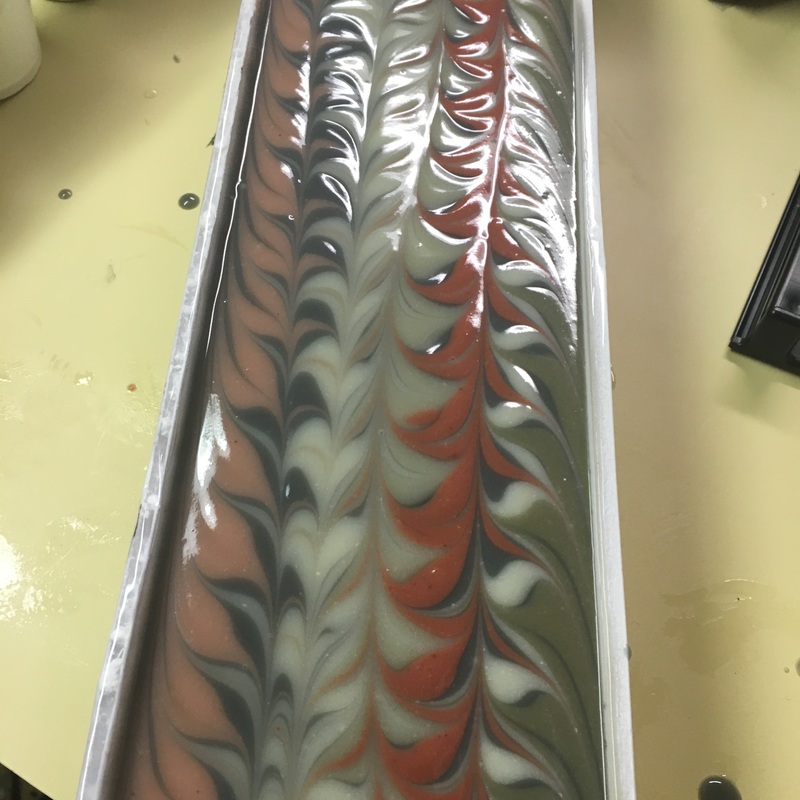
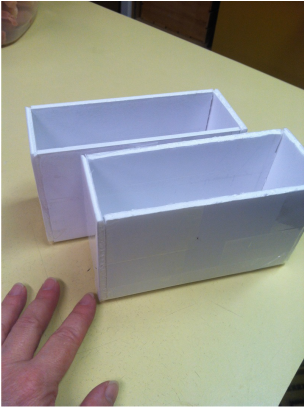
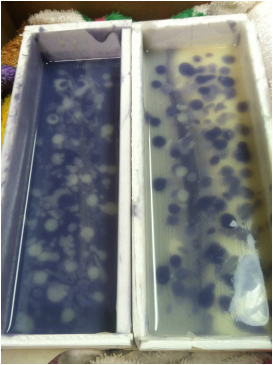
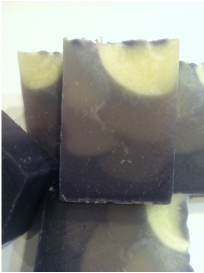
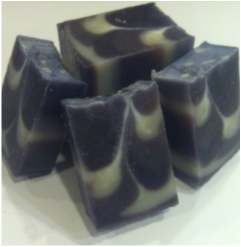
And, of course it's snowing outside today, so the colors are washed out in this photo. I'm spoiled by being able to take outdoor photos most days. I really love all of them, so it's hard to decide which one to enter into the challenge. However, since the last batch is closer to the image I was going for, that is the one I submitted. Maybe something in between would be perfect! As promised, here are the first two attempts at the shimmy. I am going to elaborate a little more here on the technique. First, I made some Tall & Skinny molds out of foam board. Along with the Shimmy Soap Technique, Amy Warden, of Great Cakes Soapworks, also gave us a link on how to make these soap molds - both the technique and the mold are taught by a guest instructor Tatiana Serva - click here to see her blog showcasing her amazing soaps!. These molds hold a little over 1 lb of soap, which is great for playing around and not using a large amount of ingredients - in case it doesn't come out as expected. So, after making the molds, I modified my soap recipe to fit. I set up my area with seven cups, and added a bit of color to each. For the Harvest Shimmy I used charcoal, rose clay, oil infused with annatto seed, oil infused with alkanet root, red Moroccan clay, sea clay, and cocoa. For these first two batches, I prepared two separate pots of soap - one was left uncolored, the other was made with oils infused with alkanet. These were then mixed into a gradient of hues from dark purple to a natural "white". Once the soap was at a very light trace, I divided the batch into seven equal amounts (by weight) into the prepared cups. For the second batch, I just used up what was left over, which was really just "natural white", a darker purple and a medium purple. I did not take photos of the process as I went. I will have to remember to do that next time, easier said than done when you are busy with so many processes, and learning a new technique to boot. I'm sure that is why many people video tape the process for these challenges :) The way you make these soaps is by propping one side up on a pencil and pouring down the other side in a back and forth motion until it is all in. You then prop the other side up and pour the next color down the other side. Repeat this process, alternating sides, until it is all poured. I poured the entire 1/7 th of the batch for each color, although others have done a varying amount to create a different effect. If you google Tall & Skinny Shimmy and look at the videos, you will get a better feel for how this technique is accomplished. Here is the soap after pouring into the molds. And now for the unmolding of the soaps and cutting them into bars. The soap did not want to release from the mold right away, so I decided to place them in the freezer for a few minutes. This worked wonderfully for removal from the mold, however the freezing process seems to create small fractals in the soap, which are visible in the the photos below, taken the following day. Pretty neat technique, all in all. I really enjoyed doing this, and I have to say that my results were fairly decent as well. I look forward to participating in future soap challenges, and hope you come back to see the attempts I make.
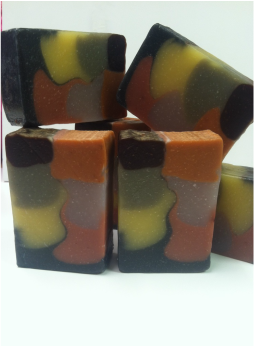
Back in September, I was invited to participate in an ArtWalk show here in Longmont, CO. The coordinator encouraged me to create some interesting new products for the event, and since all of my soaps are very natural in nature, color was not a high priority for me. So, off I was in search of some color, found in ingredients such as charcoal, sea clay, rose clay, alkanet root and annato seed. During my quest, I stumbled upon Amy Warden's Soap Challenge - and now I have a new obsession with using those colors to create amazing soaps with new techniques. This month's challenge, the first that I am officially trying to participate in, is the Tall & Skinny Shimmy Challenge. I had a load of fun playing with soap this week, and this is my favorite, the Harvest Shimmy. This was my third attempt, and I liked it the best. My first and second attempts were fine, but this one had more colors, and it is perfect for this time of year :) Check back later to view these other batches.
Welcome to the New ASC Soapworks Blog! Hopefully you have had a chance to explore our new web design. This improvement has been a focus of ASC Soapworks for several months, with our desire to have a site that is easy to navigate and offers enhanced interactive features for our customers. What you will find that is new:
So, here we are, finally launching our blog! This will provide an avenue for learning about the process of soap making and the ingredients we use. As life is a continual learning experience, we will also be able to pass along expertise gained throughout our journey. In my experience, this is a community of kindred people passionate about their knowledge and willing to communicate their abilities to others who are just coming through the ranks. There are so many wonderful people out there dedicated to the continuation and expansion of this art form!
ASC Soapworks is a small, family run business, with everyone contributing in their own way to the daily operations. In addition to me, Taralyn (Creativity Specialist), you may have the opportunity to share in the adventures of Emily (Scent Extraordinaire), Holli (CEO in training), or Ed (Natural Materials Artist/Engineer and Chemist - in general, a handy guy to have around!). We hope you enjoy our blog and we encourage comments from our readers. You can do this by using this contact form, or just leave your words below. |
Details
TaralynColorado Artisan, making beautiful hand-crafted soaps with all natural ingredients. Archives
January 2025
CategoriesCategories
Comment Policy
We follow Grandma's rule here: If you don't have something nice to say, don't say anything at all. While constructive criticism is always welcome, keep it polite, considerate and friendly. These are simple rules that, if not followed, will result in the deletion of the comment. Thank you. |
- Home
-
SHOP ALL
- Soap of the Month
- All Soap A to Z
- Signature Series Soap Bars A to Z
- Signature Series Literary Inspired
- Artisan Series Soap Bars A to Z
- Soaps by Recipe/Ingredients >
- Soaps by Fragrance Family
- Soaps by Fragrance Source
- Limited Edition Bars A-Z
- Limited Edition Soaps by Collection
- Cleaning Time!
- Bargain Basement
- Man Cave
- Bath Spa Accessories
- Nourish
- Say It With Soap
- Wholesale
|
|
Our soaps and body care products are handcrafted the old-fashioned way, in Boulder County, Colorado by your local Soap Making Artist, Taralyn. Small artisan batches allow for considerable attention to detail during all stages - soap making, hand cutting, six week cure time and hand wrapping - an extensive journey that nurtures the formation of the perfect bar of luxury soap. And to make it even better, we will deliver to your door! Shop by Signature or Artisan, by scent families, ingredients or by name. So much to explore! Check out our collections today!
|
Contact
|
About
Get to Know Your Soap Maker!
|
Customer Service
ASC Creative Credits
|
Other Goodies
Community Connection Blog
Wild Rovings Blog
Why Palm Oil?
Organic Label
|
Copyright © 2009-2025 ASC Soapworks, llc, All rights reserved.

















 RSS Feed

