|
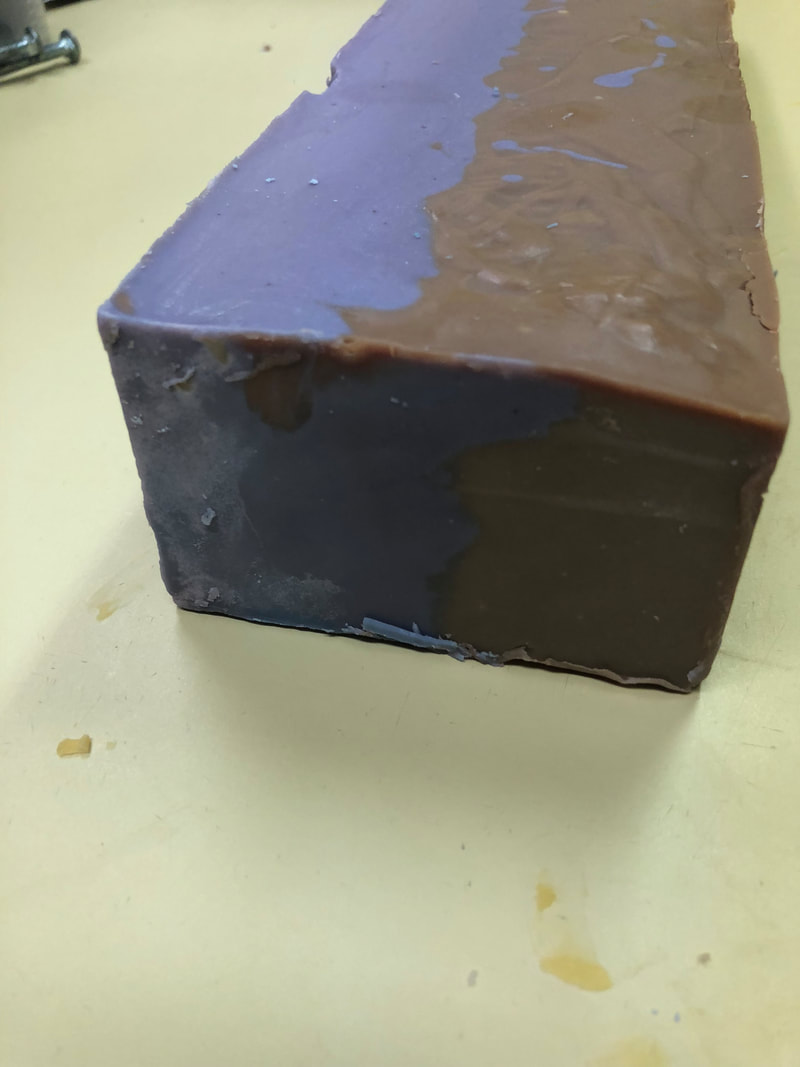
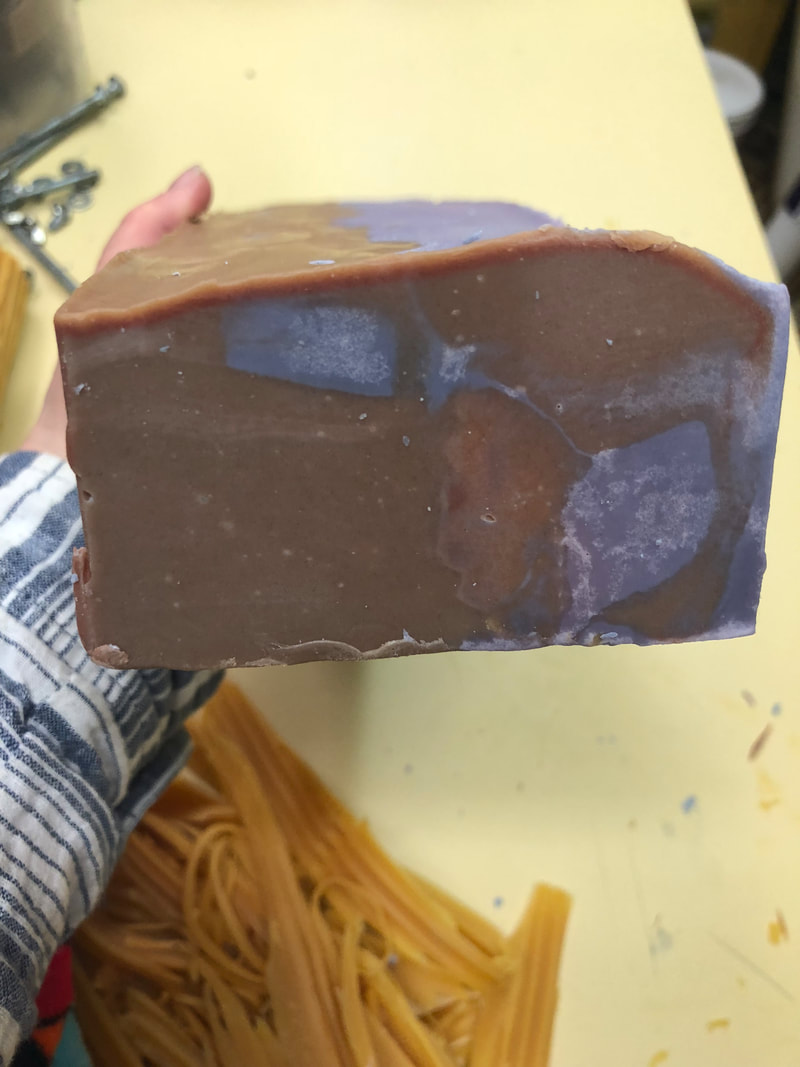
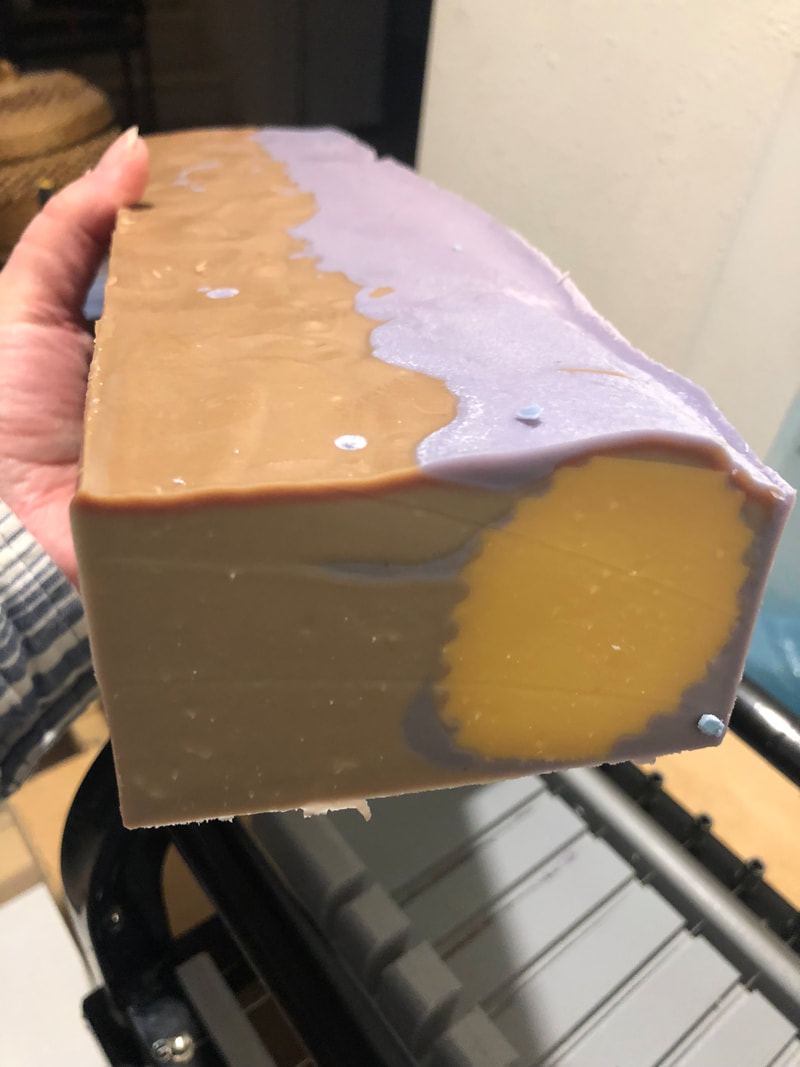
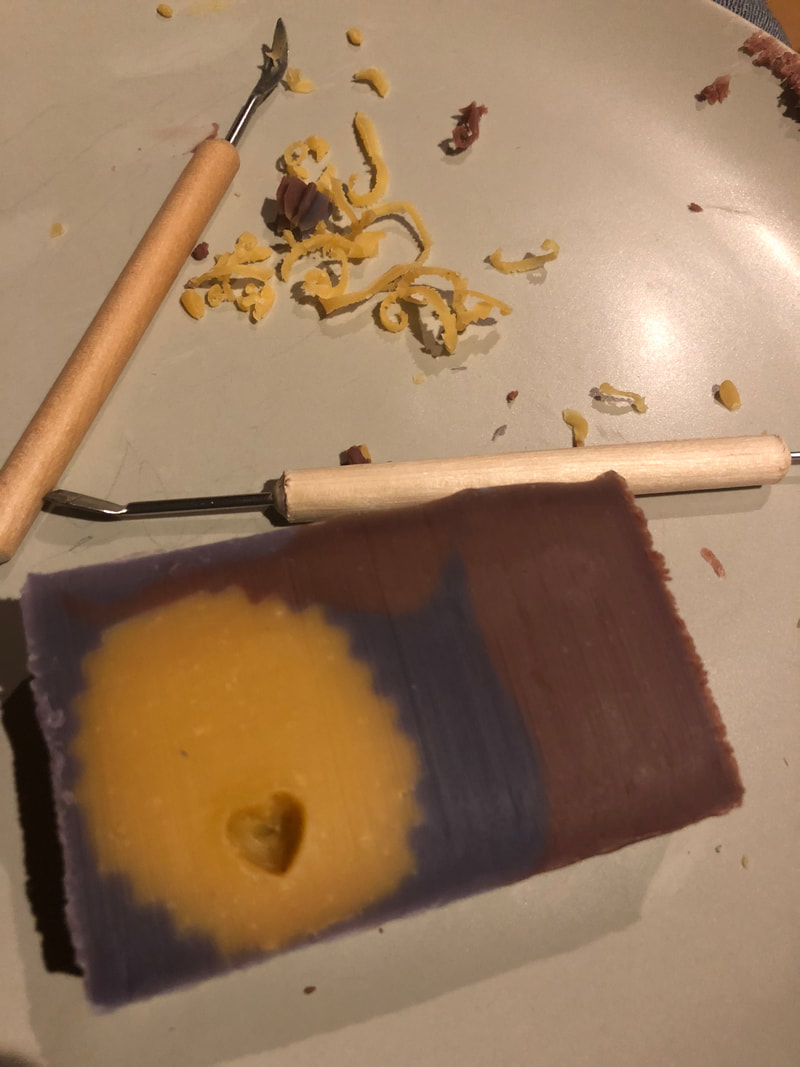
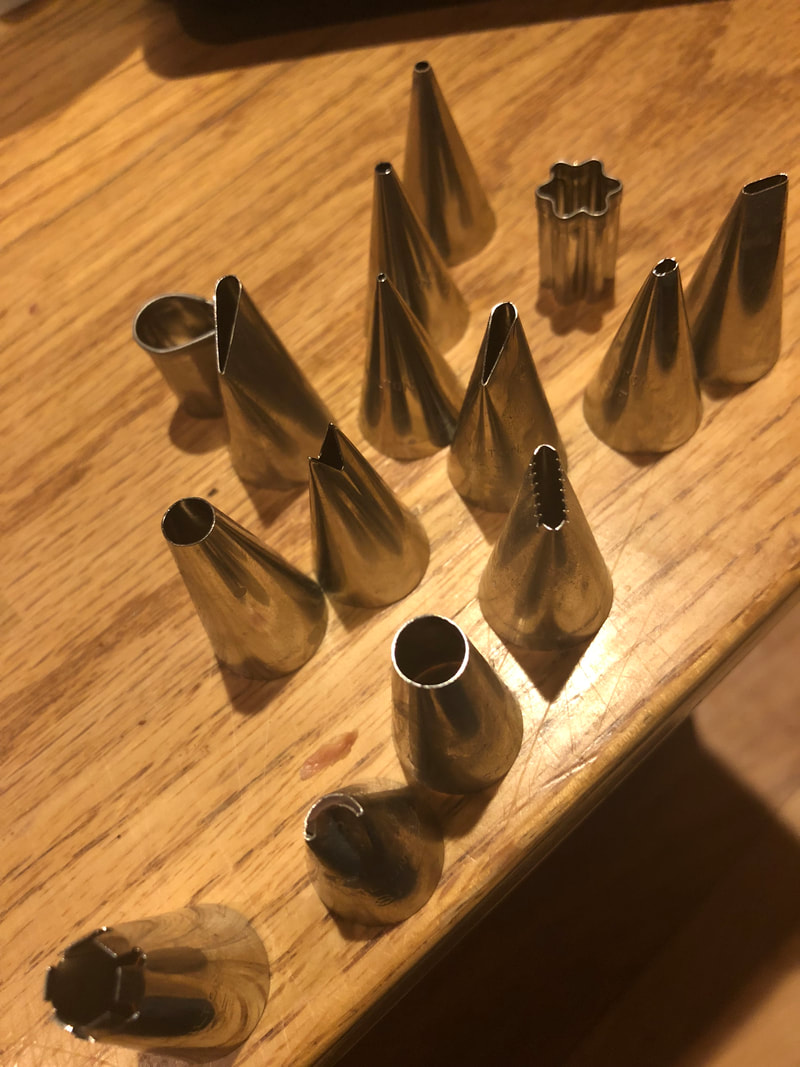
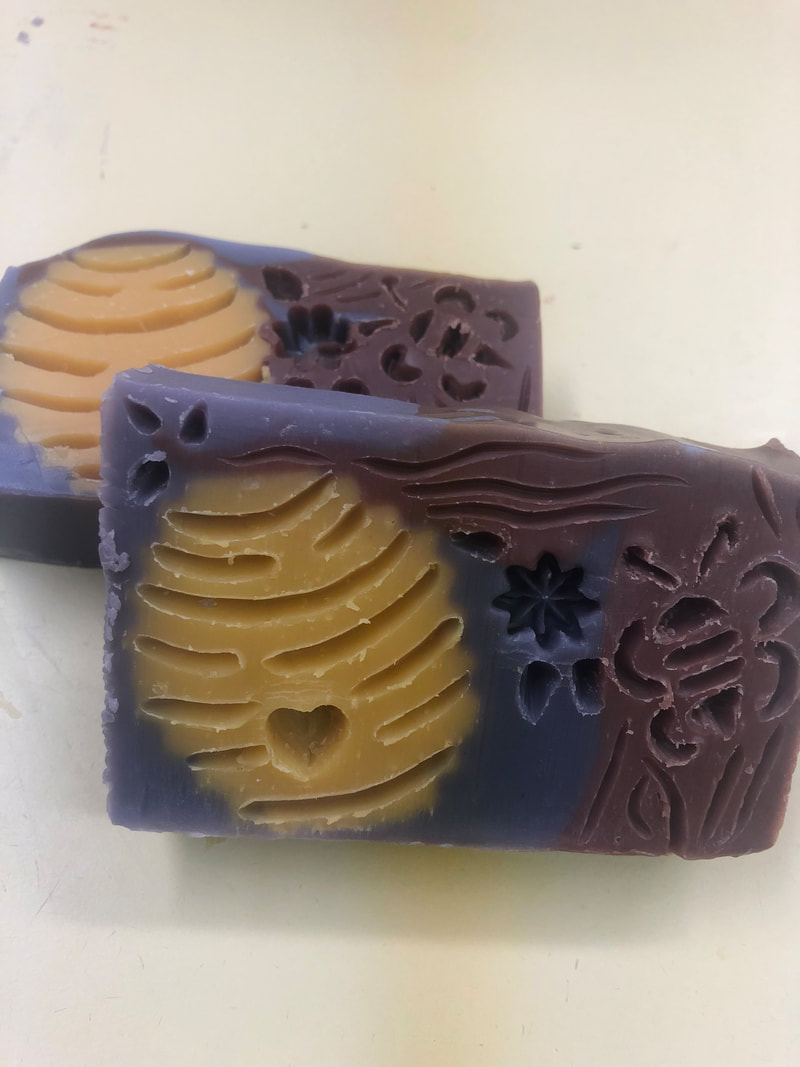
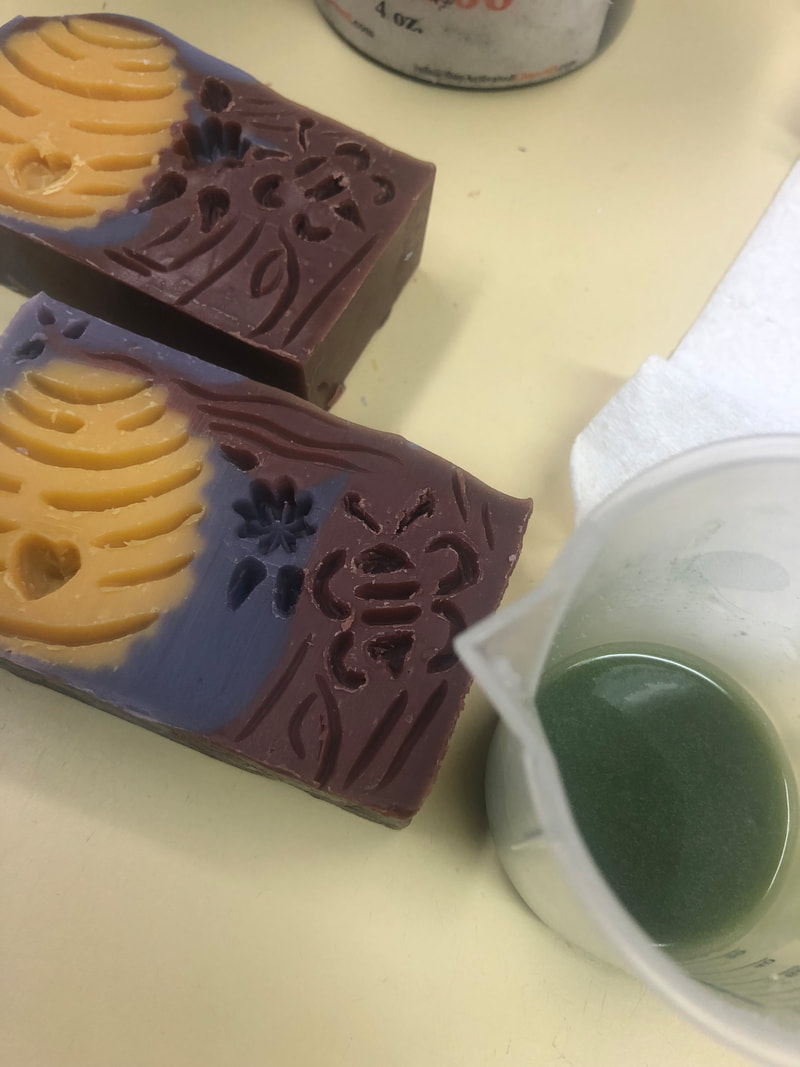
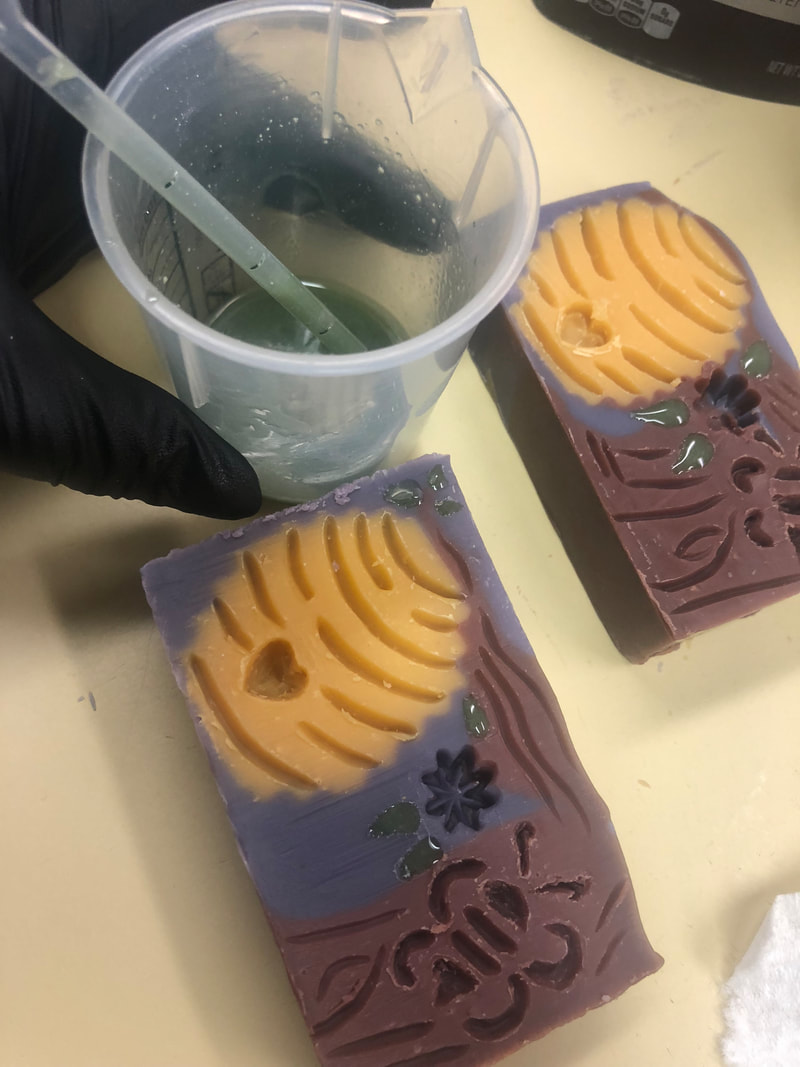
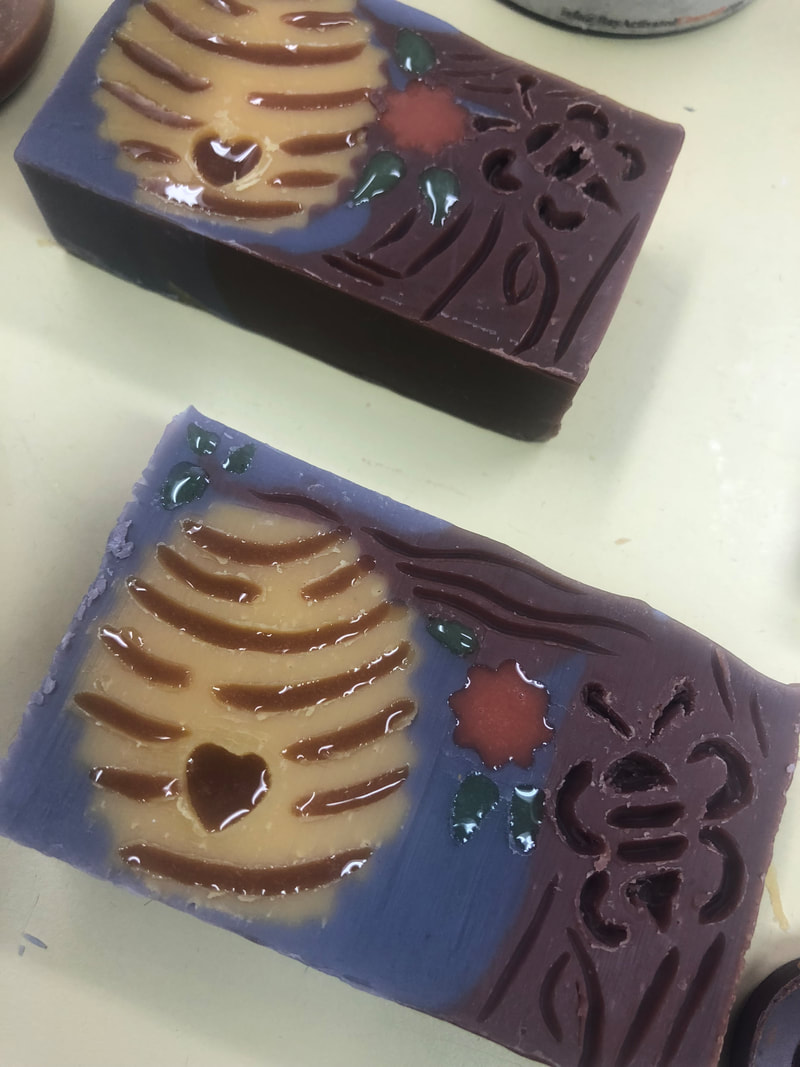
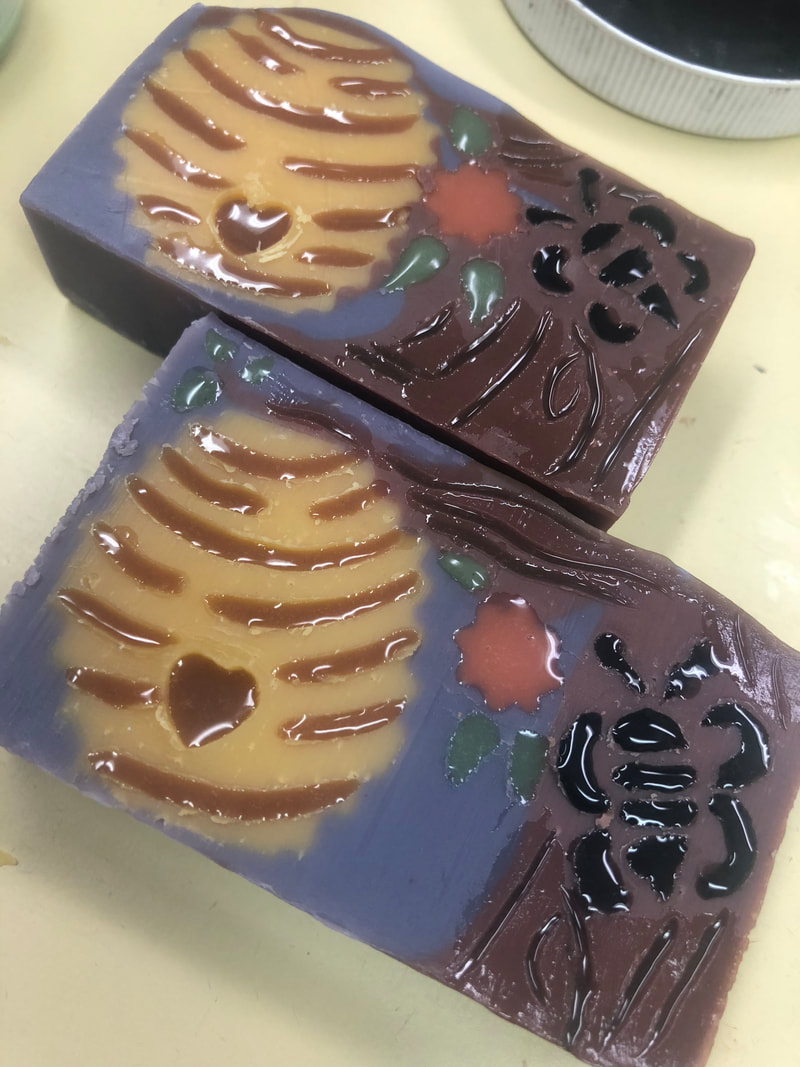
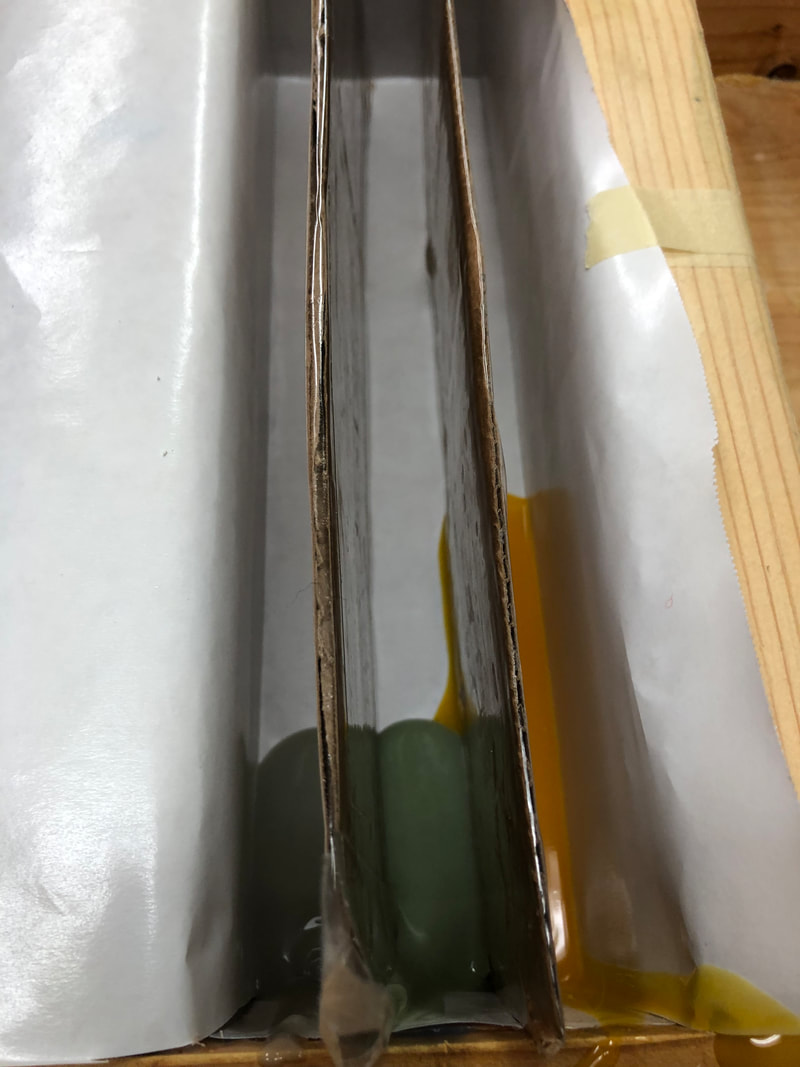
Time for another soap challenge hosted by Amy Warden, and I certainly had fun making this one! The technique this month is called Inlaid Design, taught by guest instructor Carmen Iclodean of Earth's Raw Beauty, and you could make it with or without an embed. I added an embed, and...as I needed to make some Bumblebee soap for the summer anyway, I decided to go with that theme. To begin things, I needed to make a yellow loaf for my embed. I colored this one with annatto seed infused oil and added just a bit of cocoa to tone it down a little. I then cut the loaf into two (so I can make two batches of this - yay!) and textured the sides with a clay cutting tool. The next step was to make the loaf for the actual soap. I divided it in the center to have a brown side and a "blue" side. I used cocoa for the brown and alkanet infused oils for the blue, although it will probably turn more purpley as time goes on. We will see.... Now it's time to lay the embed in. Gently, gently.... I was trying to get a branch look, so I poured brown over the top of the hive and layered blue for sky. I kind of messed this up a bit, so I really wasn't sure how it was going to turn out. These actually looked pretty good cut, and I took a couple of bars from the center to play with my design. I wanted to have the brown represent a tree trunk, have a bit of brown come across the top for a branch, and have some blue surrounding the hive for the sky. The hive could have been a little smaller, but overall I was very happy with the results. I used clay carving tools, fondant "cookie" cutters, and piping tips to get the shapes and to achieve my vision. I want to add a little bit more detail to the image, and hopefully they will end up with a dot in the center of the flower and darker green veins in the leaves. I'm still working on the bee image as well. I might do smaller bees? But, these are what I have at the moment for my entry this month.
4 Comments
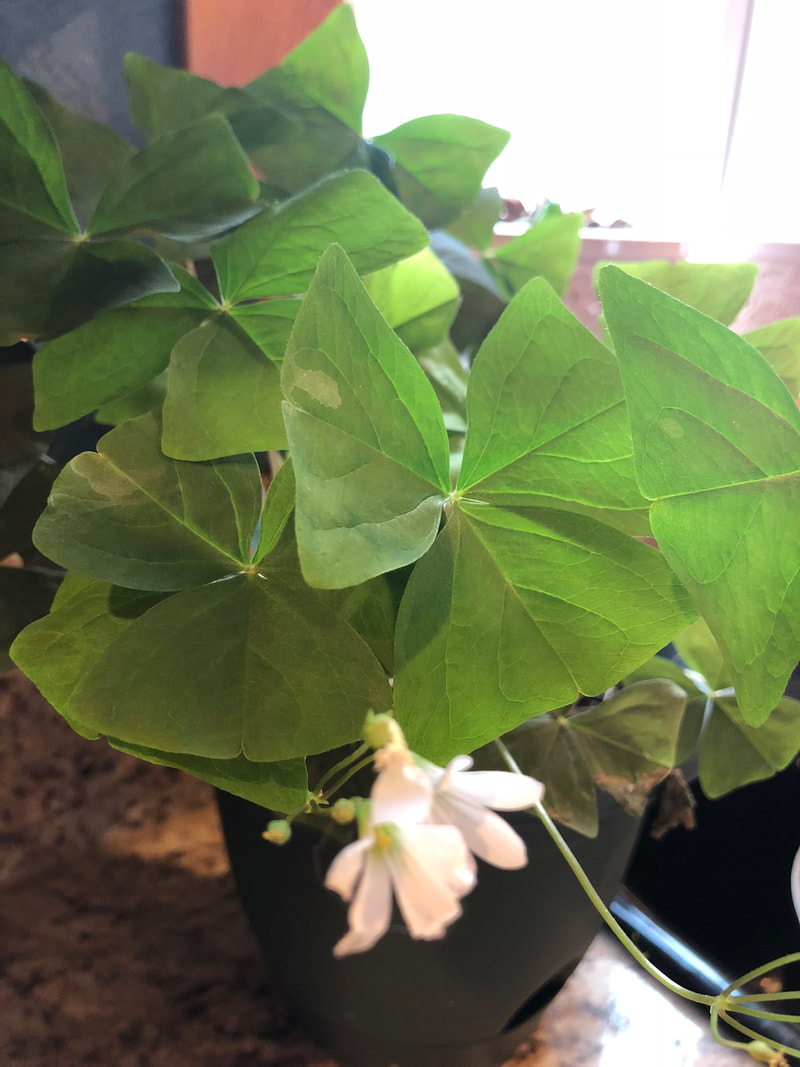
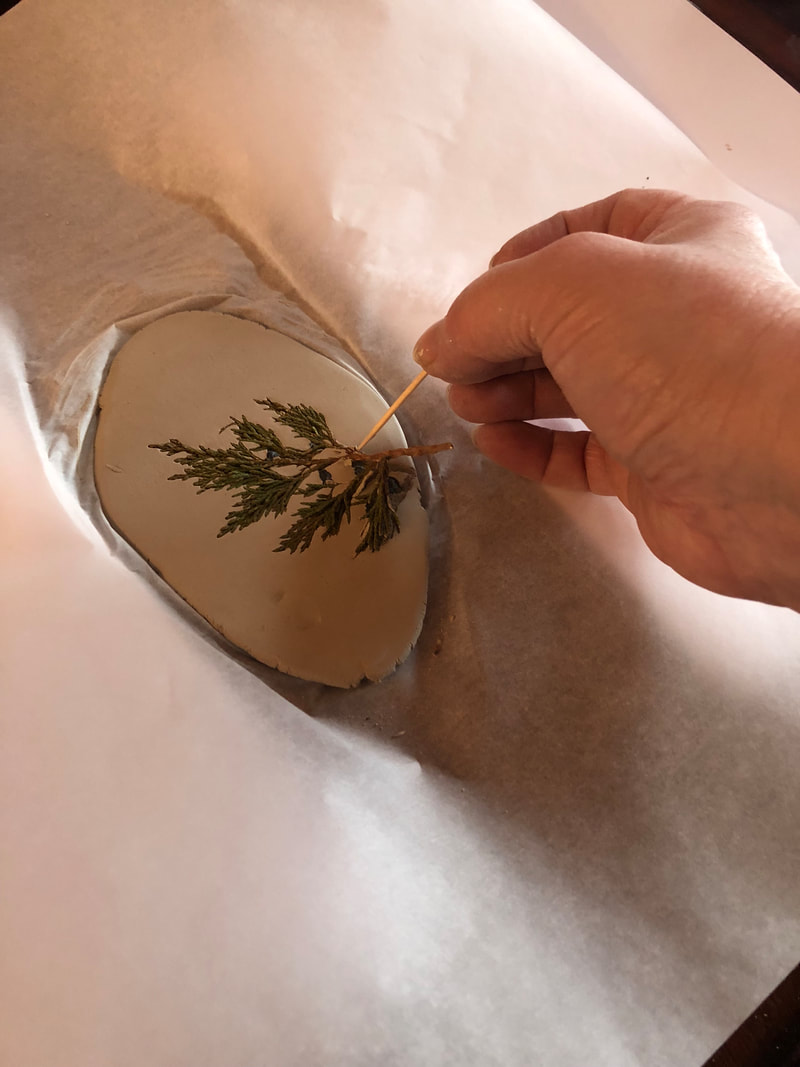
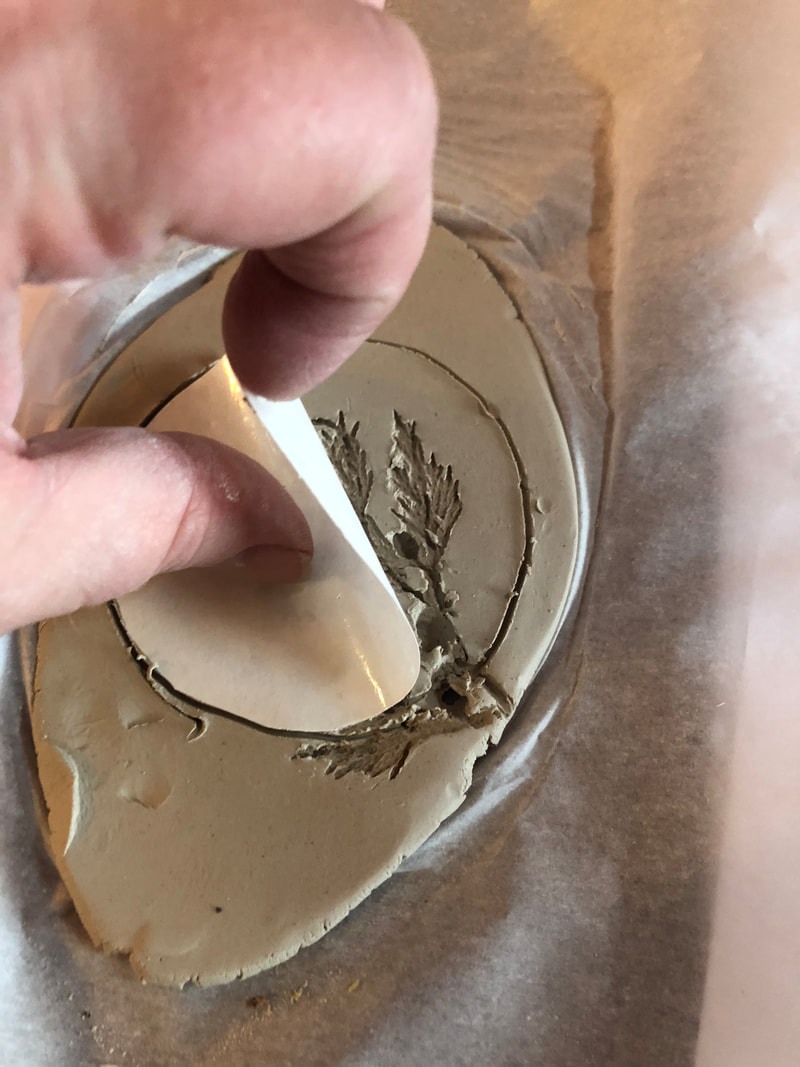
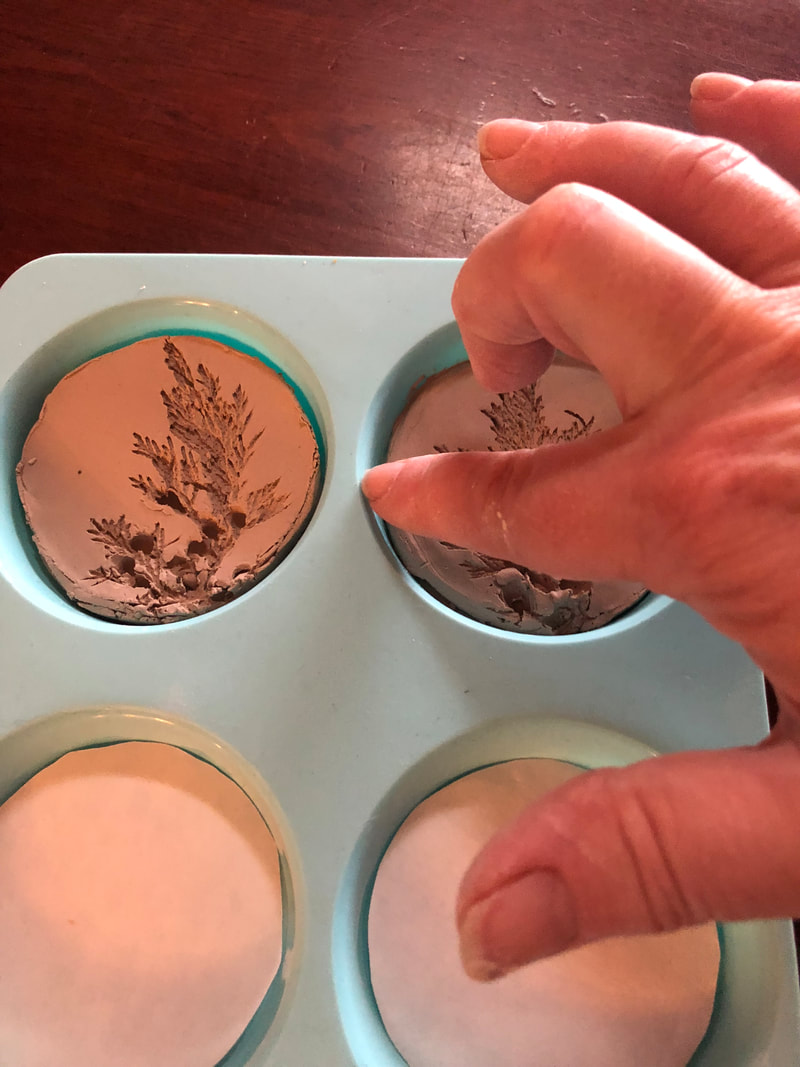
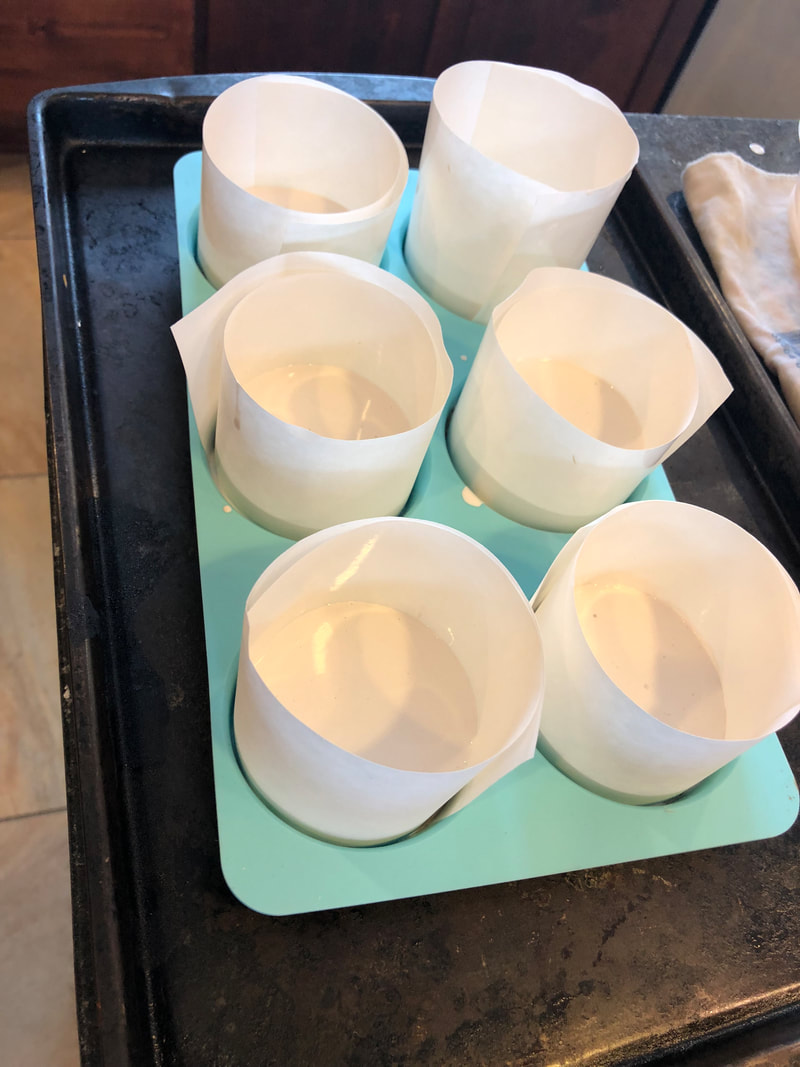
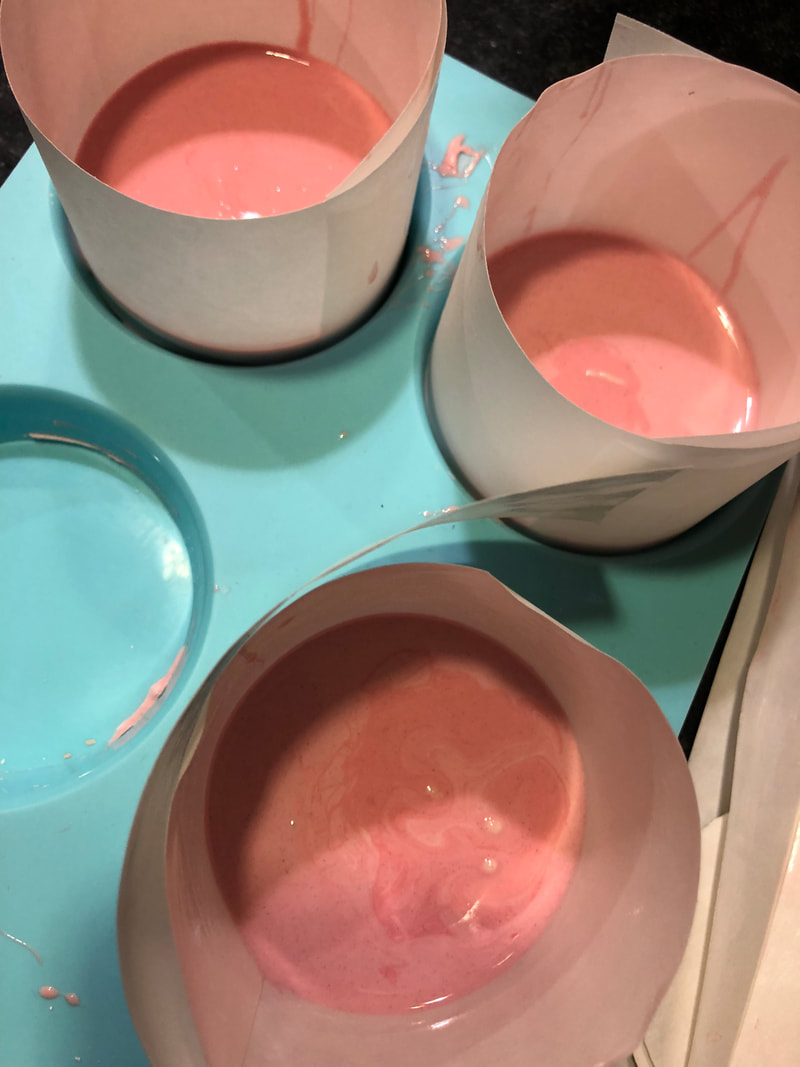
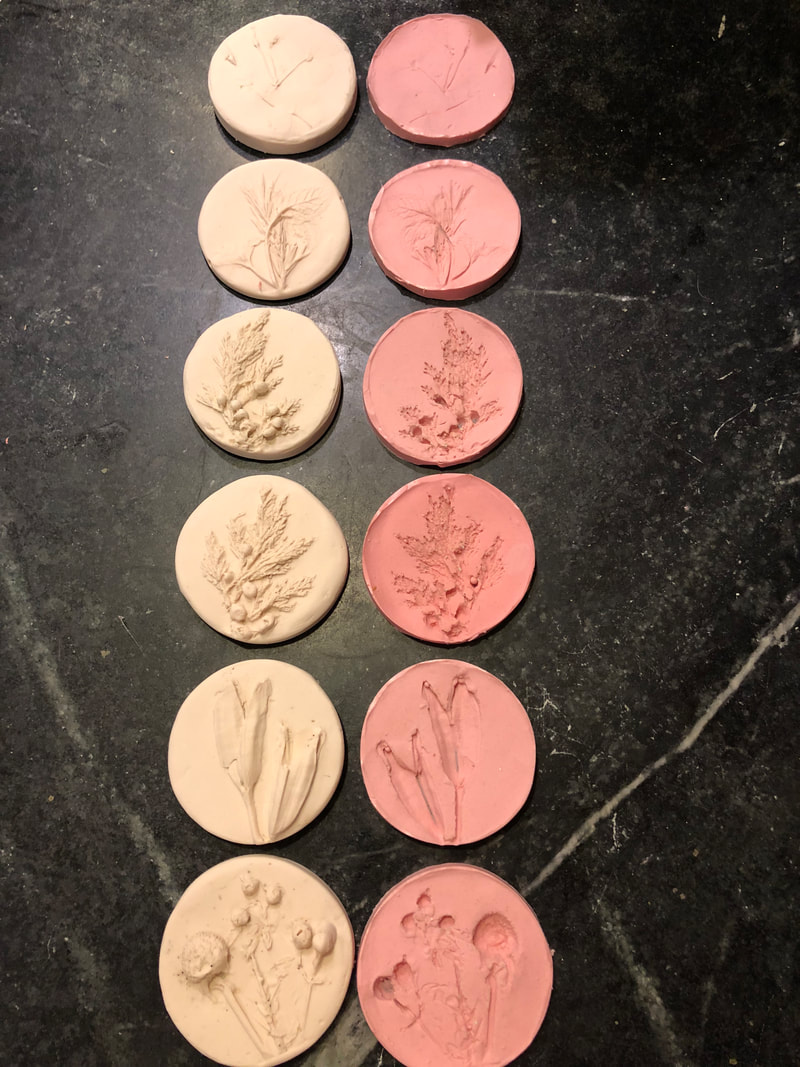
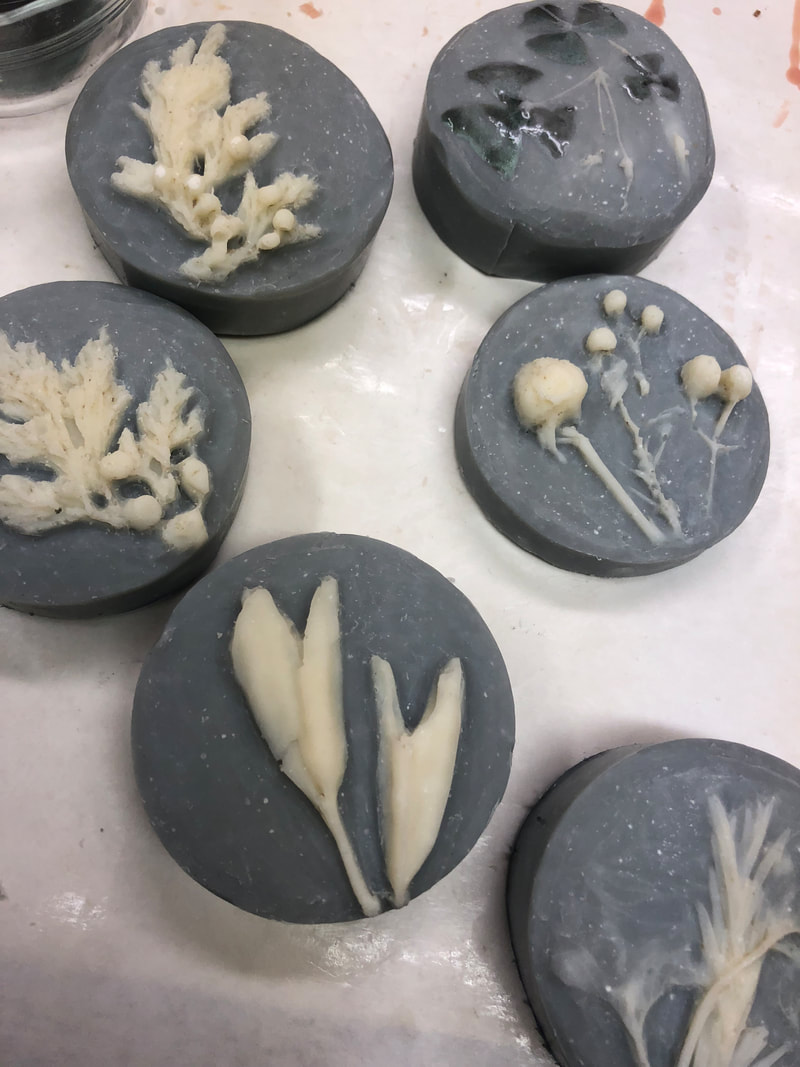
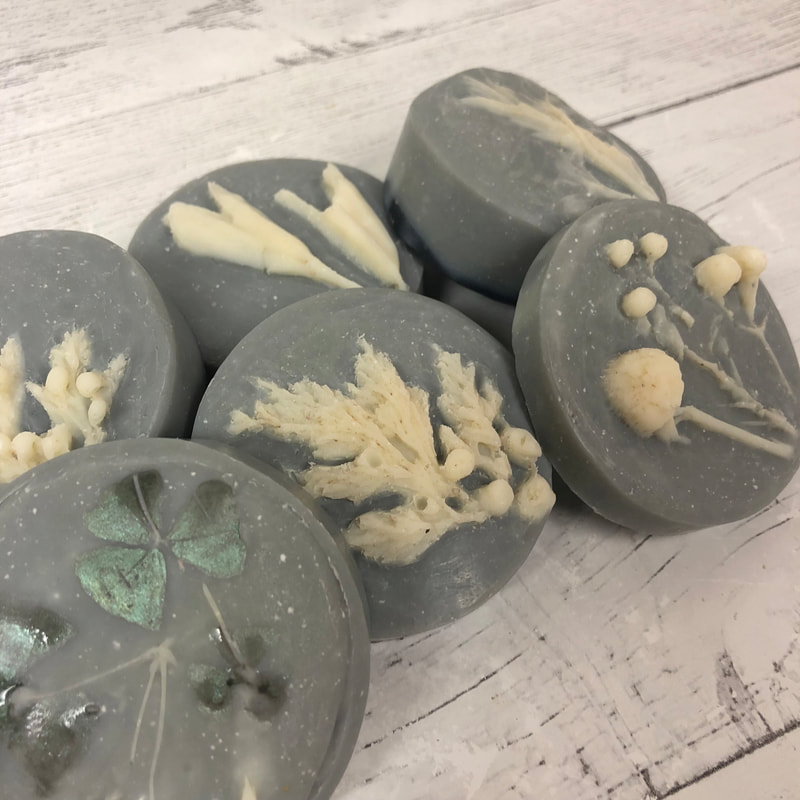
Glycerin Rivers are a phenomenon that many soap makers try to avoid, but this month it is the topic of the Amy Warden's Soap Challenge. This is a chance to learn more about the chemistry of the soap recipe through purposely creating these lines and cracks. If mastered, this would provide the opportunity to use these as an interesting design element. These "rivers" are not really glycerin as they are called, but rather an absence of pigment particles in part of the soap. First seen in soaps utilizing titanium dioxide to whiten the soap, it is now known that the crackles and rivers are created when the soap batter is heated up and the colorant gets pushed to the side during gel phase. So, the requirements for making a soap with this element are firstly to use a colorant, and secondly to ensure that the soap goes into a total gel state by sufficiently warming it up as it cures. Auntie Clara has perfected this technique and has shared her wisdom with us this month on how to create a recipe that will work. One of the tips she gave was to use a recipe high in oleic, palmitic and stearic acids and low in linoileic, linolenic, lauric and myristic acids. I played with my recipe using my Soapmaker 3 program and landed on a recipe that has 51% Oleic Acid, 18% Palmitic Acid and varying low amounts of the remaining oils. Now that I had my recipe, I needed to design the soap. Since I don't use titanium dioxide and only use natural colorants, I thought I would perform an experiment to see if and how well these colorants can be used in this technique. The colorants I used in this batch of soap are charcoal, paprika, rose clay, green sea clay, coffee, annatto seed, alkanet root, chlorophyll, cocoa, rhassoul clay, cinnamon and kaolin clay. I did not use a fragrance in this batch. I divided the batter up into 13 equal portions and added the appropriate colorant to each one. The thirteenth portion was left natural, no color, as a control of sorts. In this first batch, I added a teaspoon of colorant to each portion. As soon as I added the first colorant, I realized this was a bit much, but I decided to stick to it and continued with using a full teaspoon per portion. I was originally thinking of doing twelve separate sections with one color each, but my laziness got the better of me - I really didn't want to make so many dividers. So, I just poured each color in succession, hoping that the colors will be separated well enough to determine whether or not the rivers are formed. The natural batter was added as a thin layer on the top. This pouring method definitely gave a more interesting final product, so in retrospect, I'm glad I did it this way. After pouring the soap batter, the entire mold of soap was wrapped in a towel and put into a 175 degree oven to ensure even heating to create gel phase throughout. The heat was kept on for an hour and a half before being turned off. The soap remained in the oven overnight, it was actually still warm in the center when I pulled it out. There was also a small layer of oil lying on the top, which concerned me a bit. I then cut loaves (I had four separate loaves, giving very different designs and colors) and subsequent bars. I was really happy to see rivers in this first batch since so many people had difficulty in producing them. Some of the colorants did not produce any, and I feel that it may be due to the fact that it was a bit heavy on the colorant. Also, while typing up this post, I wanted to get a few more pictures, and I noticed that there are rivers today that were not there on Wednesday when I took the original pictures. So, I will put the two photos side by side to show how much more the rivers are pronounced as they have sat over the last four days. Looking at the photos, you can see that the coffee and kaolin clay produced decent rivers, as did the chlorophyll. I see a few small rivers in the charcoal as well. However, four days post cut, there are more pronounced rivers in the chlorophyll and I'm seeing them in the paprika, which I didn't see at cutting. Very interesting! There are a few small rivers in the cocoa, but I'm not sure if that is an artifact caused by the mixing of the colors, or rivers - a good reason to separate out the colors for the experiment. Overall, these bars turned out beautifully, regardless. In the vein of experimentation, I created a second batch, changed by the fact that I added less colorant to each portion, only a 1/4 teaspoon each. My theory is that the particles will be freer to move around? And, I added a fragrance to the new batch as well. These are the pics of the second batch, just after cutting. The rivers were better in the first batch that had higher concentrations of the colorants, so my theory wasn't correct. There must be another variable that would create the effect more predictably. However, there are some rivers along the edges of color, and I'm thinking that they will improve upon cure - we will see! Another Great Cakes Soap Challenge is underway! This month we learned how to create a bas-relief from plants to create beautiful soaps from guest instructor, Elena Nedachina. This was a multi step process and definitely put emphasis on the word "challenge" for me this month. The first challenge was to find plant material. Here in Colorado, it is winter, with a blanket of snow everywhere, so the pickings were a bit slim. On the other side was the fact that plants that were available tended to have quite a bit of texture, which is what I was going for. I did want to experiment a bit so I did so by also using a favorite houseplant, and some fresh rosemary and mint found at the grocery store. The next step was to press the plant material into some clay to make an impression. From this impression, I made a plaster cast, followed up by making a silicone mold from the casting. The silicone mold was then used to make a soap bar. Here is a timeline in pictures. Several things were learned throughout this journey that I'd like to share. The dried up plant material that was available outside worked, but tended to crumble when applying the pressure needed to get the impression - so it took more time to clean up the dried bits out of the clay. This process compromised the final impression, in my opinion, as I had to work with a toothpick to get the pieces out and left unintended marks upon the clay. The fresh items from the grocery store worked beautifully, as they lifted up easily from the clay. Leaves were a challenge, as you really needed to get them pressed in well to obtain the delicate features. Some of mine were awesome, some not so great. My shamrock was an example of this. The image barely came up on both the clay and the silicone mat, but I decided to complete the process through to the end. I could just see the shamrock leaf on the soap, but when I added a bit of mica "paint" to the image, it popped! I was really happy with the outcome, it was perfect. So, just because the impression isn't the best, it doesn't mean it won't turn out well if you use your imagination. I absolutely love the plaster casts I made, aside from the shamrocks which were lackluster. I haven't tried them yet, but would like to see how they would work as a stamp on softer soap. The resulting silicone mats, although made from the mold I was ultimately using, seemed to be too big. Some of this may be that silicone on silicone just doesn't slide easily. The problem that I had was that I could not get the mat to lay flat on the bottom of the mold before pouring the soap batter into them, they kind of poofed up. This followed through to the final product, in which the soaps ended up being a little domed. I suppose it worked out ok, as while cleaning up the image, I scraped a lot of that dome out. In the future, I will trim them down or make them just a tad smaller somehow. I'll have to ponder on how to avoid this. All in all, these soaps turned out stunning, and even though this project was a lot of work, and involved quite a bit of time, I really enjoyed the process. I will definitely repeat it - especially after spring and summer flowers arrive with all of the variety that can be added. The ideas are limitless for making your own molds and creating a truly unique bar of soap - new ideas are forming in my mind for my garden this year!!!
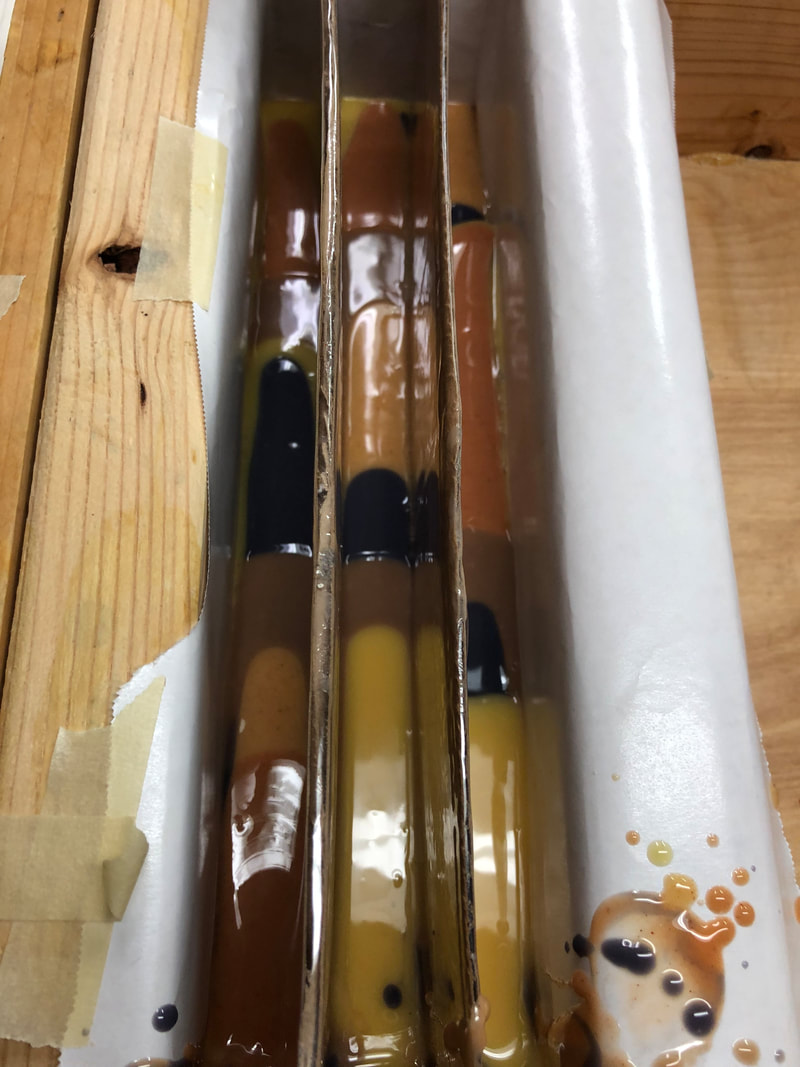
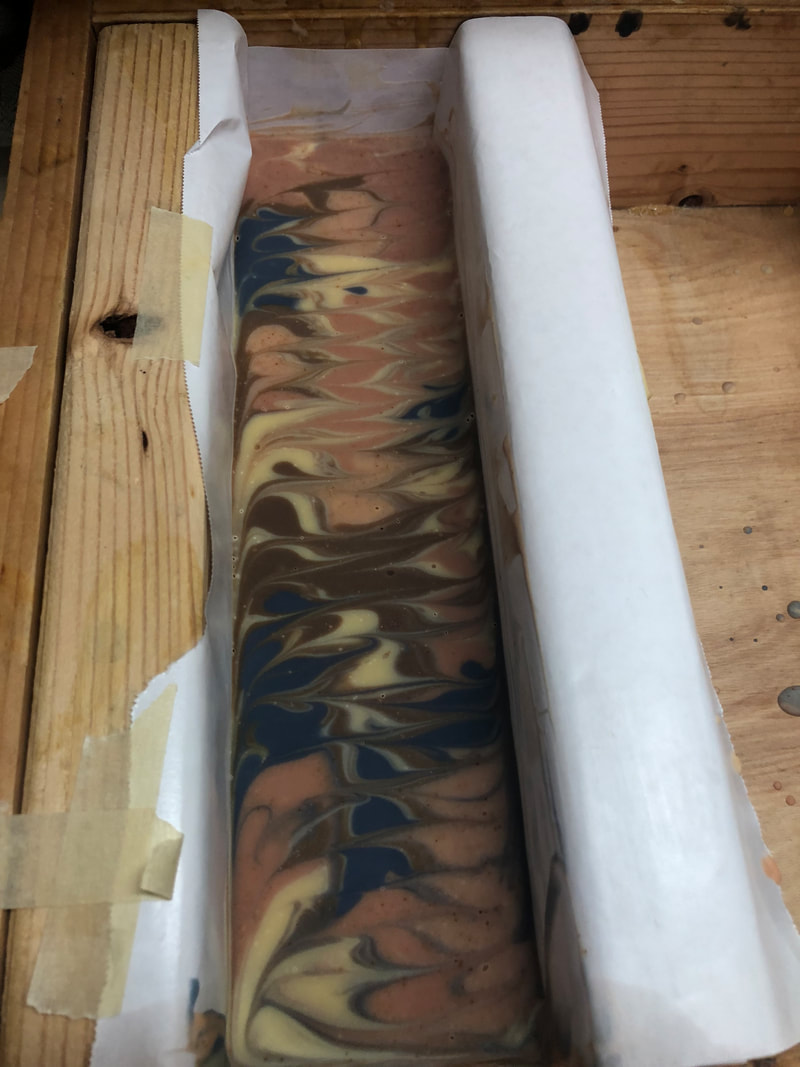
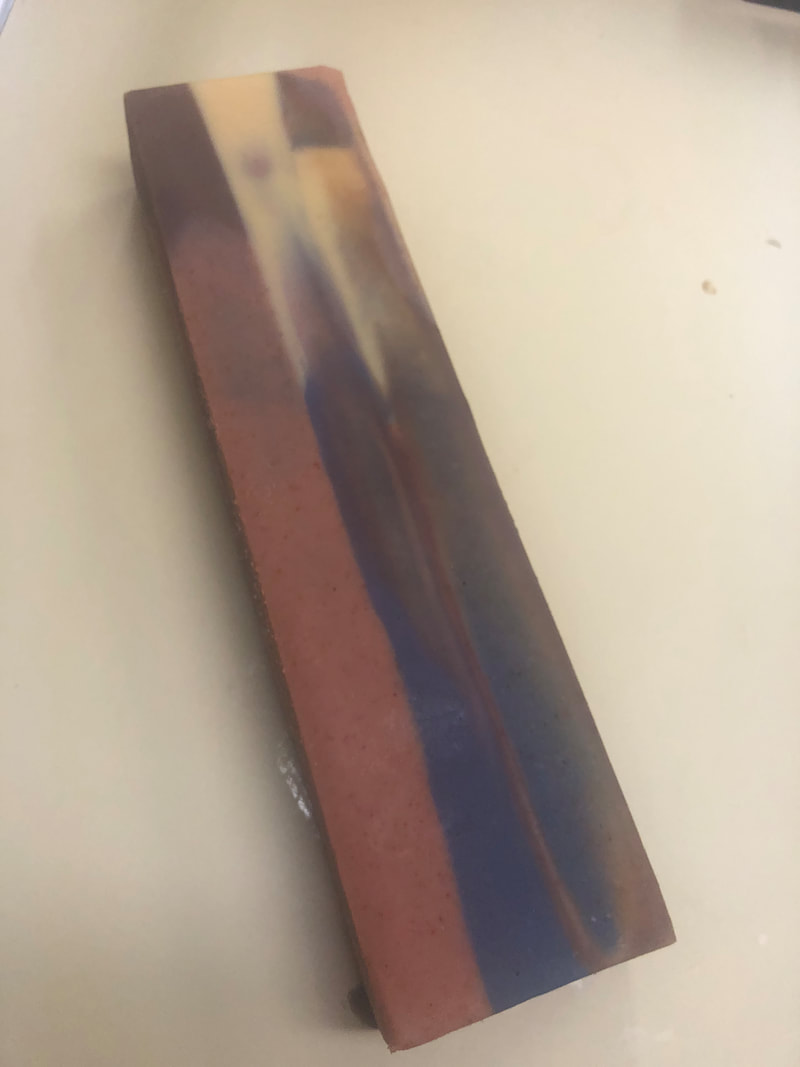
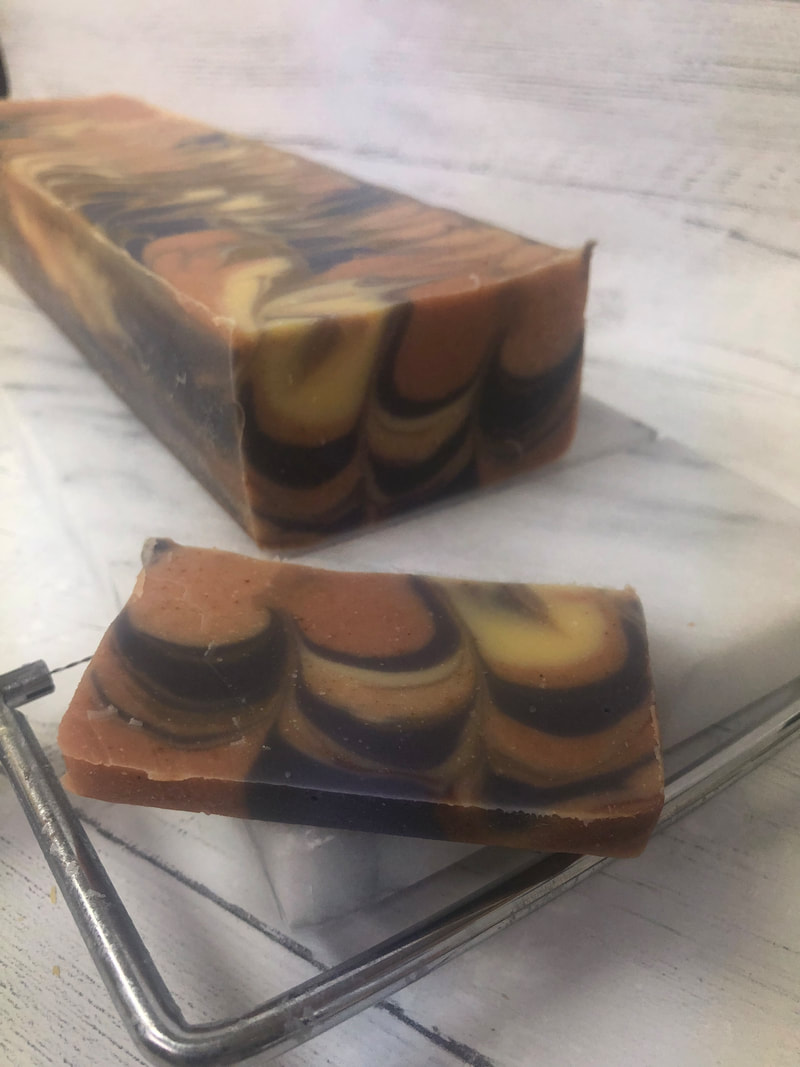
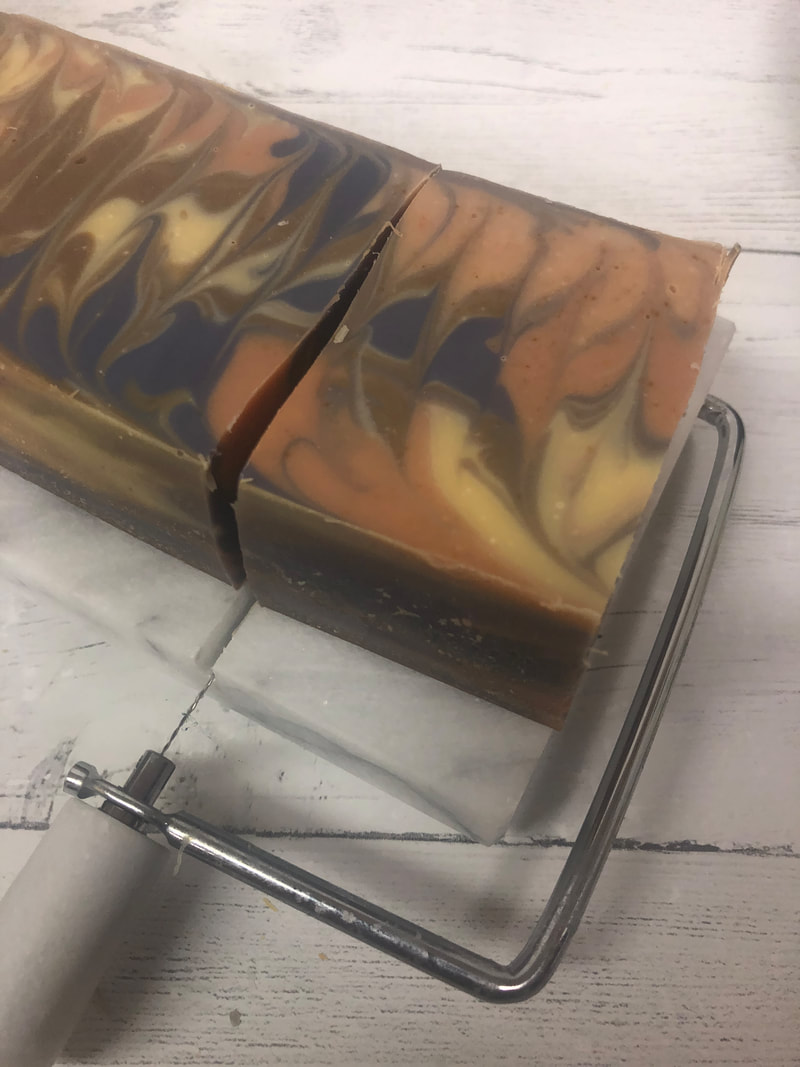
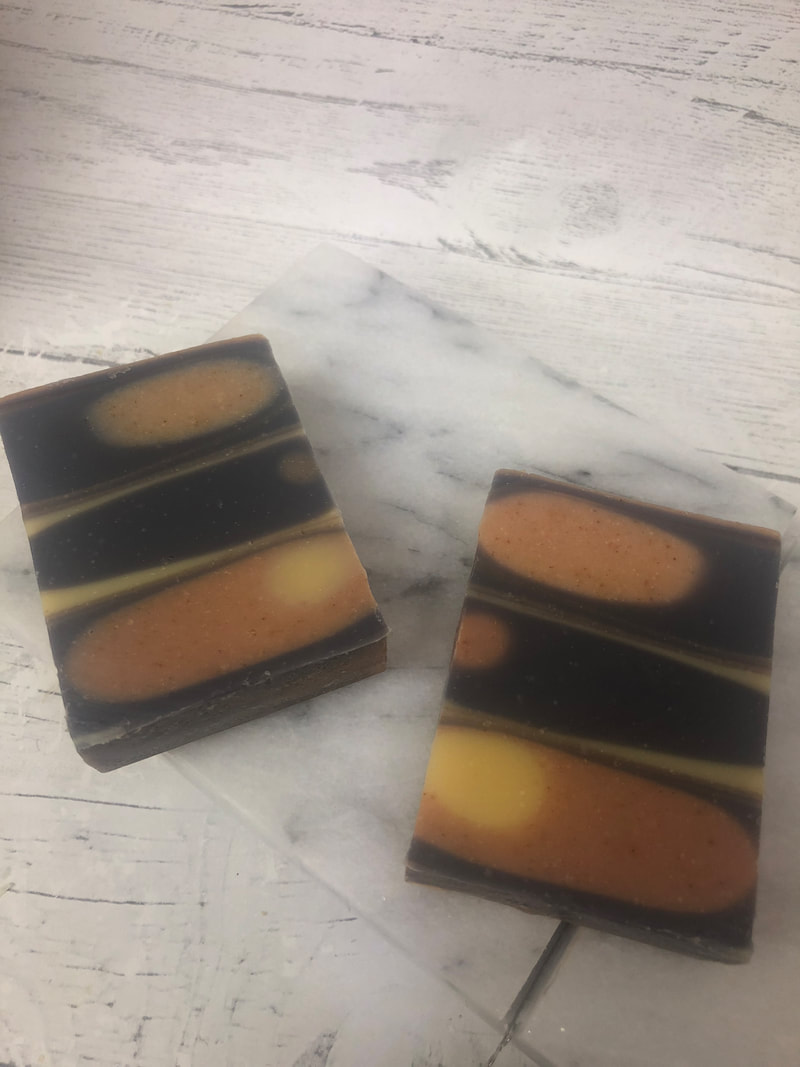
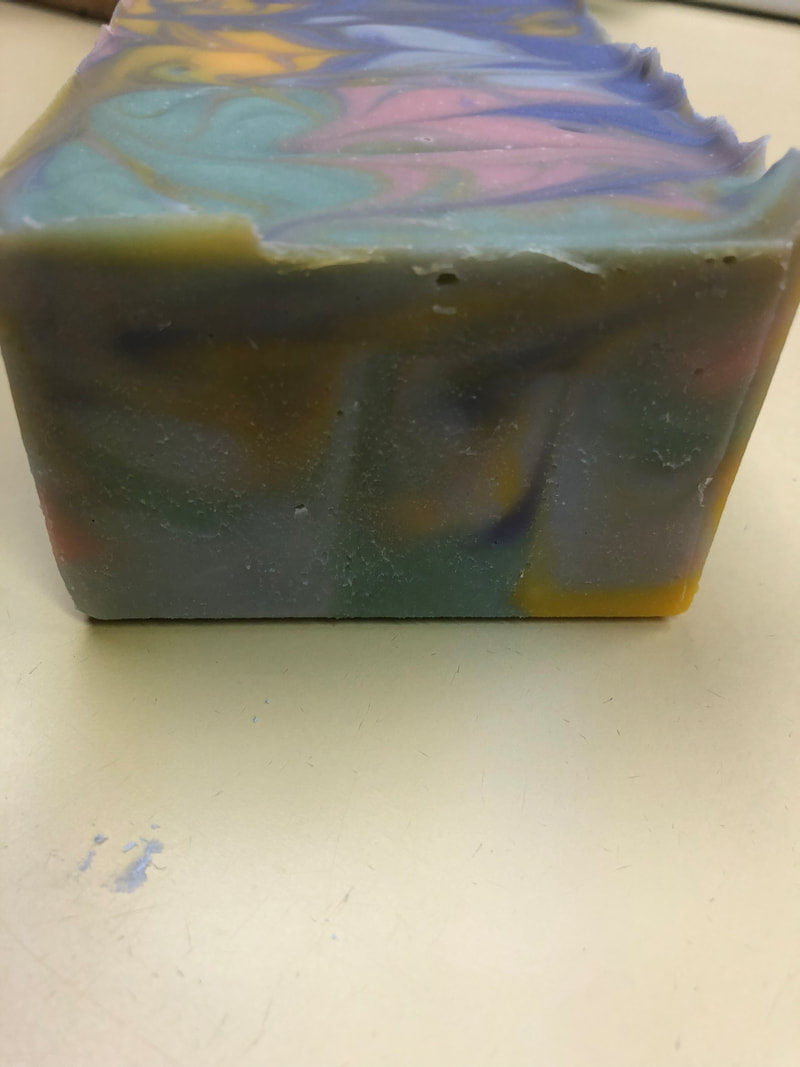
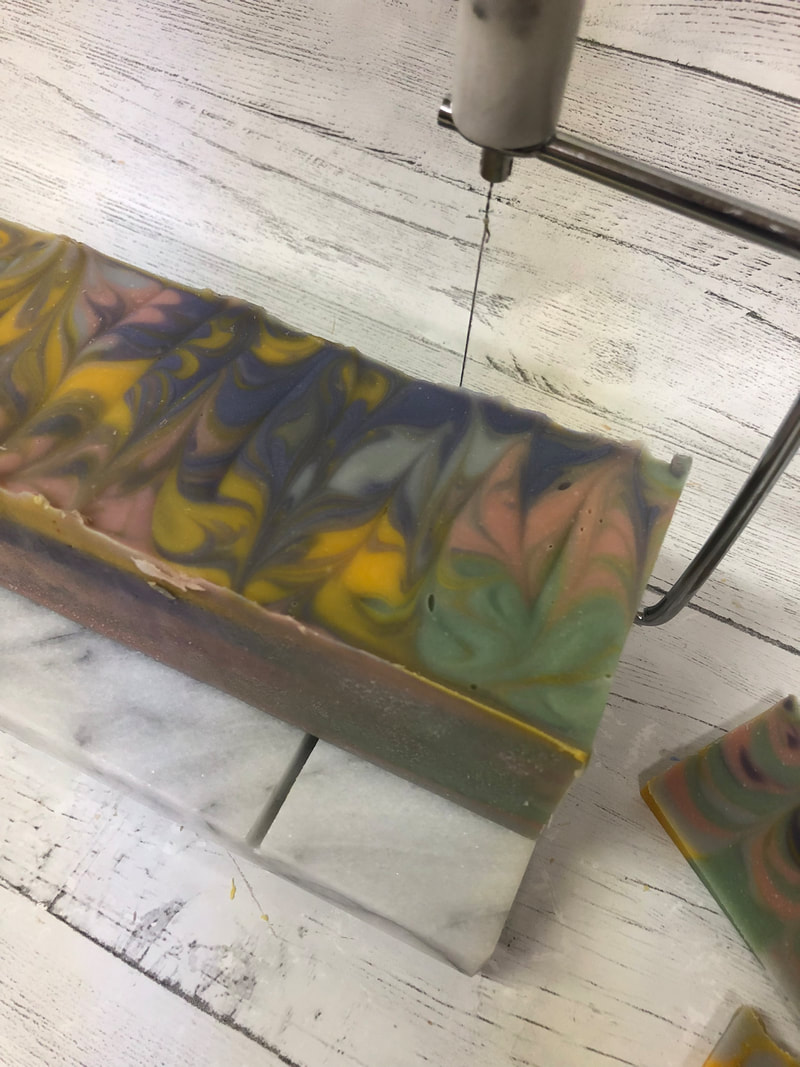
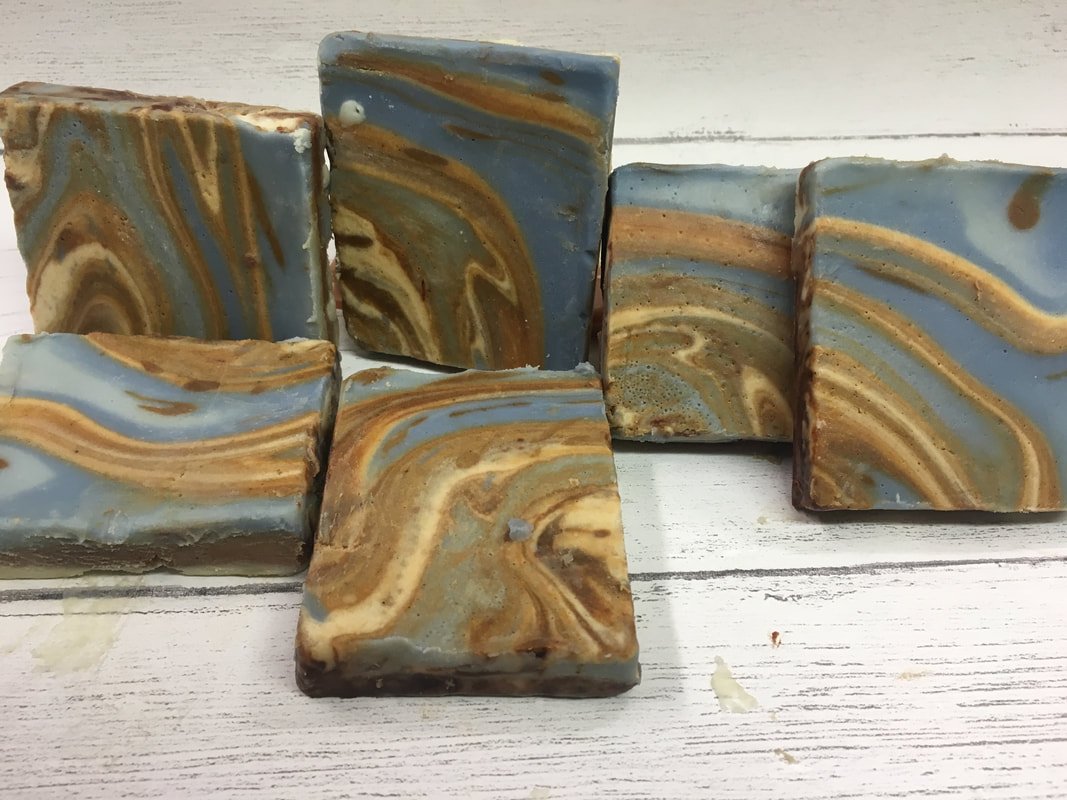
Amy Warden’s Soap Challenge for the month of October was to recreate a soap that looks like the picture below. 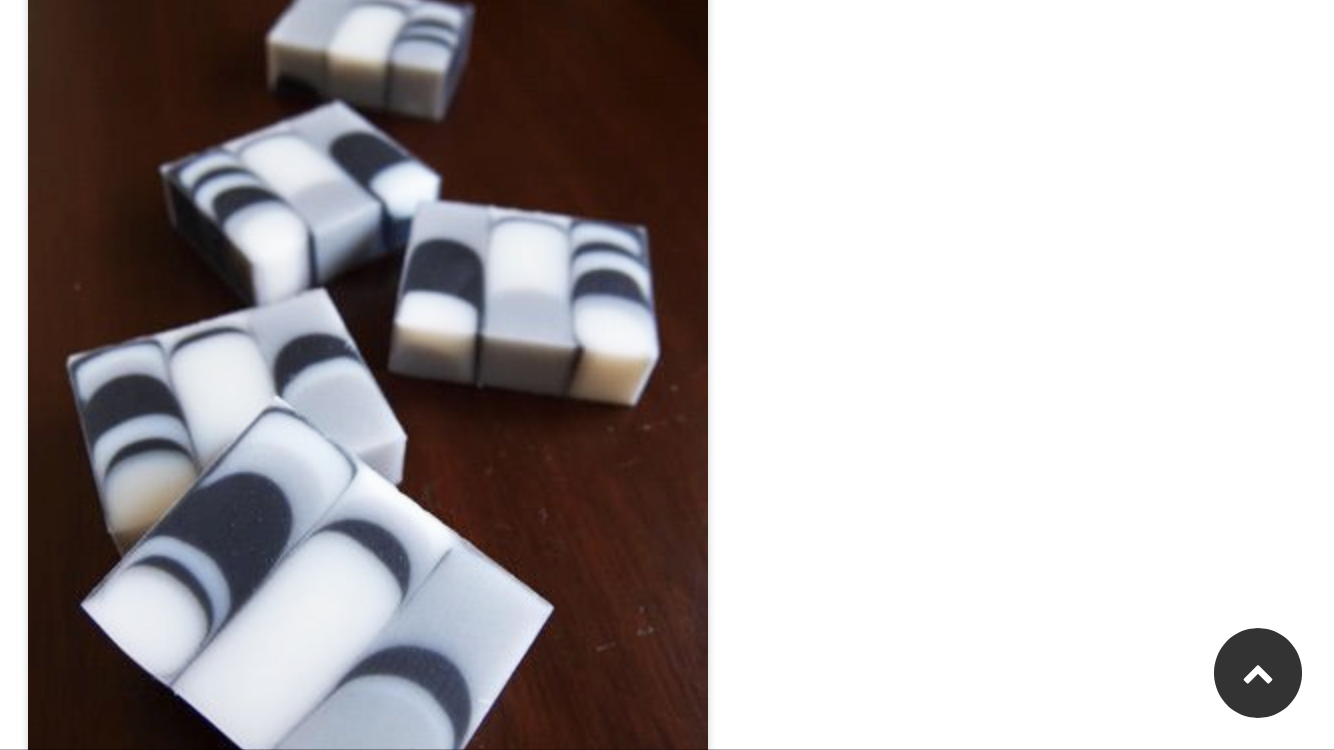 She gave us a tutorial showing a couple of different ways to achieve this, and left it open if anyone had other ideas. I went with her second option, and believe that it worked quite well to get the effect we are looking for. For my first attempt, I chose a fall color palette, and after bringing the soap batter to a good emulsion, mixed the colors using cocoa, paprika, alkanet infused oils and Annatto seed infused oils - to give brown, orange (light and dark), purple and yellow, respectively.
I Washed My Hair Today But not the way most people do. After 20 weeks without using any shampoo, I've learned a lot about the "no-poo" movement - and what really happens when you stop relying on detergent-based products. My scalp went through changes, my hair had good days and weird days, and ultimately found something better. In this post, I'll share why I gave up conventional shampoo, how shampoo bars helped reset my routine, and what you should expect if you're thinking about making the switch. You might be wondering why I'd write about something like this. Well...I haven't washed by hair since September 8th - so for me, it's a pretty big deal! Now before you decide I've lost my mind - don't worry, I have been cleaning my hair, I've just stopped using shampoo. This started as an experiment. Over time, more and more of my customers have been asking about our shampoo bars and the "no-poo" method. For many, the goal is to reduce plastic waste - those endless bottles filling landfills. Our shampoo bars completely dissolve with use, and the packaging is biodegradable paper, so they're a great zero-waste alternative. But, there's more to it than just eco-friendly packaging. People are also stepping away from what we think of as "normal" shampoos and conditioners for reasons like scalp health, ingredient concerns or simply wanting a more natural approach to hair care. Some people choose to go shampoo-free in a pursuit of a more natural lifestyle - embracing the "be one with nature" philosophy. I remember a family friend from my teenage years who never used conventional shampoo, conditioner or many other hygiene products. He always said, "You're just stripping your natural oils away, only to replace them with synthetic ones." He wasn't wrong - and I've always respected that perspective. Still, I could never quite bring myself to abandon the hygiene habits passed down by my parents and grandparents. On a more serious note, many people today are dealing with chronic health challenges or infertility, and they're becoming more cautious about what they put on (and in) their bodies. That includes avoiding certain chemicals in body care products - along with things like caffeine, sugar, alcohol and plenty of other indulgences we tend to poison ourselves with daily. This shift has really caught my attention. I've done a bit of research, and I truly believe a lot of what we regularly use is unnecessarily harsh on our bodies. It's made me more mindful of what goes into my food, my skincare, and my products. (And, let's be honest: one season of The Handmaid's Tale is enough to make anyone rethink their ingredient list.) In doing my research, I found that many people go without washing their hair with shampoo or conditioner at all. They claim that after 6–8 weeks, the scalp adjusts and stops producing excess oil. The idea is that, with proper care—like brushing your hair 100 strokes a day with a bristled brush—you can evenly distribute those natural oils, leading to soft, shiny, healthy hair. This practice was apparently common up until the 1930s to 1950s, before modern shampoos and conditioners became widely available. It’s not that people had poor hygiene back then—they simply had a different, more intentional approach to hair care. In many ways, it was an art form we’ve forgotten. But before I go further down that rabbit hole, let me explain why I personally decided to go cold turkey—stopping both conventional shampoo and even my beloved shampoo bar. I’ve used my own shampoo bars off and on for years and truly love them. But in the soapmaking world, there’s ongoing debate about whether shampoo bars are ideal for long-term hair care. Some argue that using a soap-based bar, followed by an acidic rinse (like apple cider vinegar), causes the hair shaft to bend in one direction during washing and then the opposite way during conditioning—which could potentially weaken the hair over time. Others swear by their bars and have used them for years with no problems. Honestly, the discrepancy likely comes down to differences in formulation. So I thought—why fuss over it at all? I’m not someone who uses a lot of styling products, and my curiosity was piqued. I wanted to see what would happen if I just let my hair go completely natural. My hair was fairly short at the time, which made this the perfect opportunity. I figured I could avoid any potential damage and simply let my natural oils do the work of conditioning. I kicked things off with a good clean—using my shampoo bar on September 8th. I've always noticed that when I use my bar, my hair stays cleaner longer. I usually only need to wash it about twice a week, which is already less frequent than when I use liquid shampoos. But this time, I was setting out on a longer journey. Instead of just spacing out washes, I was going to stop washing my hair altogether—and see what happened. After about five days, I noticed my hair was at its peak oiliness. But interestingly, throughout the entire experiment, it fluctuated—sometimes oily, sometimes a bit dry. I suspect this inconsistency had to do with my less-than-diligent brushing routine. Brushing the oils through with a good bristle brush really helped distribute the oil more evenly—keeping the roots from feeling greasy and the ends from drying out. By the five-week mark, I had an appointment with my hairdresser (who, I have to say, is a total trooper for putting up with this experiment!). We talked about how my hair was behaving. She noted - and I agreed - that it was surprisingly difficult to get the roots fully wet. There was definitely a noticeable amount of oil buildup, though visually, my hair looked fine. In fact, I received quite a few compliments during this experiment. It just felt... different. There were some interesting upsides, too. Back in the day, women created elaborate hairstyles that stayed put all day, and now I understand how. During this experiment, I could pop in a barrette and it would actually stay - no slipping, no adjusting. Compare that to today, when my freshly-washed hair is so soft and slippery I have to reclip accessories constantly. That was definitely a plus! Now, when I say I wasn’t washing my hair, that’s not entirely true. I was washing it—just without shampoo. I used warm water in the shower and spent just as much time working through my scalp and roots as I would during a normal wash. A good shower comb made a big difference, helping me really distribute oils and detangle gently. I also kept blow drying my hair. That was a personal preference—I found that when I blow dried it, my hair had more lift and held its shape better. It simply looked and felt more styled, and that helped me feel more put together during the transition. I continued on and settled into a new routine, but to be honest—I really didn’t love the feel of my hair. I know much of that is just what I’m used to, but I kept waiting for the silky, transformed hair that so many no-poo enthusiasts rave about after six to eight weeks. Instead, over the last couple of weeks, the buildup seemed to get worse—not better. And that’s why... I washed my hair today. For me, personally, I just prefer the softer, lighter feel of freshly washed hair. That “clean hair” sensation is something I really enjoy, and I missed it. That said--it feels amazing today! Softer than before the experiment, even. I actually think giving my hair a break from regular washing acted a bit like a deep conditioning treatment. So while I may not go full no-poo long-term, I do think there’s value in stepping back once in a while and letting your natural oils do their thing. Growing up, anytime I tried using a bar of soap on my hair, it was... well, awful. If you’ve tried it, you probably know what I mean—that waxy, filmy residue that makes your hair feel coated and sticky. It was enough to be extremely skeptical, for years. My husband and I have had several conversations about this. While I think shampoo bars give that “squeaky clean” feeling and clarify the scalp, he associates that same squeakiness with buildup - like the residue you get from a regular bar of soap. So today, when I finally washed my hair again, I wasn’t sure what to expect. Would I need to wash it twice to get all the buildup out? The answer was a resounding no. One wash with my shampoo bar, and my hair felt fresh, light, and beautifully clean. Once it dried, it looked and felt as good as ever—maybe even better. I think I’ve found a great alternative to using conditioners filled with questionable ingredients. Moving forward, I may not go two full months without washing, but letting my hair “rest” for a while really worked for me. Even just taking a break for a few weeks can do wonders—at least for my hair and body type. The end result? Totally worth it. Have your own no-poo experience? I'd love to hear about it!
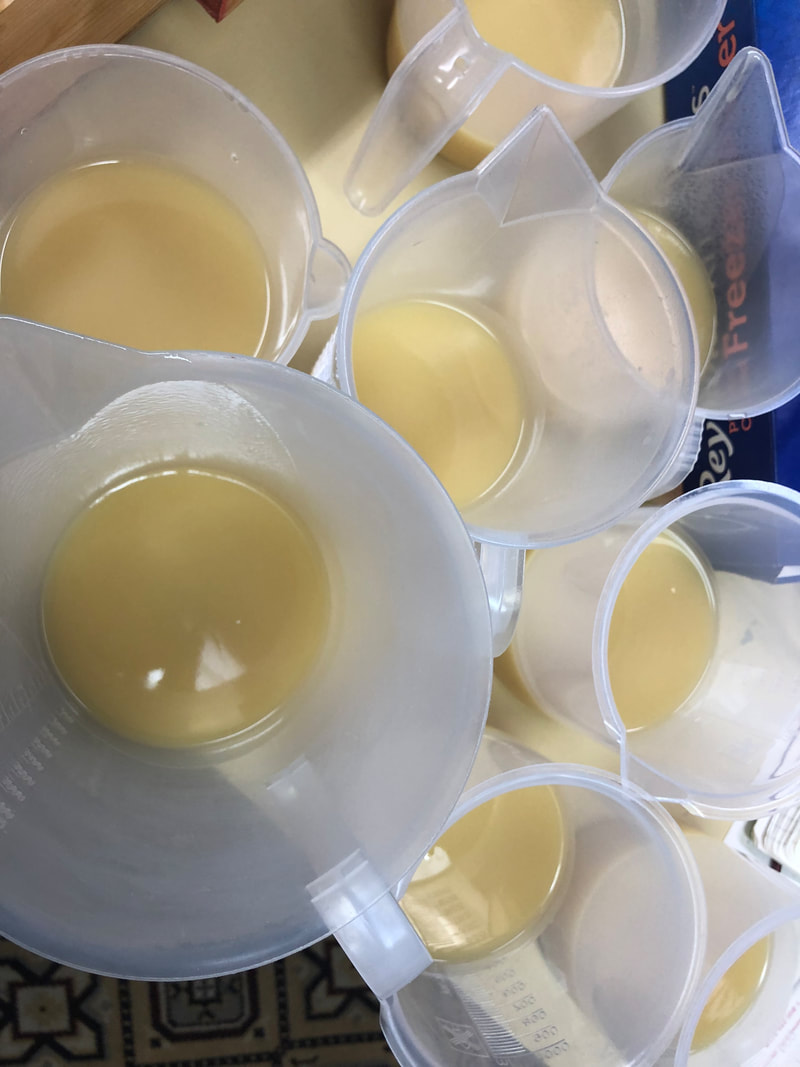
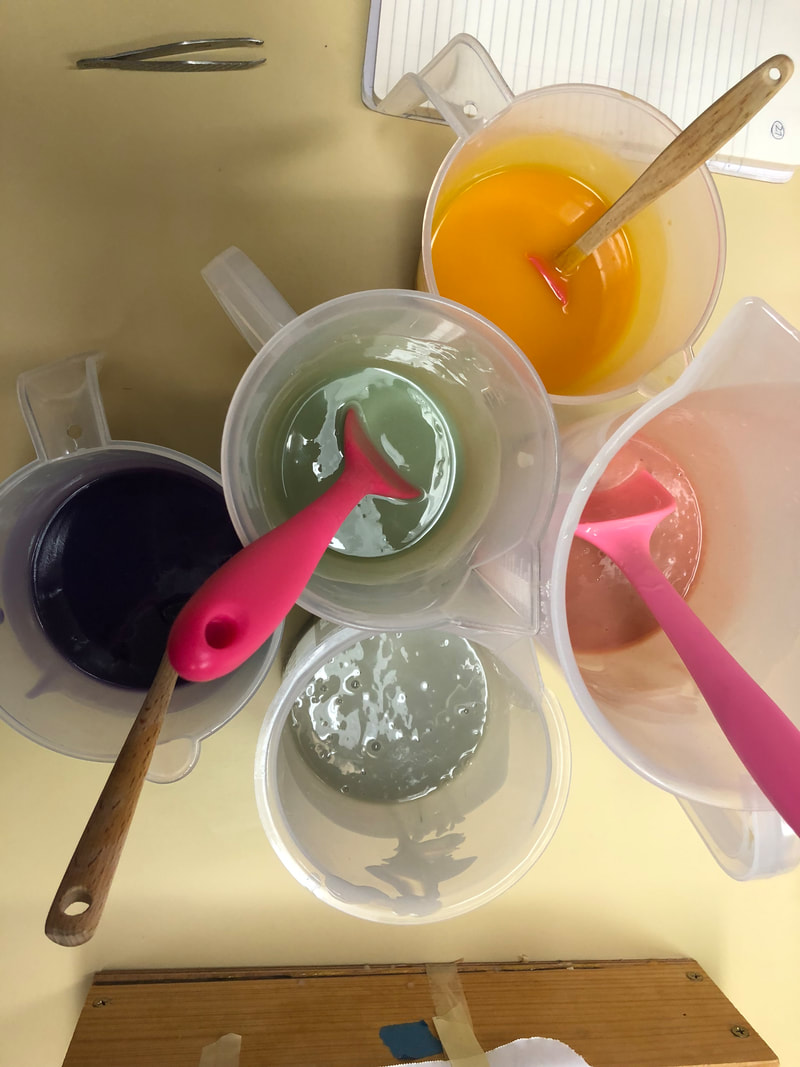
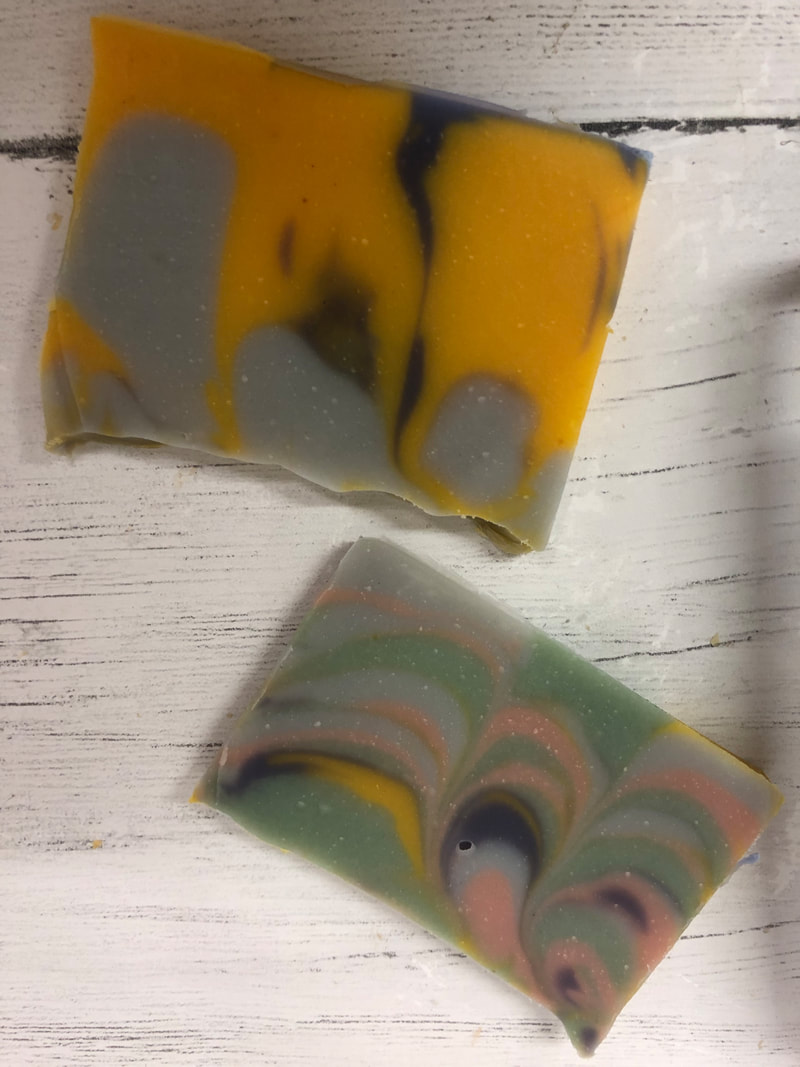
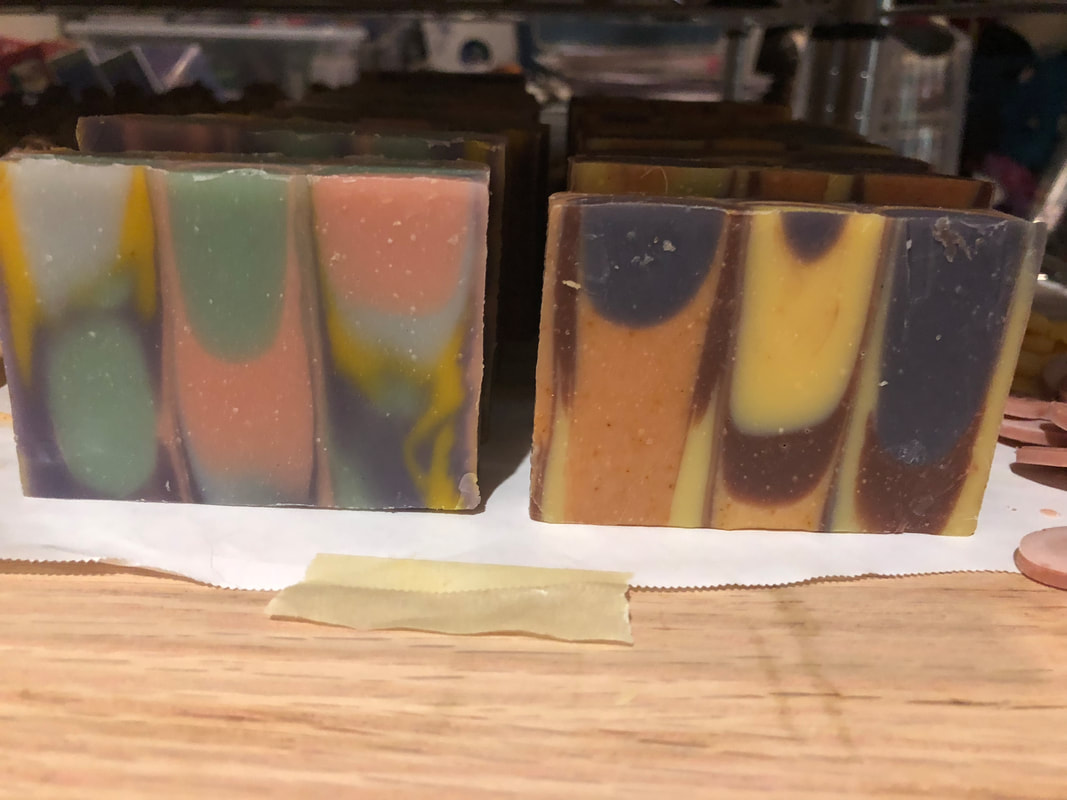
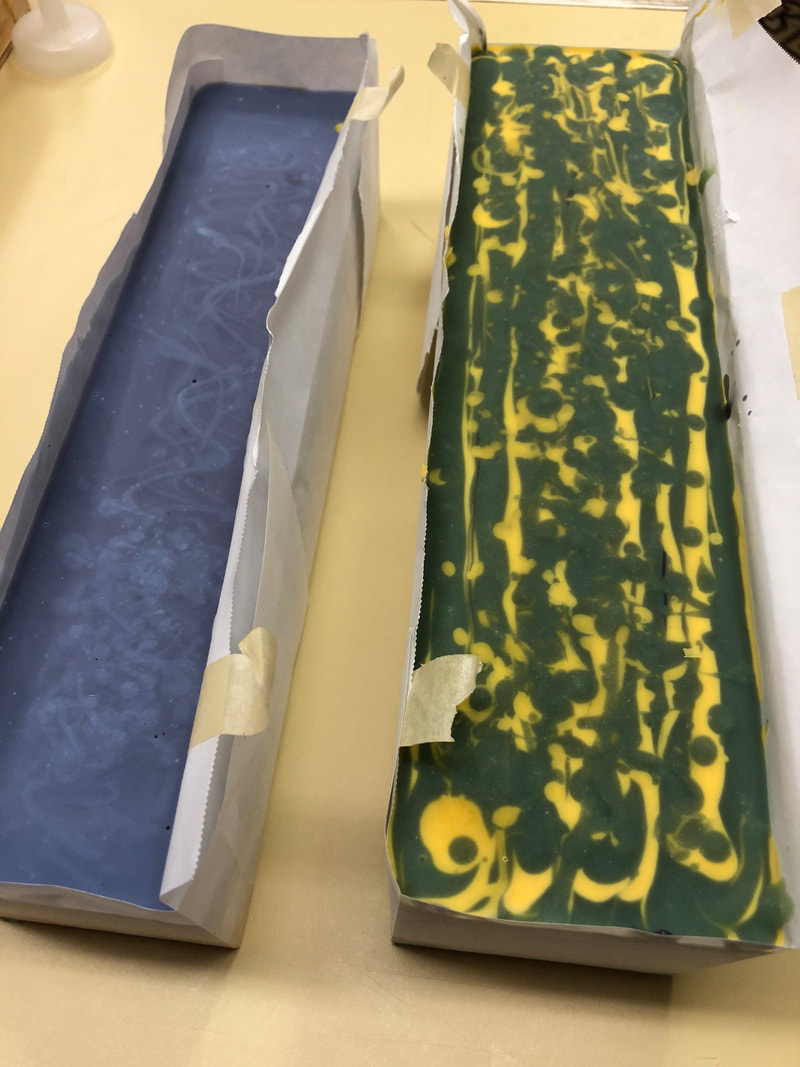
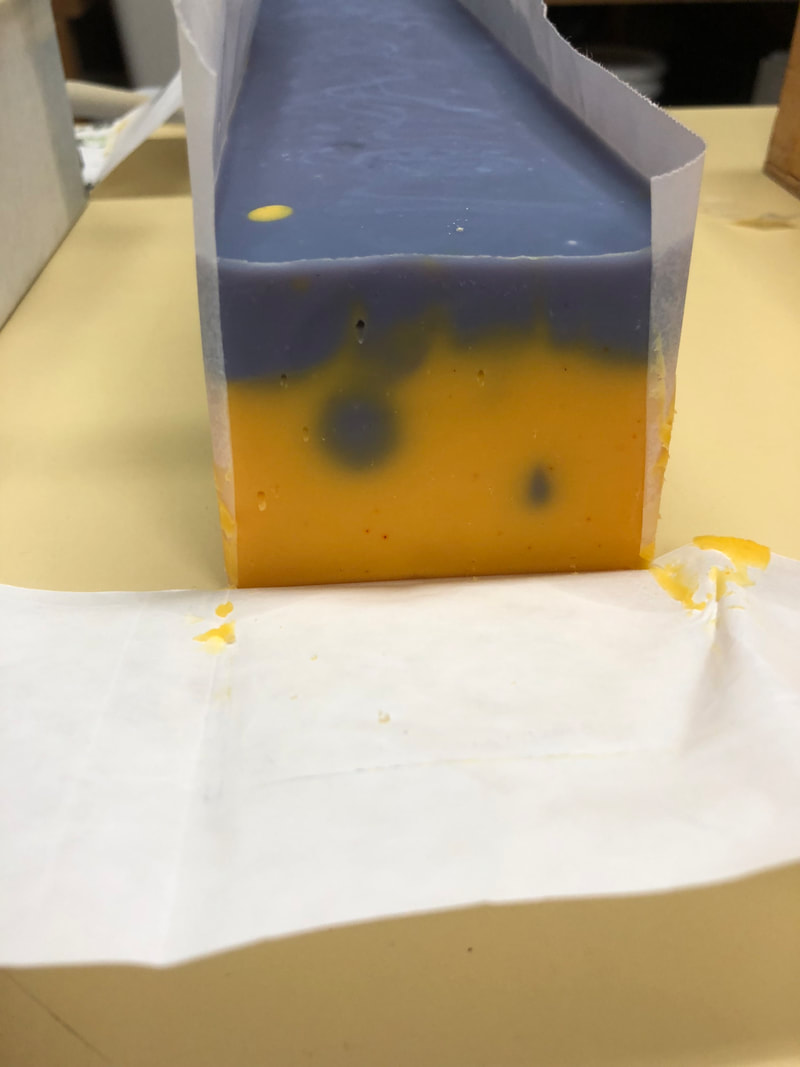
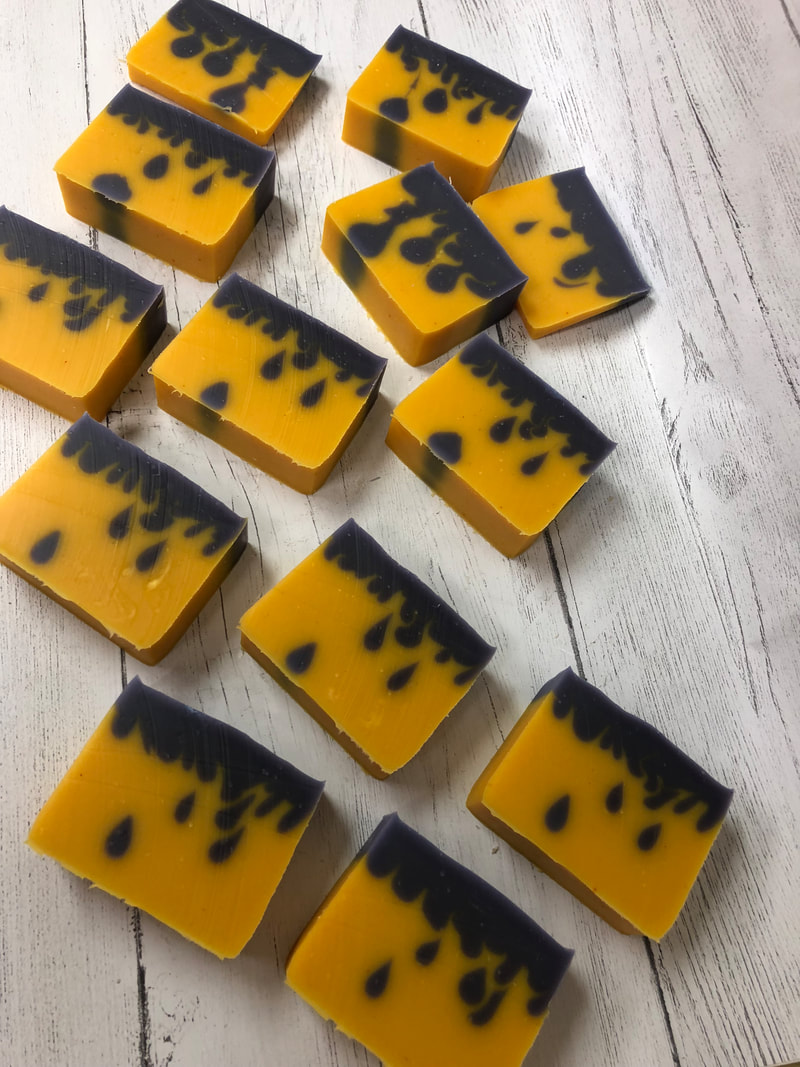
Amy Warden's Soap Challenge Club is back after a brief hiatus, and that means another fun soaping adventure. This month's tutorial is entitled Mini Drop Swirls, and I have tried to create this look before without success. However, the lesson she provided helped me to understand the process better, and I really like the final product. So, with Halloween approaching quickly, I thought this was the perfect opportunity to make a slimy, drippy soap to add to the fun we have with the celebration. Amy showed the drips using various colors, but I really wanted to make a goopy looking soap and decided, for my first batch anyway, to go with a solid purple dripping into an orange background, something similar to the image below. I forgot to take pictures during the making of the soap, oops! Therefore, you will get more words than pics, sorry about that! The purple was achieved by infusing half of my oils with alkanet root and straining it out before making the final soap batter. The orange was infused with annatto seeds and, again, strained out to make the rest of the batter. I added the lye to each of the oil mixtures at the same time, one third purple oil base and two thirds orange oil base. I stirred and stick blended the mixtures to an emulsion and then put the purple batter into a condiment dispenser. With this first batch, I just used the tip on the containers, since they are fairly long, and thought I would see how that went before adding more length to it. I poured the orange two thirds into the mold and got the purple ready. The idea was to get the tip into the batter at the appropriate depth and then squeeze the purple out slowly as you move the dispenser from one end of the mold to the other, lengthwise. It is somewhat tricky to get the tip of the dispenser into the base before the purple started to ooze out, but I did it without too much difficulty - once I decided to just do it. I did three or four lines, trying to put them at various levels in the orange batter. When I was done with those lines, I started layering lines of purple on the top, covering up the orange that kept peeping through. The end result was a solid purple top, which I wasn't sure if I wanted or not - it looked a bit plain. Unmolded and cut the next morning, and I absolutely love the result, it is exactly what I was going for! Sometimes I amaze myself :) The second batch I made using this technique was inspired by the same thought, oozing slime. These bars were made directly after the orange and purple bars, and I wasn't sure if my technique was good or not, since I couldn't cut them to see the result until the next day. So, I decided a couple of things. For one, I thought that the orange bars were too small - the batter did not fill up the mold so I was afraid that I did not have enough space at the bottom to really separate out the drops properly. So, I added more oils to give it more depth. And, I changed the colors to green (using chlorophyll at trace) and yellow (using annatto infused oils) drips, hoping to give the "slime" a more realistic look, with the yellow "highlights". I made the background black this time, hoping the green and yellow would have a nice contrast with the darker color. The results of this batch were pretty, but not at all what I was going for. After cutting and looking at each batch, I like the size of the orange and purple bars better. I may end up cutting these bars in half. The yellow contrasts nicely, but the green did not get bright enough. I do have to say that the top of these bars are perfect CSU Rams colors!!! Now, in this second batch, I used a straw attachment added to the tip of the spout on the condiment dispenser. The drops probably would not have made it deep enough without the additional length the straw provided. These drops also ended up being quite a bit smaller than the first batch. However, I think that it has more to do with the amount of pressure applied and the speed in which the line is drawn.
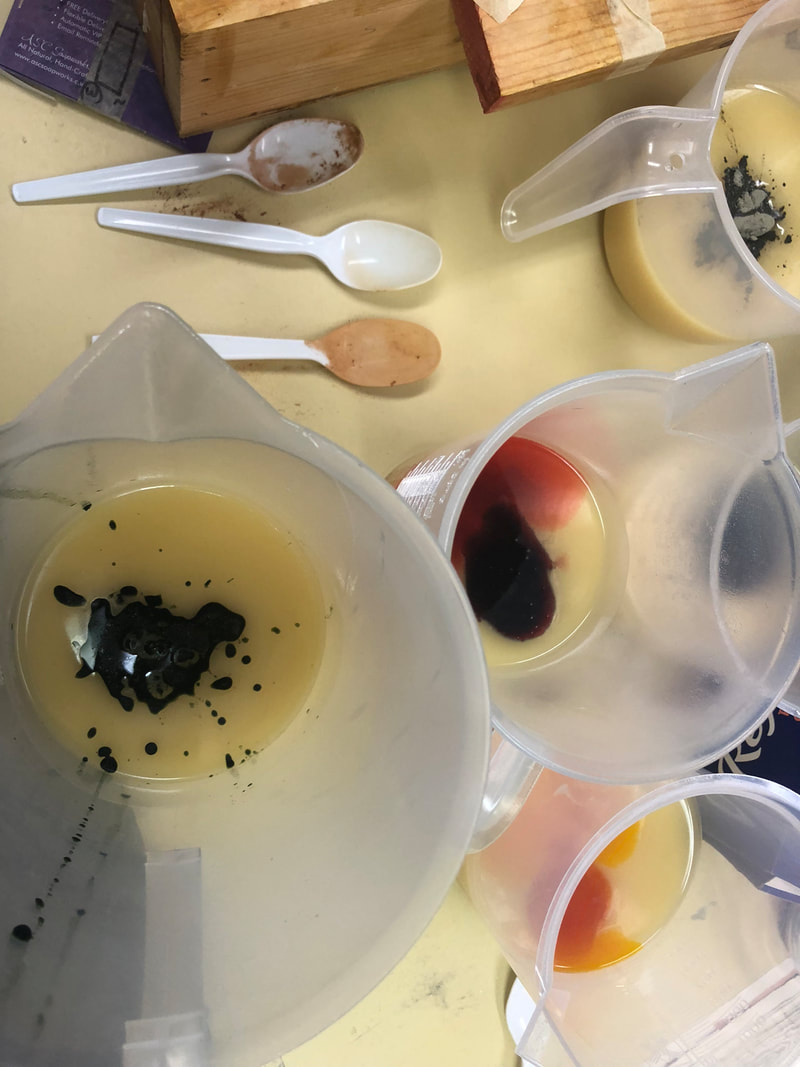
Here are pictures of the final bars from this second batch. Our philosophy here at ASC Soapworks, is to keep it simple. We make soaps that are great for all people, including those with skin sensitivities,and the simpler the better.. Most of our soaps, therefore, come in their unadulterated form, generally a cream color. These unsullied bars will still have some variation depending on the essential oil and/or fragrance used, as well as other ingredients that are sometimes added. The basic nature of the soap making process is fairly harsh on many additives making coloring more difficult than one would initially think. However, if you have a fundamental understanding of chemistry, this can not only be maneuvered around, but used to your advantage. Alkanet root infused oils are very much like a litmus paper. It will be red until the base is added, then turning a vibrant purple. Anything with a bit of vanilla will have a natural brown color, as is the case if there are sugars in the recipe, like honey, milk of any kind, etc. Beautiful lavender buds will turn brown as they go through the saponification process. Ensuring that the soap goes through a gel phase will help to deepen the color and to make them more consistent throughout. Many ingredients sold for coloring soaps are considered to be "natural" - titanium dioxide, micas and oxides are some examples. However, going with the thought that less is more, these are not added to our recipes. We prefer to add ingredients that we would naturally ingest, or grow in the garden. This is just our preference. So what do we add, you ask? Let's take a walk through the rainbow to find out. Reds and Pinks It is difficult to obtain a true "American flag" red using natural colorants in soap. A couple of different clay products give us acceptable alternatives. The Burlap & Lace soaps that I have made would fall in the red spectrum, but they are more of a brick red, a little on the orange side. Making this batch utilized Moroccan red clay, added at trace. The Candy Cane soaps, along with a few other varieties I have created, are made using Rose Clay, and you can get a very nice gradient of pinks, almost closing in on red. Because of this, rose clay has been my favorite when I need something in the field of red. In the photos below, you can see the difference in the rose on top of the soap (rose clay) and the background color of the soap (Moroccan red clay) in the Burlap and Lace Soap on the left. The other three soaps were created with rose clay. While researching how to make red soaps using natural products, it is apparent that many people use madder root with success. It apparently can be added at trace, or to the lye solution. I have been reluctant to experiment with this material for a few reasons. I have read that it should not be used in baby products, Wikipedia states that in folk medicine is has been used to induce miscarriages and that it may cause birth defects. It has not been approved as a colorant by the FDA, and I wonder if all of these facts play into why. Madder root is not something you will find in our soaps, as there is no need to add anything with a questionable background. Oranges and Yellows There are many ways to create beautiful oranges and yellows in soaps naturally - annatto seed, calendula, chamomile, carrots, cornmeal, orange, paprika, safflower petals, saffron and turmeric are all popular. You can add color through oil infusion or by adding powder or puree at trace, adding it to lye, etc.. Paprika is found in both the Sweet Orange & Cinnamon and the Rose Patchouli bars, and I choose to add at trace most of the time, generally out of ease of use and spontaneity. Coloring the soap in this manner may add a very light exfoliating effect due to the grainy texture of the powder or larger pieces puree. Annatto seed is a natural, alternative food coloring that can be found in products such as cheeses or natural macaroni & cheese, crackers, etc. You can find it fairly cheaply in Hispanic groceries, also known as achiote, as they use it in recipes involving the marinating of meat and chicken, as well as soups and other dishes. It is available in both a powdered form and whole seeds. The Clove Bar is a beautiful orange color, achieved by infusing oil with this seed. The resulting oil is then added to the recipe in varying amounts to obtain the desired color. Depending on how much is used, the resulting soap can be anywhere from a very pale yellow to a deep orange. Infusing the oils is preferable if you are not a fan of the grainy texture that arises from adding the powder at trace. Greens Although many additives have been attempted, greens have been a bit elusive. The easiest and most consistent has been using Green Sea Clay. I like the color, but it is a deeper green, darker and grayish. This color works for some applications, but if trying for the green of grass, or a shamrock, it just doesn't give the same effect. It would be reasonable to think that you could combine the sea clay with annatto, but it doesn't really change the color satisfactorily. Nettle leaf infused oils have been too weak, giving a washed out color. In order to get a decent shade of green from Spirulina, a fairly large amount needed to be used, and the resulting soap gave off an odor that was not masked well by the essential oils used. This was not a very desirable outcome. The most recent foray into creating a green soap has been using liquid chlorophyll. The first batch was very promising, as the color was perfect, and it was extremely easy to use, adding it at trace until reaching the desired shade. However, after a few weeks, it faded away to a light brown color. Since then, I have been playing with a few different things to see if the color will be retained better. The results are still to be seen. Blues and Purples Blues, once again, are difficult colors to obtain. Indigo is the "go to" colorant in the industry, and it can be added at trace or to the base solution. Again, you need to add a significant amount to get a true blue. This then poses another problem - the fact that indigo is an industrial dye that stains. Not exactly what you want in a soap. I have used it a few times, trying to add it in various ways, but at the concentrations that I have used, the color tends to fade away quickly to more of a gray tone. Purples, on the other hand, are easily obtained using an oil infused with alkanet root. To get a deeper color, substitute 40-50 % of the oils with the infused oil, use less for lighter shades. Some success has been found with adding small amounts of infused oil at trace to color the soap batter. The result of this is a much lighter shade, but purple nonetheless. Easy to use, with a little bit of forethought, alkanet root lends a beautiful shade to your soap color palette. Blacks and Browns Charcoal is an effective ingredient to create shades of black and gray in soaps and has been touted as having the added benefit of drawing toxins from the skin. This is what we use when looking for the sleekness and style that black adds to a design. Some people use poppy seeds for specks - they are perfectly natural, and I love the speckled look. Caution needs to be used when using non-soap additives, even though we incorporate lavender buds, cornmeal, coffee and oatmeal into some of our bars. Since reading about aduki beans growing in people's showers, I try to steer away from anything that will grow or clog up the shower drain. My husband doesn't like to use the Simply Lavender bar for this exact reason, but customers do like the exfoliating nature of the additives, so I keep a few varieties in the line with that feature. I may try the poppy seeds at some point in time, as they are aesthetically pleasing, and from where I stand, they are harmless enough. Browns can be created many ways, as much of what you start with will turn brown when added to the basic soap batter. However, for intentionally creating brown, our favorite is cocoa. We also use cinnamon in our shampoo bar, and of course the coffee bar utilizes its namesake for its brown shade. Have you ever had a chocolate body wrap at a spa? It's supposed to be an awesome experience, as is washing up with chocolate! Love it :) This article should provide insight into some aspects of design for our artisan soaps. If you have any questions or comments, please feel free to comment below.
This entry is the last Great Cakes Soap Challenge, and I will miss these dearly! I will need to find a way to self motivate myself to keep up the challenge of making something new every month :) I like sharing my adventures in soap making, so check back each month to see what I'm up to. The challenge this month was making soap with straight lines, guest instructor Toni Watt of White Milk Soap and Candles. I have some experience in this realm, as I have made my Candy Cane soaps and the Colorado Flag soap using this technique in the past. However, while making these, I wasn't entirely concerned with perfectly straight lines. So, I wanted to play with tiny lines and lots of layers to see if I could pull it off. I was inspired by this op art photo I found on the web, and was wondering if I could do something similar, but it ended up being a bit more time consuming than what I had this week. All kinds of holiday things going on today :) However, I started with this idea in mind, and got a good way along in the design. When I realized how tired I was and that I was at a point in which all the layers were light colored, I decided to just put a darker swirl layer on the top to finish it off. My recipe was not a quick mover, which was problematic, as well as trying to figure out the angles and calculating out the amount of soap batter for each layer. But, this was a real challenge for me, and I enjoyed it thoroughly. Here are some progress photos. And, then I stopped taking pictures...this was a long process... I put the mold in a 175 degree F oven, and turned it off to leave over night. It did not really gel well all the way through, in my opinion. And, since my broiler element went out this week while baking cookies, I'm not sure if it was that or me. The oven did get warm, but I'm not sure if it was up to temp. I've never done a real CPOP soap before, so it could totally just be me, will have to try it again now that the element has been replaced. And, here is the final product - I absolutely love how they came out! Scented with my Stress Relief blend, they remind me of skiing at night - something I did years ago during one of our Tenth Mountain Hut trips. Gotta love Colorado!!! Certainly something everyone should get the chance to do once in their lifetime - if you like skiing!!!
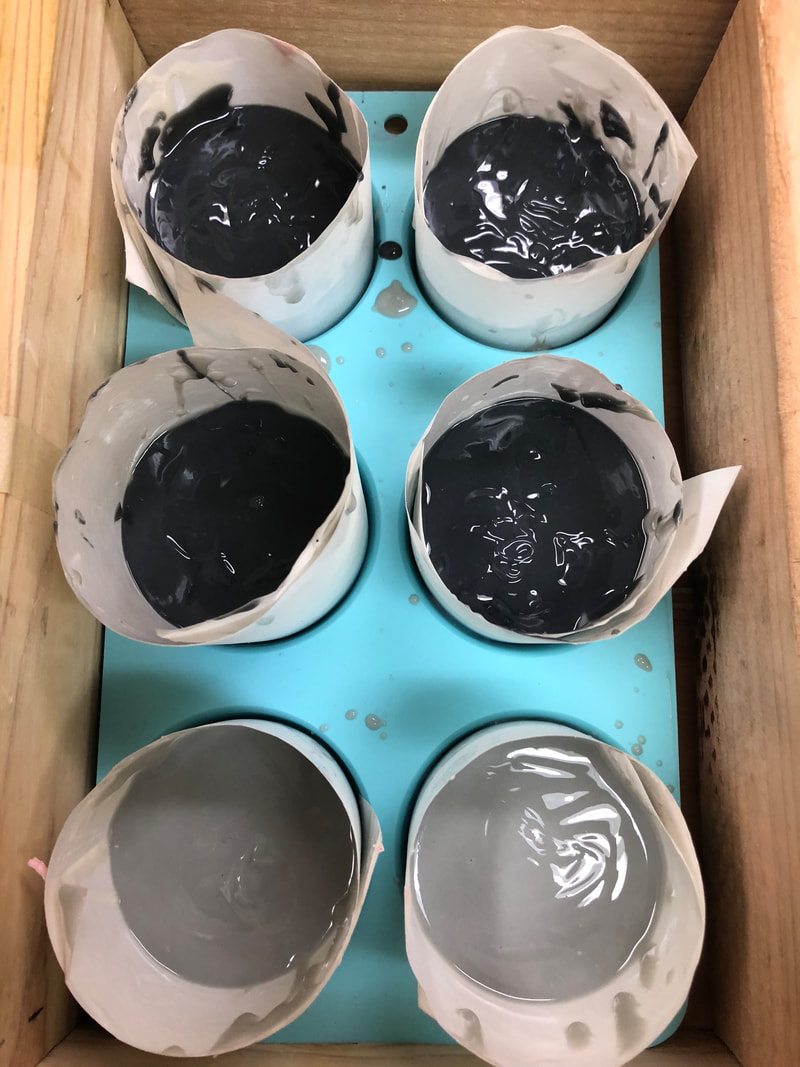
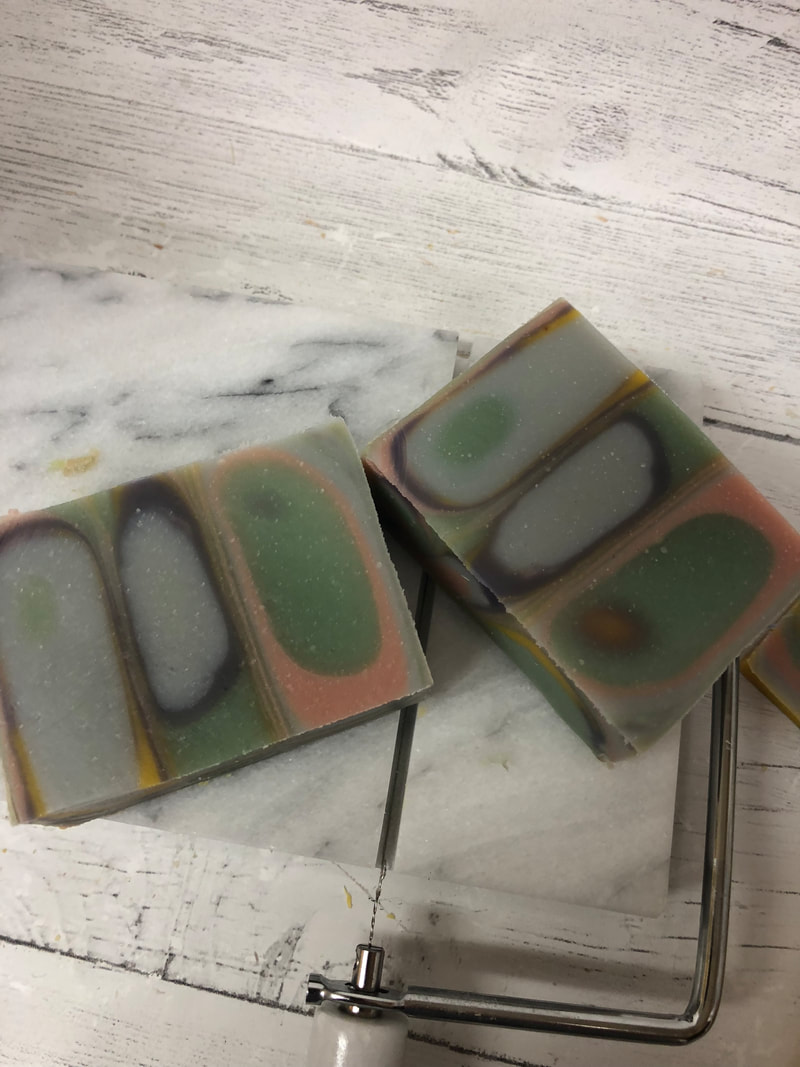
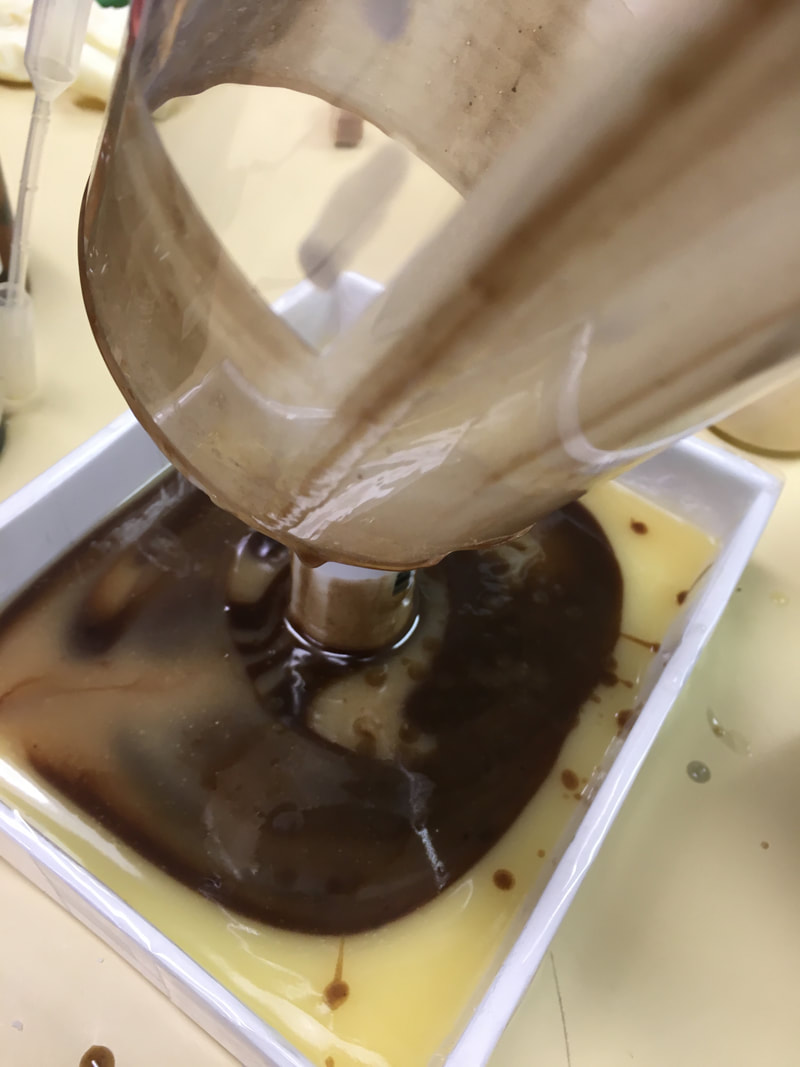
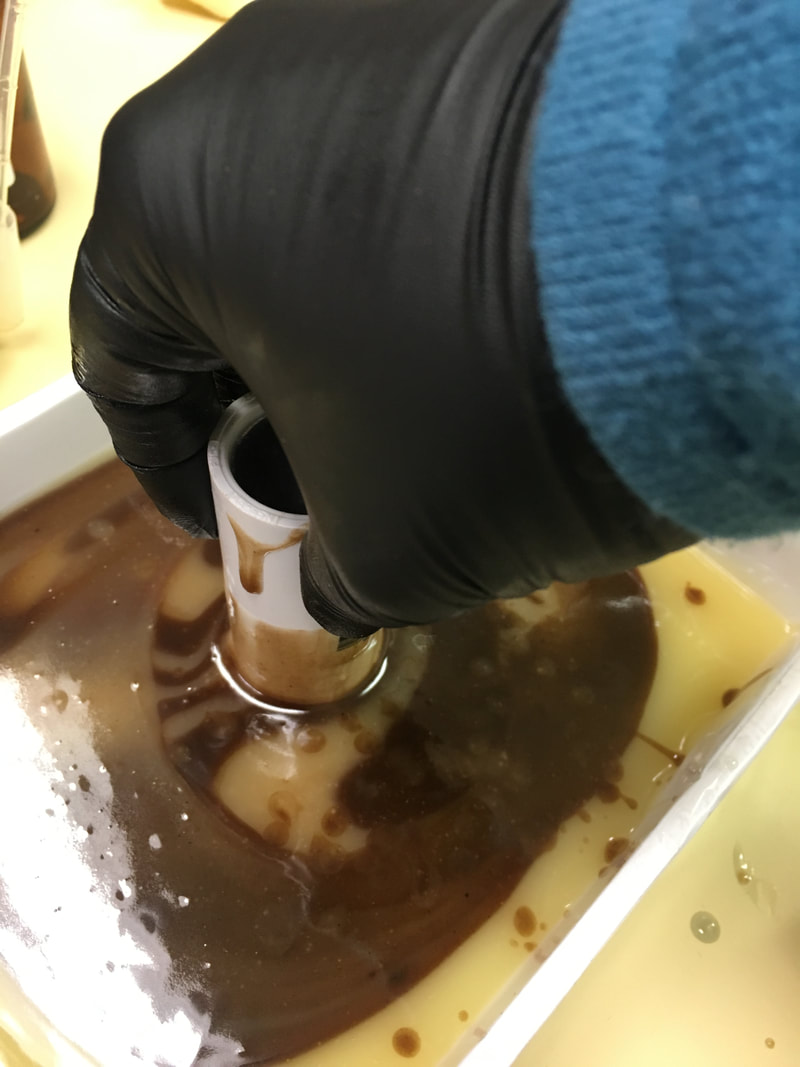
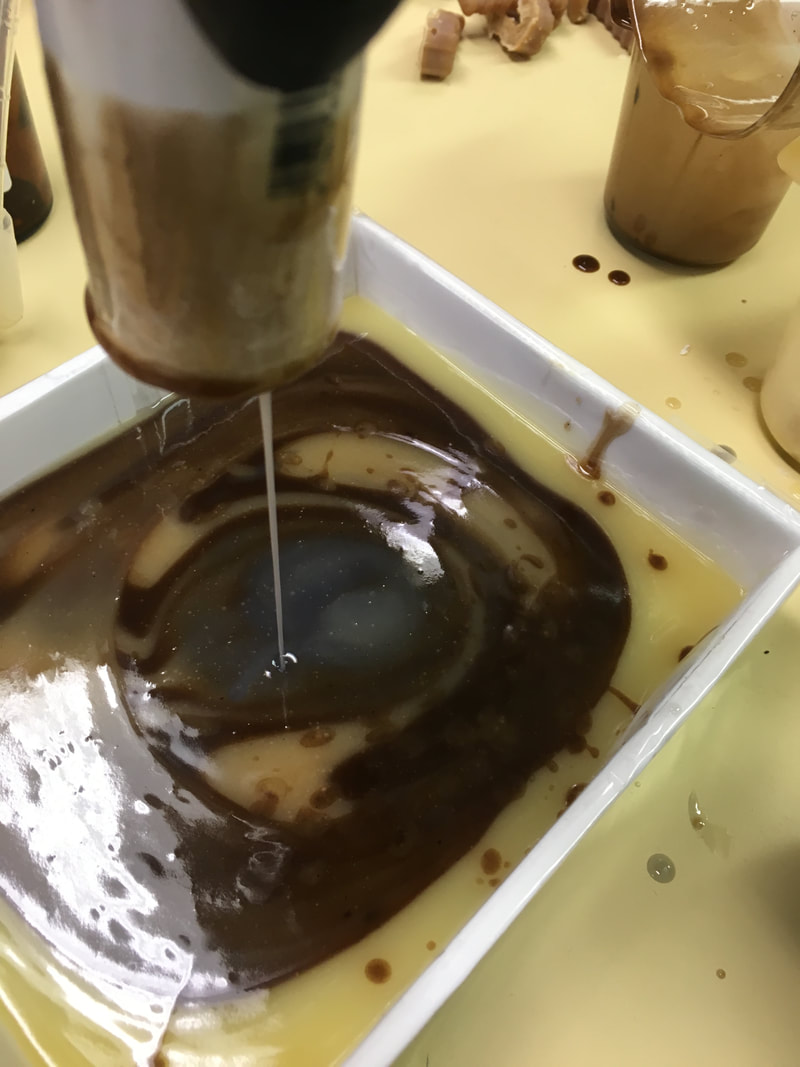
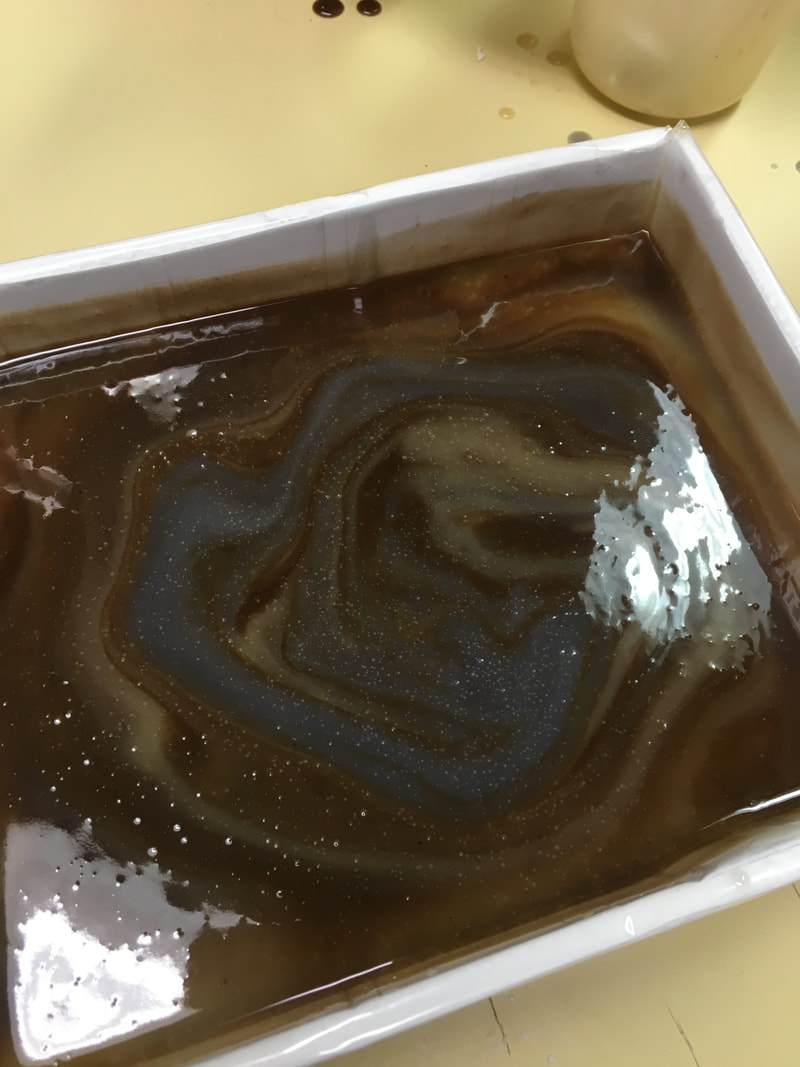
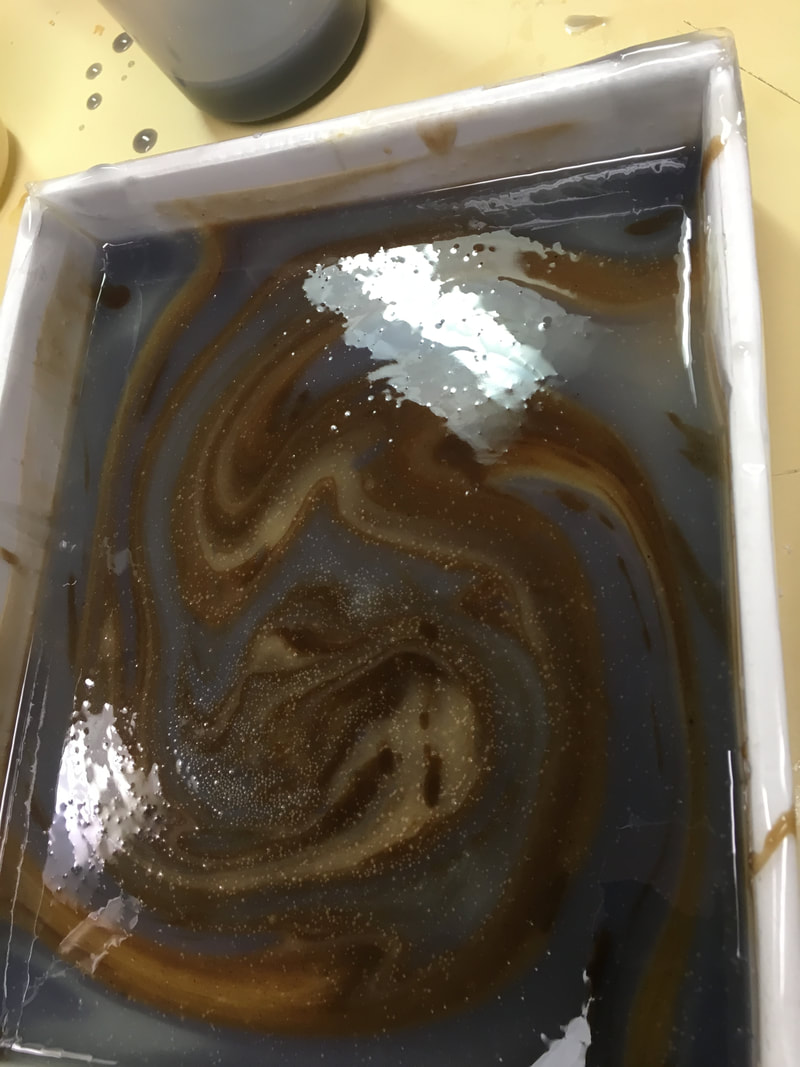
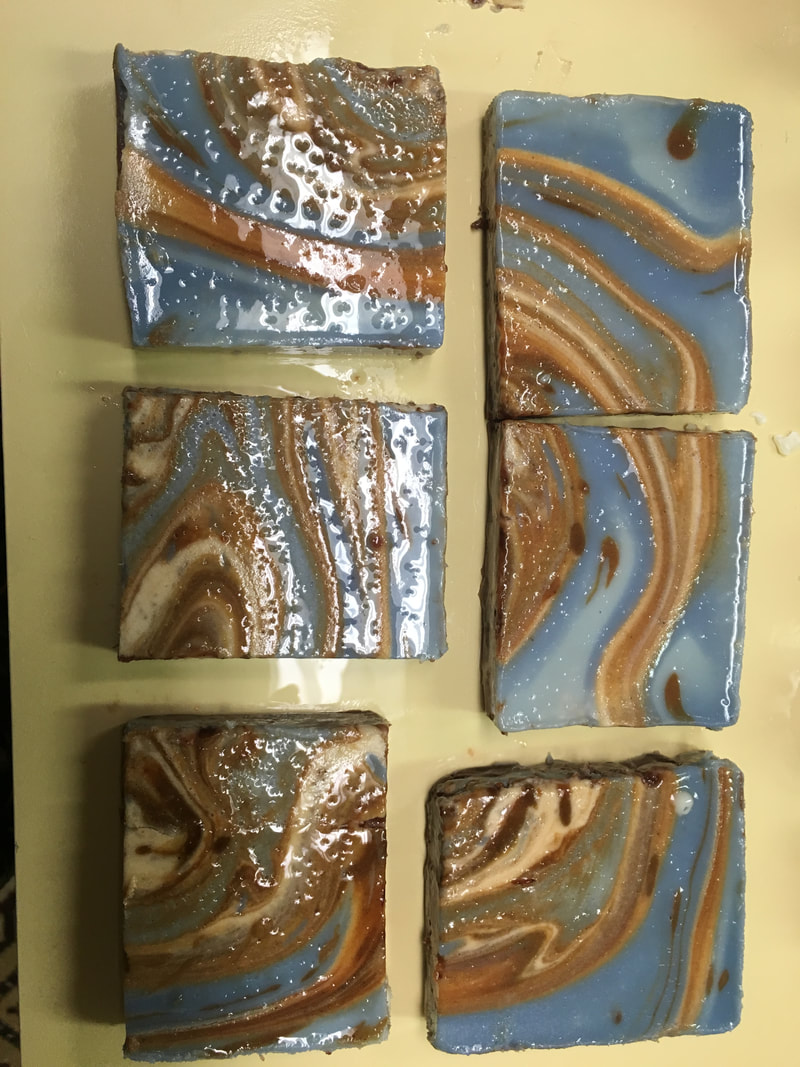
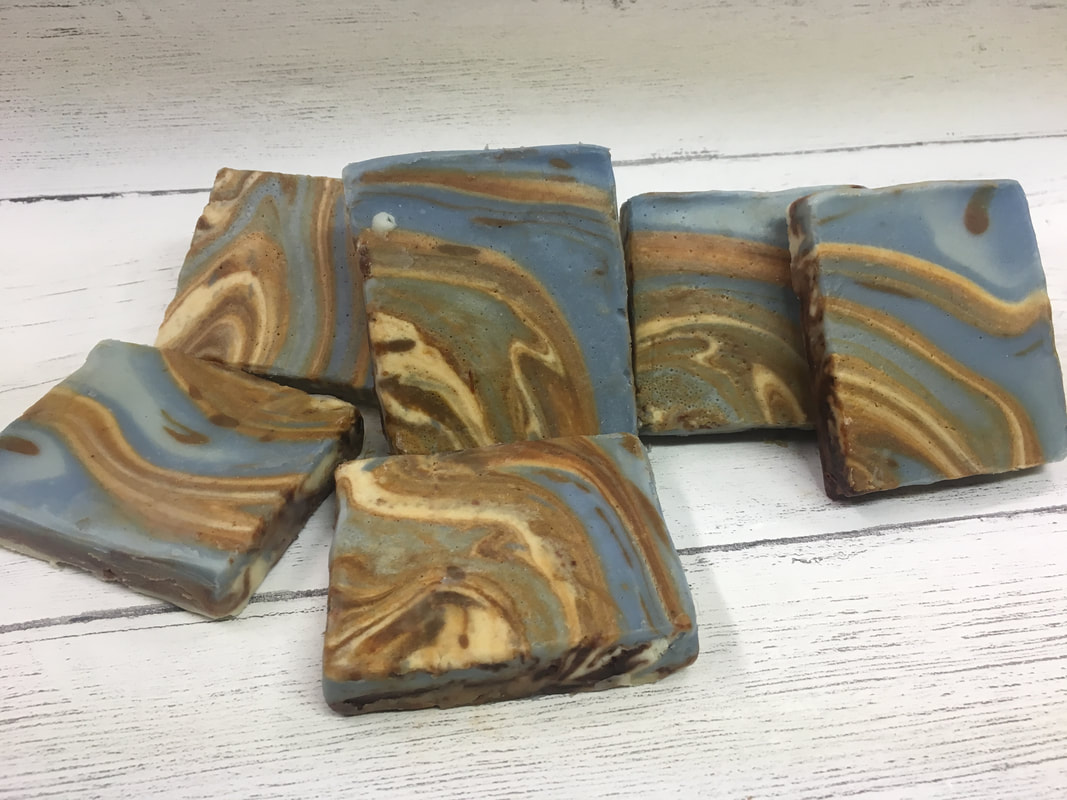
Another superb soap making challenge was made possible by Amy Warden of Great Cakes Soapworks this month - and what a challenge this one was! I am generally able to get the challenge done on the first try, but this one was tricky for sure, and I gave it four attempts. To be fair, I didn't do it exactly as demonstrated the first or the fourth time :) With Acrylic Paint, I have seen many ways of doing this, but the simplest is to pour different colors into a cup and then quickly tip it upside down onto your canvas, creating interesting combinations of colors and oftentimes creating "cells" in the mix (silica is added to the paint in order to maximize this effect). Soap doesn't react with itself in the same way, so the cells are elusive at best. And, with the caustic nature of the soap batter during this part of the process, there is some concern about tipping the cup over and splashing the rest of the room :0 So, our guest instructor this month, Joanne Watkins from Nature's Potions Handmade Soaps, demonstrated a safer way to get similar looking works of soap art. Because of my previous unsuccessful batches, I decided to use a very small, six bar mold. It actually was perfect for the size of the implements used here and I place much of the success here with the ratio as well. I put the columns in the center of the mold, fixing them down with a bit of melted cocoa butter. I poured alternating colors into each column. With the brown (made with cocoa powder) I filled until I ran out of soap batter. With the blue/purple (alkanet root, I do think it will turn purple as it cures...) I filled to the top of the very small tube. I decided I wanted more blue so I shored up the edges a bit by pouring along the wall at the corners. After pulling the columns up, and letting them drip a bit (helps to give the illusion of those "cells"), the mold is tilted back and forth until you get the look that you are satisfied with. No spinning!!! Just gentle motion back and forth. This was where the problem began with my previous batches, but the consistency was right on here and the color actually moved a bit, which didn't happen in my previous attempts. These bars turned out pretty nice - a little thin, as I had calculated to use more of the blue/purple, not thinking about the small volume of the center tube. But they are certainly a beautiful addition to my line of organic bath soaps. The scent I chose is ylang ylang and orange with a touch of mint. There is also a bit of cocoa scent coming through, so with my fourth batch I switched the position of brown and blue, which resulted in a sweeter scent.
Overall, these are great! And, my customers are sure to love them! Thank you Amy and Joanne! Learned something new - again!!! Coconut Oil has been greatly talked about in recent years, promoting many benefits - digestive health, anti microbial properties and scar healing just to name a few. If you want to get technical, it is comprised of 49% Lauric, 19% Myristic, 9% Palmitic, 8% Oleic and 2% Linoleic Acids (found at www.lovingsoap.com). Here at ASC Soapworks, with the majority of our shelves being filled with Vegan friendly soaps, we use coconut oil in nearly all of our recipes. In addition to possessing a high cleansing power, it helps to produce the thick, stable lather that everyone loves about our soaps.
Along my soap making journey, I have read numerous times that you are not to use more than 30% coconut oil without risking the chance of creating a bar that dries out the skin. Susan Cavitch has a 100% liquid coconut oil soap recipe in her book The Soapmaker's Companion, that she calls Seafarer's Soap. She provides a caution that this soap, although the most effective liquid soap, may be a sensitizer for some people. We make a similar pure liquid coconut oil soap, which I use regularly for our laundry, and I feel it is a wonderful product. But I do, along with others, relate the squeaky clean feel that it leaves with a sense of drying out the skin. This is why I choose to use it for laundry and other cleaning products that I make. I believe that using a mixture of oils in making hand soap would serve the skin better. Researching this topic now, I see that there are many people out there that love pure coconut oil soaps, and more contemporary soap makers couple it with a 20% superfat to temper the drying effect. We actually use just over 30% in our bar soap recipes, coupled with other oils and a fair amount of superfatting. I am intrigued by this, and will be experimenting with making this pure oil bar of soap. It will be a wonderful addition to the Pure Olive Oil and Pure Avocado Oil soaps that are available today. So, come back and look for our Pure Coconut Oil Soaps in the future! In addition to coconut oil soaps, if you haven't sampled our Apricot Sugar Scrub, made with Coconut Oil, Apricot Seeds and Brown Sugar, you are truly missing out on a wonderful treat for your skin! To purchase any of our bar soaps, of which coconut oil comprises a full third, you can check out our full line of Signature Series and/or Artisan Series soap bars. If you are interested in giving our Liquid Coconut Oil Soaps a try, you can purchase them here. The Apricot Scrub can be found here. Yay! for Coconut Oil Soaps!!! |
Details
TaralynColorado Artisan, making beautiful hand-crafted soaps with all natural ingredients. Archives
August 2025
CategoriesCategories
Comment Policy
We follow Grandma's rule here: If you don't have something nice to say, don't say anything at all. While constructive criticism is always welcome, keep it polite, considerate and friendly. These are simple rules that, if not followed, will result in the deletion of the comment. Thank you. |
- Home
-
SHOP ALL
- Soap of the Month >
- All Soap A to Z
- Signature Series Soap Bars A to Z
- Signature Series Literary Inspired
- Artisan Series Soap Bars A to Z
- Soaps by Recipe/Ingredients >
- Soaps by Fragrance Family
- Soaps by Fragrance Source
- Limited Edition Bars A-Z
- Limited Edition Soaps by Collection
- Cleaning Time!
- Bargain Basement >
- Man Cave
- Bath Spa Accessories
- Nourish
- Say It With Soap
- Wholesale
|
|
Our soaps and body care products are handcrafted the old-fashioned way, in Boulder County, Colorado by your local Soap Making Artist, Taralyn. Small artisan batches allow for considerable attention to detail during all stages - soap making, hand cutting, six week cure time and hand wrapping - an extensive journey that nurtures the formation of the perfect bar of luxury soap. And to make it even better, we will deliver to your door! Shop by Signature or Artisan, by scent families, ingredients or by name. So much to explore! Check out our collections today!
|
Contact
|
About
Get to Know Your Soap Maker!
|
Customer Service
ASC Creative Credits
|
Other Goodies
Community Connection Blog
Wild Rovings Blog
Why Palm Oil?
Organic Label
|
Copyright © 2009-2025 ASC Soapworks, llc, All rights reserved.



























 RSS Feed

